Fitting Instructions
Inspect the hearing protector before each use. If damaged,
select an undamaged hearing protector or avoid the noisy
environment.
When additional personal protective equipment is necessary
(e.g. safety glasses, respirators, etc.), select exible, low
prole temples or straps to minimize interference with the
earmu cushion. Remove all other unnecessary articles (e.g.
hair, hats, jewelry, headphones, hygiene covers, etc.) that
could interfere with the seal of the earmu cushion and
reduce the protection of the earmu.
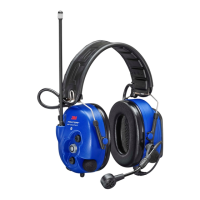
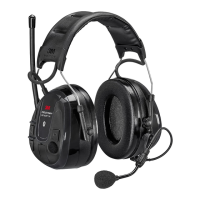
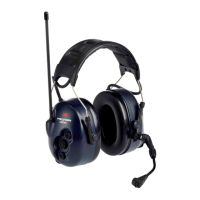
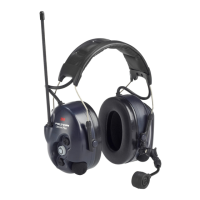
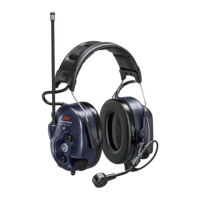
Headband Headset
To t the hearing protector:
1. Slide out the cups and tilt the top of the cup out, as the
cable must be on the outside of the headband (Fig 1).
2. Pull the cups apart and place the earmus over the ears
so that the cushions form a snug seal around the ears.
3. Adjust the height of the cups by sliding them up or down
while holding the headband in place (Fig 2).
4. The headband should be positioned across the top of
your head (Fig 3).
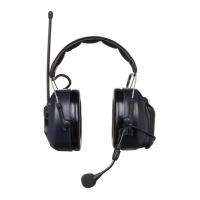
Neckband Headset
To t the hearing protector:
1. Place the cups in position over the ears (Fig 1).
2. Keep the cups in position, place the head strap on top of
your head and lock it tight in position (Fig 2).
3. The head strap should be positioned across the top of
your head and should support the weight of the headset
(Fig 3).
Caution: The neckband earmus must be worn with
the head strap correctly attached to keep them rmly
in position to maintain an eective acoustic seal. The
protection level provided by neckband earmus may be
reduced if the head straps are not worn correctly.
1 2 3
Helmet Attach Headset
To t the hearing protector:
• Fit the cup: Push the attachment blade rmly into the slot
on the side of the helmet until it clicks into place (Fig 1 & 2)
• Working position: With the cups over the ears press the
arms inwards until you hear a click on both sides indicating
a rm seal (Fig 3).
• Stand-by position: Lift the cups to the xed stand-by
position. In a noisy environment the ear mus must be
worn in the working position at all times (Fig 4).
• Parking position: First lift the cups to the stand-by position
(Fig 4), then rotate them up to the next xed position.
• Ventilation mode: Avoid placing the cups against the
helmet as this prevents ventilation (Fig 5).
• Storage mode: When the helmet is not in use, lower the
earmus and press them inward. Keep the cups clean and
dry and store at normal room temperature.
1 2 3
4 5