14
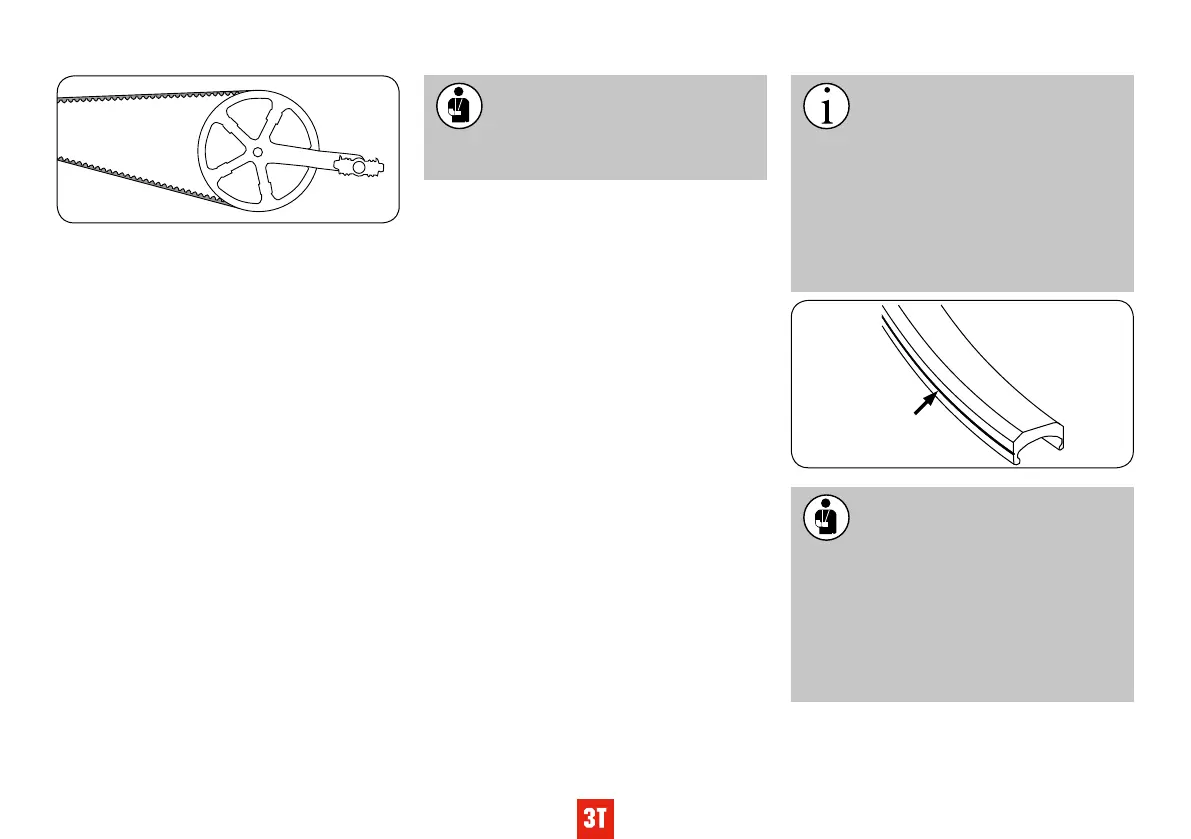
Rims are subject to a great deal of
strain and are vital to your safety on
the bike. Riding wears rims down
over time, particularly on bicycles with rim
brakes. If you notice any damage or the wear
indicators show dangerous levels of wear,
you should no longer ride with these rims.
Have them checked by a specialist retailer
and replaced if required.
Wear can weaken rims and lead to falls and
serious accidents.
Groove as a wear
indicator
Wheels
Checking the wheels
The bicycle is connected to the ground by the
wheels. The wheels are subject to a great deal of
strain through the uneven characteristics of the
ground and the weight of the rider.
Thorough checks and centring work on the
wheels are undertaken before they are shipped.
However, during the rst few kilometres of riding,
the spokes bed in.
• After the rst 100 kilometres (62 miles), the
wheels have to be checked by a specialist and
centred again if required.
• The tension of the spokes has to be checked
at regular intervals. Loose or damaged spokes
have to be replaced or centred by a specialist
retailer.
The wheels can be xed in the frame and fork in
different ways. Commonly, the wheel is attached
with an axle nut or a quick release. In addition,
there are also various thru axle connections
which are screwed in or xed with various quick
release systems. If a thru axle is tted on your
bicycle, you can get more information in the en-
closed manufacturer operating manual or on the
respective manufacturer’s website.
Modern rims (from 24") indicate when
they are worn from braking. These in-
dicators take the form of embossed
or coloured points or lines on the brake sur-
faces of the rims. When these disappear, you
are no longer permitted to use the rims. There
are also similar indicators which only appear
after a certain level of wear. At the very latest
when two pairs of brake rubbers have been
worn, it is necessary to have the rims check
by a specialist retailer.
Rims/tires
Clean the rims regularly according to the inspec-
tion plan on page 23. As part of this, you should
also check the wear indicators:
Checking the hubs
You can check the hub bearings as follows:
• Raise the wheel off the ground, lifting the bi-
cycle rst at the front and then the rear. Push
each wheel to start them turning.
• The wheel should continue to turn and then
slow evenly. If the wheel suddenly stops, the
bearing is defective. One exception is front
wheels with a hub dynamo. These display a
rather greater degree of resistance. This is
barely noticeable when cycling, but is notice-
able in this test.
• The hub bearing should not exhibit play. Pull
the wheel to the right and left in its forks or in
the chain stays to establish whether it is loose.
There should be no play noticeable.
• If the wheels can be slightly moved in their
bearings or are difcult to turn, the hub bear-
ings have to be set up by a specialist retailer.
All screw connections have to be
tightened with the correct torque. If
the torque is not correct, the screws
could break or loosen other parts (see page
26 “Torques for screwed connections”).