NEED HELP? GIVE US A CALL 877.333.7108
1. Turn off dedicated faucet.
2. Turn on COLD water supply valve.
3. Turn on kitchen faucet to release air from pipes. Once water is owing normally, turn
off kitchen faucet.
4. Within approximately two hours, pressure will build in the system. During this time,
carefully inspect all connections and ttings for leaks.
5. After ensuring all connections and ttings are secured, turn on the dedicated faucet.
Let water ush for 2 hours.
Note: Water ow rate will be slow during initial ush. Do not drink the ushed water.
6. Once ush is complete, turn off the dedicated faucet.
Note: After initial system ush, it will take 1-3 hours for the water tank to ll.
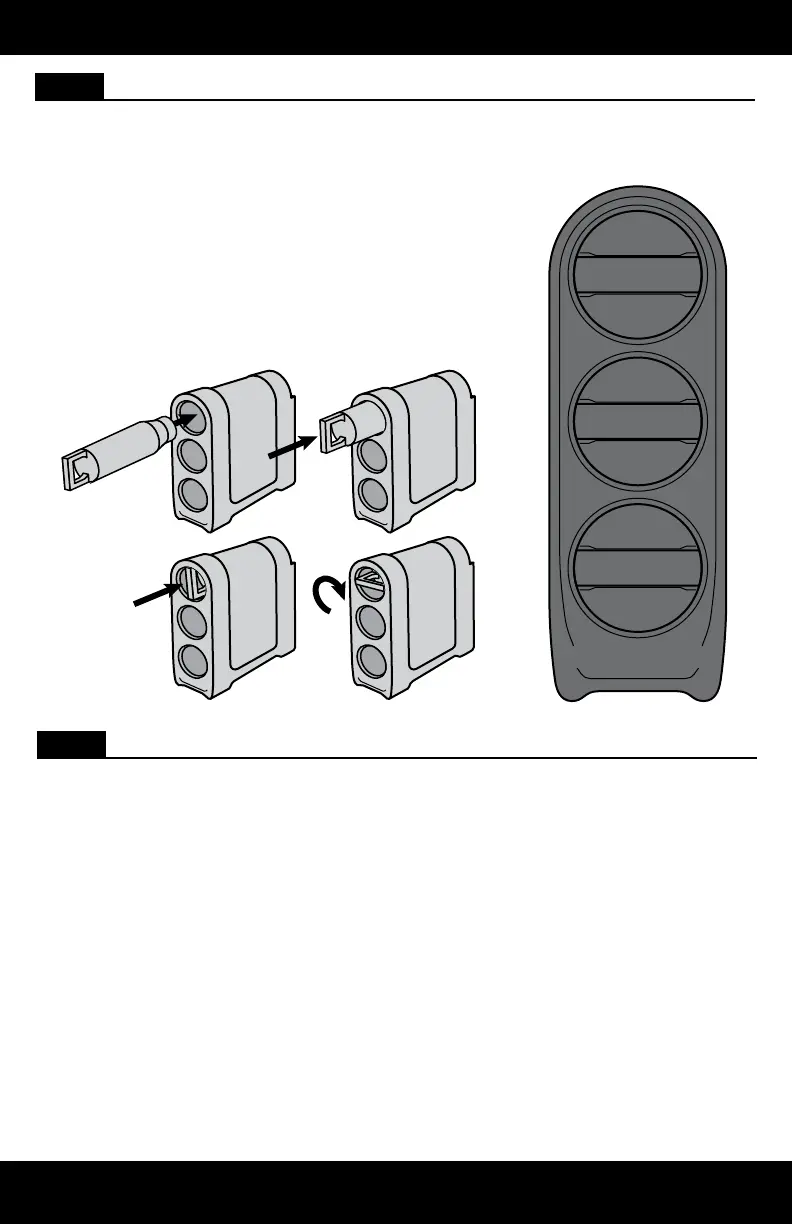
STEP 9 Pressure Test, Check for Leaks, and Flush
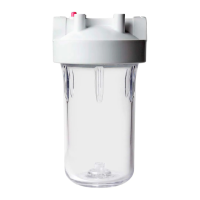
1. Insert each lter cartridge into its designated location in
the system manifold by turning to the right. The guides
on each lter will ensure proper alignment within the
system manifold.
2. Once the lter is engaged, push the lter fully in
while rotating 90 degrees to the right. Continue this
step for each lter.
· Top lter: Carbon Block
· Middle lter: SmartFlow
™
Membrane
· Bottom lter: Advanced Carbon Block
STEP 8 Insert Filter Cartridges
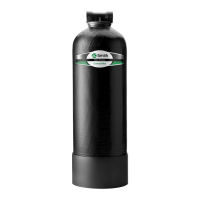
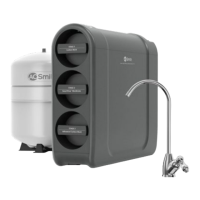
Stage 1
Carbon Block
Stage 2
SmartFlow
™
Membrane
Stage 3
Advanced Carbon Block
7
INSTALLATION GUIDE
 Loading...