Step 2:
With the TR3 in base position (covered above in TR3 setup,
with Scarifiers lied out of play) and the Profile blade lied
up so that is out of play; adjust the TR3 so that the Finish
Rake attached to the TR3 is roughly ¾” to 1” o the ground.
This will allow material to properly flow through the TR3,
and back to the Profiler attachment.
Step 3:
Lower the Profile blades back
down so they touch the ground
and insert the pins back in
to the Profile blade to secure
it. Next, adjust the Profiler
attachment using the 11” Top
Link so the Profile blade sits
level to the ground, or the base
in the Arena. You may need to
make an adjustment later to
ensure that the Profile Blade is
sitting level to the base.
Next, take the TR3 out into the Arena and being dragging
the Arena with the TR3 and Profiler attachment. Once the
Scarifiers and Profile Blade(s) have entered the footing stop
and check to make sure everything is at the depth desired to
drag the Arena at, and that the Profile Blade is setting level to
base. To check the levelness and depth of the Profile Blade,
pull the footing back from the edge of one side of the Profile
Blade. Continue to remove the footing until the base can be
seen under the Profile Blade. Ensure that the Profile Blade is
setting level to the base of the Arena and at the proper depth.
If the Profile Blade is not sitting level, adjust the levelness
using the 11” Top Link used to secure the Profiler attachment
to the TR3. Continue dragging a few more feet, and recheck
the profile blade again. You may need to make multiple
adjustments to get the profile blade to sit level to the base.
If you need to adjust the depth up or down repeat the above
steps to set the depth of the Profile Blade.
Step 4:
Place the pins on the Leveling Blade under the Leveling Blade
arms. This will prevent excess material from building up on the
Leveling blade due to raising the Finish Rake o the ground.
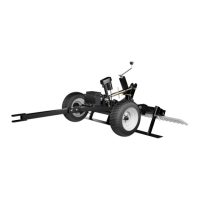
Checking The Profile Blade For
Leveling & Depth
Adjusting The Finish Rake On The
Profiler Attachment
Once the Profiler attachment is set up you will want to set
the depth of the Profile Blades. Below are instructions on
setting the depth:
Raise the TR3 o the ground until the wheels are lied up
to match (roughly) the depth desired to use the profile
blades at. If the desired grooming depth for the profile
blades is about 2”, then raise the TR3 until the wheels are
roughly 2” o the surface. **As footing becomes loosened
the TR3 may rest lower in the footing.
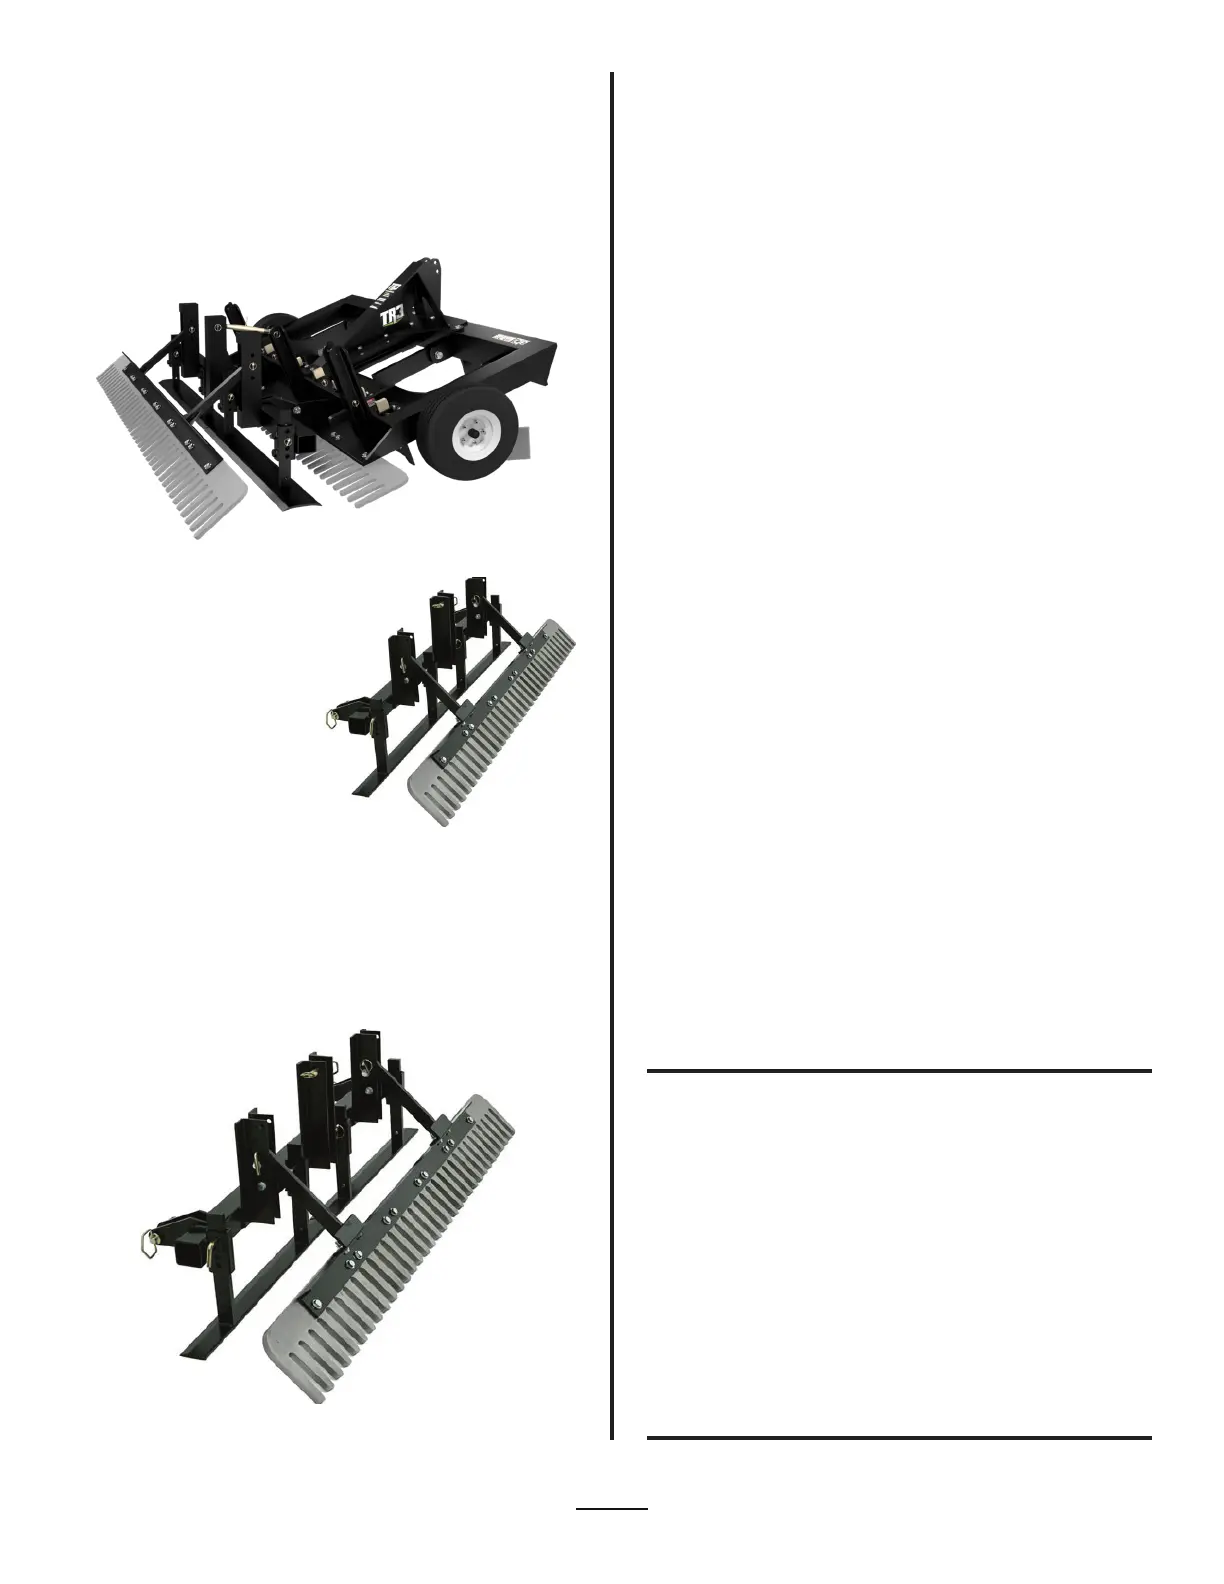
Remove the pins from each arm of the Profile Blade
allowing it to rest on the ground. Do this for both sides
of the Profile blade(s).
Insert the pins back into the Profile Blade arms to
secure the Profile Blades. There are two holes in the
arms of the Profiler attachment Profile Blades. Choose
the closes hole to where the desired depth of the
Profile blades is, and insert the pins.
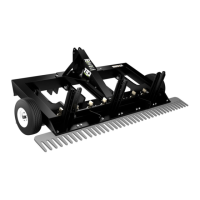
To adjust the Finish rake on the Profiler attachment, raise
or lower the Finish Rake depending on the desired eect on
the footing.
There are 3 holes on the outside mast of the Profiler
attachment where the Finish Rake is attached. Remove the
pins holding each arm of the Finish rake in place, and raise
or lower the Finish Rake depending on the eect desired for
the footing. Put the Finish Rake in the top hole for the least
contact with the footing. Put the Finish Rake in the bottom
hole for maximum contact with the footing.
•
•
•
•
•
Visit: www.abisupport.com
14
 Loading...