For other configurations, please refer to the section dealing with
system memory installation in Chapter 2.
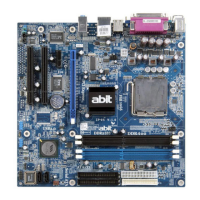
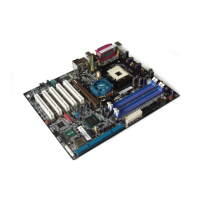
FDC- Connect one end of the 34-pin cable that
comes with the drive to the FDD connector, and the other end of the cable to
the FDC pin connector on the mainboard.
Note: Be sure that the red line on the cable connects to the first pin of the
connectors.
IDE1- Connect one end of the 40-pin cable that
comes with the drive to the HDD connector, and the other end to IDE1 pin
connector on the mainboard.
Note: Be sure that the red line on the cable connects to the first pin of the
connectors.
IDE2- Connect one end of the 40-pin
cable that comes with the drive to the CD-ROM connector, and the other end
to the IDE2 pin connector on the mainboard.
Note: Be sure that the red line on the cable connects to the first pin of the
connectors.
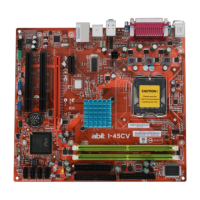
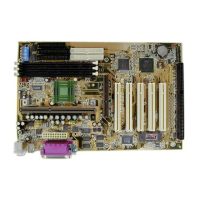
LPT- Connect the 26-pin cable that
comes with the hardware to the LPT connector on the mainboard.
COM1- Connect the 10-pin cable that comes
with the hardware to connector COM1 on the mainboard.
COM2- Connect the other 10-pin cable to connector COM2 on the
mainboard.
Attach the bracket of Parallel Port, Serial Port and PS2 Mouse on the
Installing FDD:
Installing HDD:
Installing CD-ROM Drive:
Installing parallel port:
Installing serial port:
 Loading...