www.abus.com
DTechnische Änderungen vorbehalten. Für Irrtümer und Druckfehler keine Haftung. ABUS © 2011
GSubject to technical alterations. No liability for mistakes and printing errors. ABUS © 2011
FNous nous réservons le droit de toutes modifications techniques. Nous n’assumons aucune responsabilité pour des erreurs ou défauts d’impression éventuels. ABUS © 2011
nTechnische wijzigingen voorbehouden. Geen aansprakelijkheid voor vergissingen en drukfouten. ABUS © 2011
ICi si riservano modifiche tecniche. Per errori e refusi di stampa non ci si assume alcuna responsabilità. ABUS © 2011
ABUS - Das gute Gefühl der Sicherheit
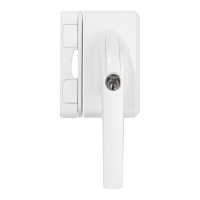
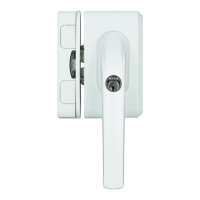
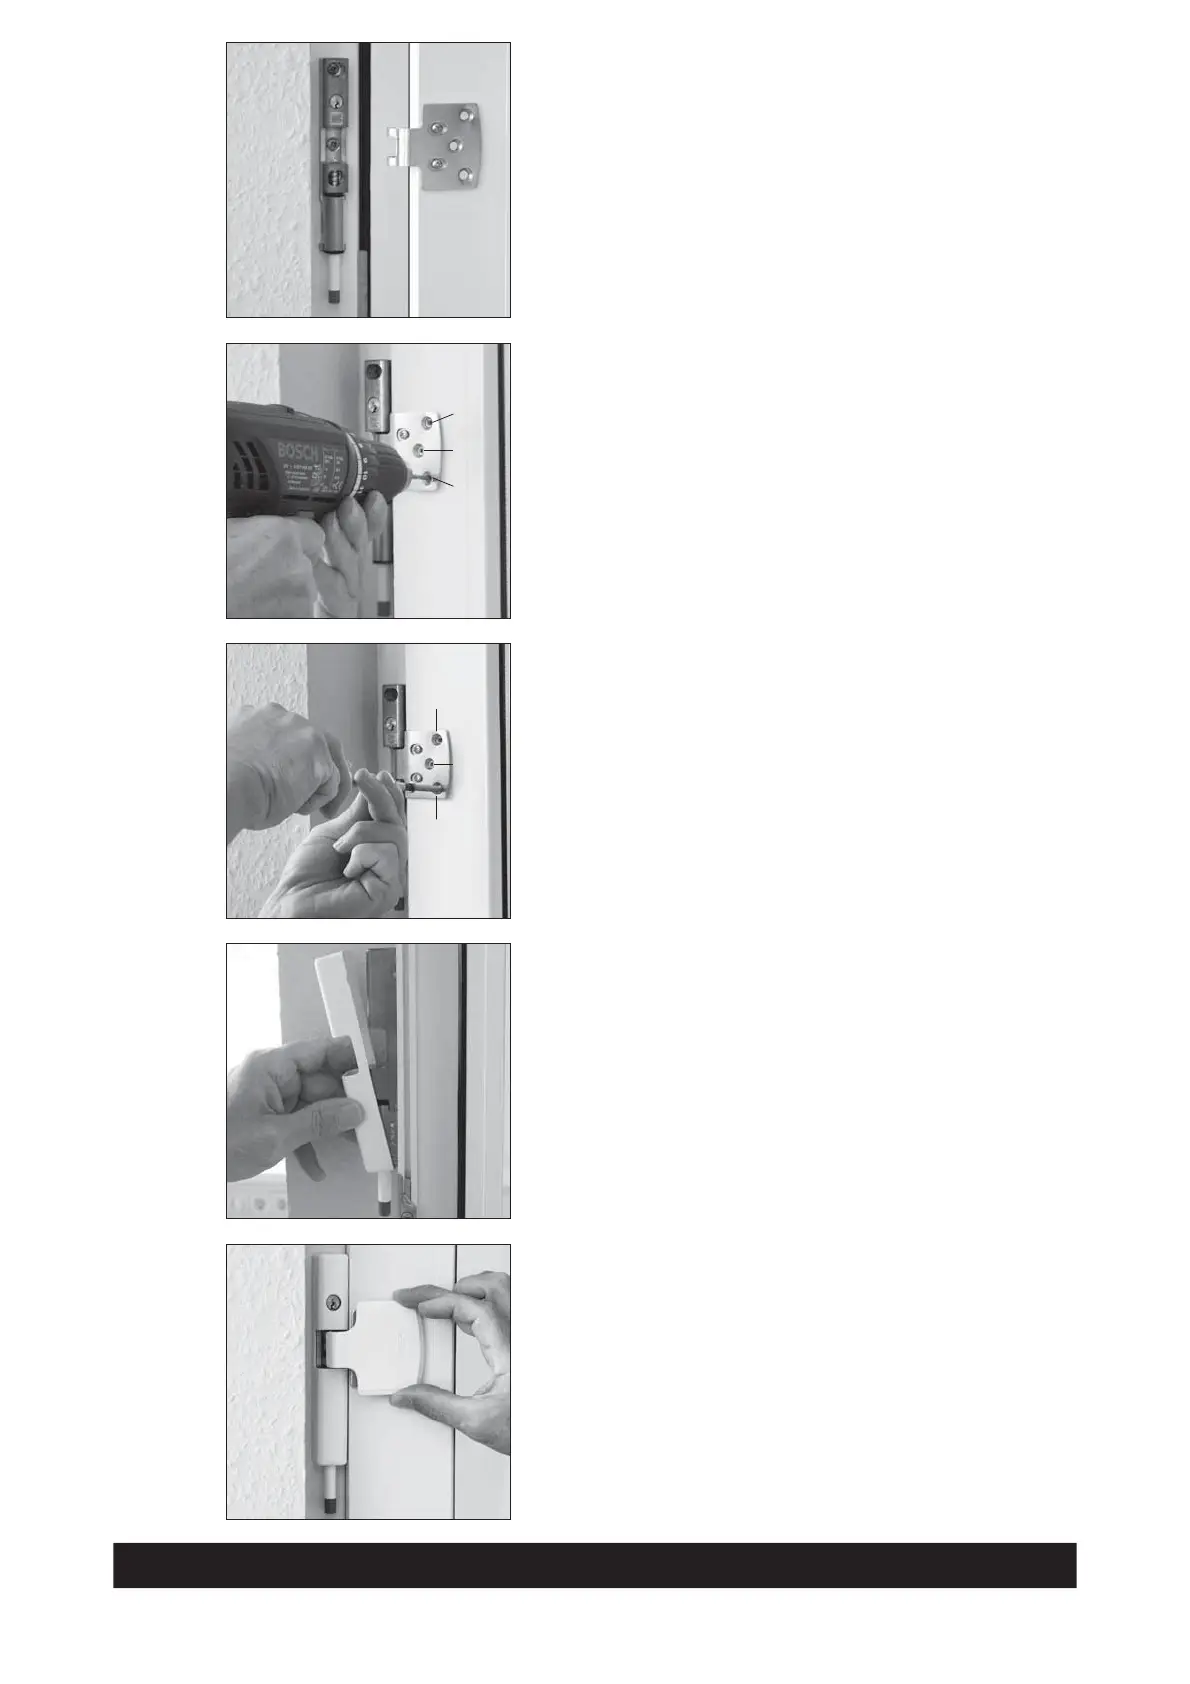
D Funktion überprüfen, dazu Fenster öffnen und schließen,
eventuell Flügelblech nachjustieren.
G Check that it functions by opening and closing window,
perhaps readjusting casement plate.
F Contrôler le functionnement, ouvrir et fermer la fenêtre,
ajuster éventuellement la tôle pliée.
n Controleer werking door het raam te openen en te sluiten.
Eventueel raamplaat afstellen.
I Controllare il funzionamento, a tale scopo chiudere e aprire la finestra,
eventualmente regolare la lamiera a battente.
D Schraublöcher D und D1 vorbohren (bei D1 Fensterbeschlag nicht
beschädigen). Bei Holzfenstern die beiden vorderen Löcher (D) leicht
schräg, bis max. 20° Neigung Richtung Fenstermitte vorbohren.
G Pre-drill screw holes “D” and “D1” (with D1 do not damage window
fitting). On wooden windows pre-drill the two front holes slightly at an
angle, up to max. 20° in the direction of the window center.
F Pré-percer les trous «D» et D1 (pour D1 Attention à ne pas endommager
la garniture de la fenêtre). Sur des fenêtres en bois, pré-percer les 2 trous
de devant avec une inclinaison de maximum 20° en direction du milieu de
la fenêtre.
n Schroefgaten D en D1 voorboren (bij D1 raambeslag niet beschadigen).
Bij houten gevelelementen de beide gaten vooraan (D) licht schuin,
tot max. 20°, richting het midden van het raam voorboren.
I Sbozzare i fori D (con D1 non danneggiare la ferramenta della finestra).
Da finestre in legno forare i due buchi (D) con una inclinazione di al
massimo 20° in direzione del centro della finestra
.
D Flügelblech anschrauben (bei umlaufendem Beschlag D1 = 4,8 x 22).
G Screw on casement plate (with continuous fitting D1 = 4.8 x 22).
F Visser la tôle pliée (pour garniture d’une circonférence de D1 = 4,8 x 22).
n Raamplaat vastschroeven (bij beslag rondom D1 = 4,8 x 22).
I
Avvitare la lamiera a battente (con ferramenta perimetrale D1 = 4,8 x 22).
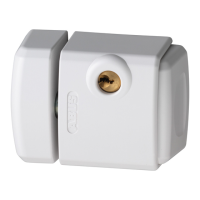
D Rahmenhaube aufsetzen.
G Put frame cover in place.
F Poser l’armature du cadre.
n Afdekkap montageplaat opzetten.
I Montare la scossalina del telaio.
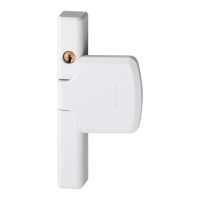
D Flügelhaube aufsetzen.
G Put casement cover in place.
F Poser l’armature «ailée».
n Afdekkap raamplaat opzetten.
I Montare la scossalina del battente.
Abb./fig.
schéma
afb./ill. 11
Abb./fig.
schéma
afb./ill. 12
D
Ø 3,5
D1
D
Abb./fig.
schéma
afb./ill. 13
D1
4,8x50
(22)
D 4,8x50
D 4,8x50
Abb./fig.
schéma
afb./ill. 14
Abb./fig.
schéma
afb./ill. 15
 Loading...