23
En
lish
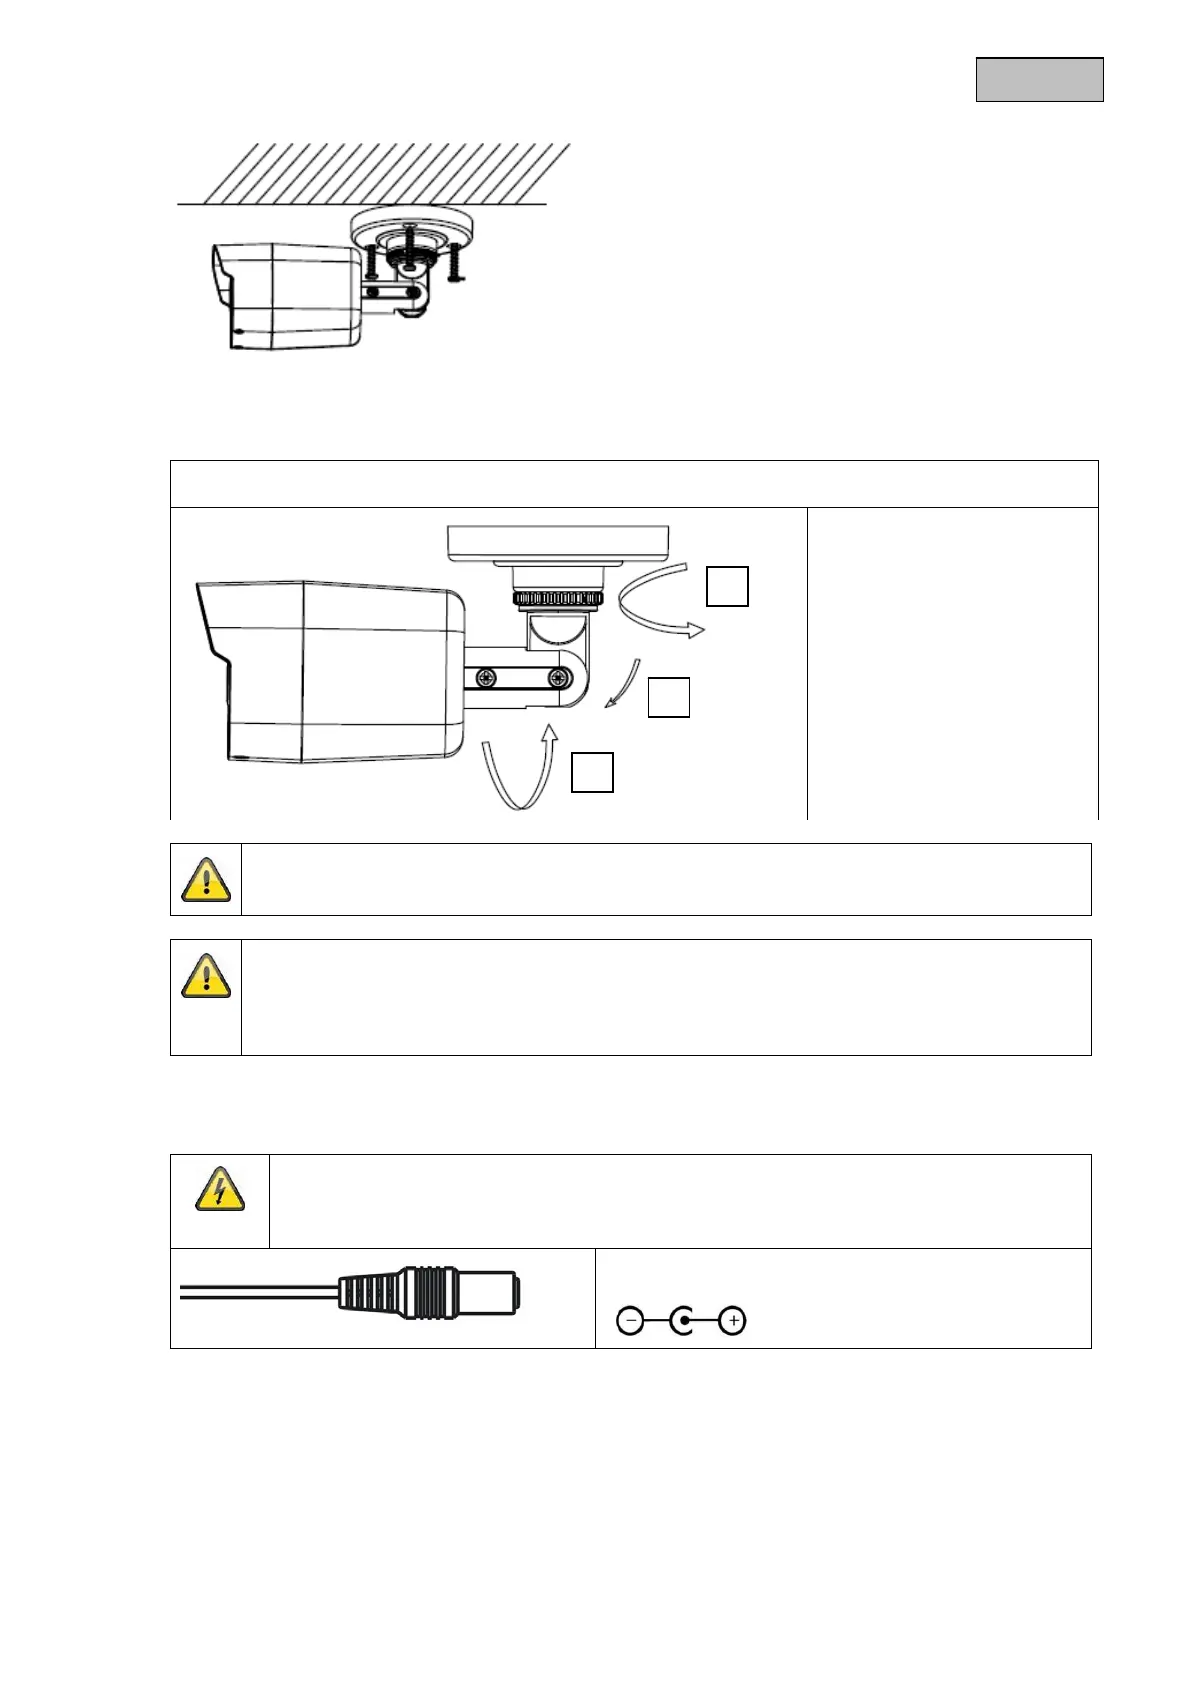
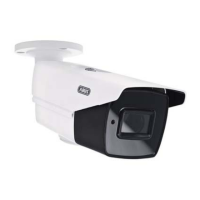
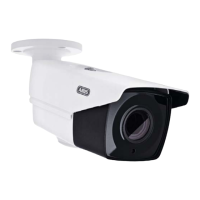
5.2. Orientation of the camera
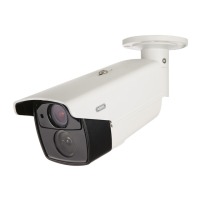
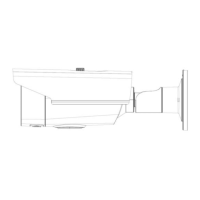
Carefully loosen the three fixing screws (see images #1, #2, #3). Then orient the camera as required.
#1: Pivot 360°
#2: Tilt 180°
#3: Rotation 360°
Do not forget to tighten up the fixing screws again.
The effective IR range will depend on the installation location. If there are surfaces that
absorb light or no objects that reflect IR light in the field of view, the IR range will be reduced
and/or the video image will be too dark. Reflective objects in the immediate vicinity of the
camera (e.g. roof gutter or wall) may also result in the reflection of IR light, which can disturb
the ima
e.
5.3. Power supply
IMPORTANT!
Before starting installation, ensure that the power supply voltage and the rated voltage of
the camera are identical.
12 V DC, barrel connector, 5.5 x 2.1 mm
The cameras require a 12 V DC power supply. The polarity of the DC voltage supply must be observed!
1
2
3