12
11
15
Mantener pulsada
durante 3 segundos
Press and hold for
3 seconds
Pulsar brevemente
3 veces
Press 3 times briey
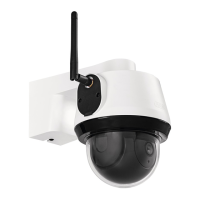
Paso 4 – Asignar la cámara a la unidad base
Step 4 – Assign the camera to the base station
Es posible utilizar una unidad base adicional si dos cámaras asignadas a una unidad base
están demasiado alejadas entre sí, por ejemplo, en caso de grandes edificios. En ese caso,
se usará una segunda unidad base cerca de la segunda cámara y se asignará la cámara a
esa unidad base. Una unidad base puede tener conectadas hasta dos cámaras. La aplicación
admite hasta 8 unidades base.
An additional base station can be used if, for example, two cameras assigned to one base
station are positioned too far apart in a larger building. In this case, a second base station
can be installed close to the second camera and the camera can be assigned to this base
station. Two cameras can be operated from one base station. Up to 8 base stations are
supported by theapp.
La entrega de fábrica del kit de cámaras (con una o dos cámaras), la(s) cámara(s)
ya está(n) programada(s) para esta unidad base. El paso 4 se puede saltar.
In the case of camera sets (with one or two cameras) delivered from the factory, the camera(s)
is/are already programmed for this base station. Step 4 can therefore be skipped.
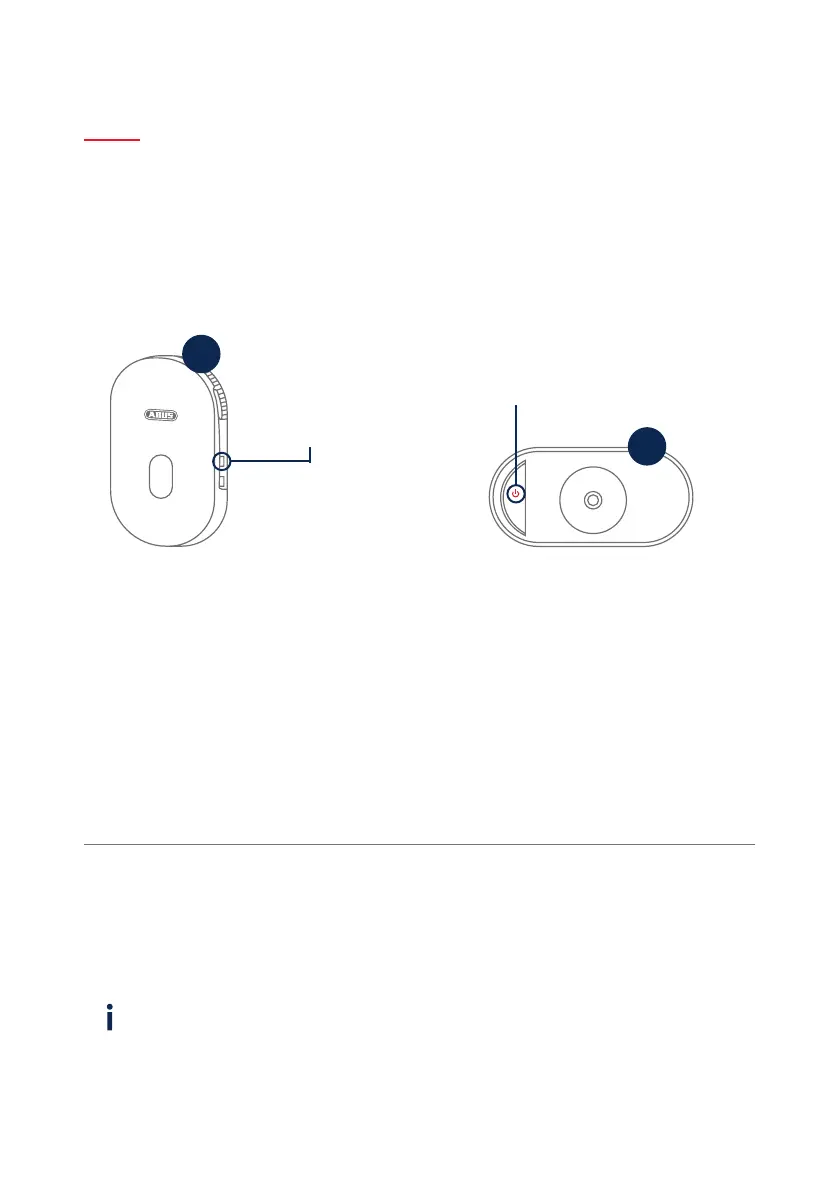
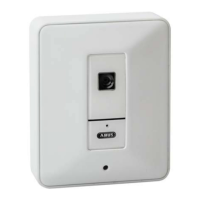
Presione la tecla de emparejamiento durante
al menos 3 segundos, hasta que el LED azul
parpadee. Se reproducirá la orden de voz
"Listo para la conexión de la cámara". Si la
cámara ya está programada en una unidad
base, bórrela de la lista antes.
Press and hold the pairing button for at least
3seconds until the blue LED ashes. The voice
command „Ready for camera connection“ is
emitted. If the camera is already programmed
in a base station, please delete it from the list
in advance.
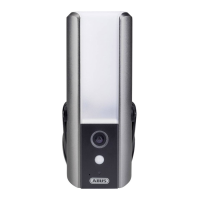
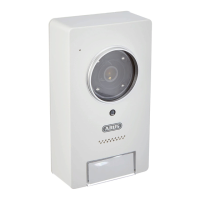
Conecte la cámara. Pulse el símbolo de conexión
brevemente 3 veces para programar la cámara.
Si la conexión se ha realizado correctamente,
se reproducirá la orden de voz "Conexión a
la cámara realizada correctamente".
Switch on the camera. Press the activation
symbolbriey 3times in order to programme
thecamera. If the connection is successful,
thevoice command „Camera connection
completed successfully“ is emitted.