6
ASSEMBLY INSTRUCTIONS
FIG. 2
FIG. 1
NOTE: For clarity, the Grinder is shown on the following
pages without the optional carriage bellows installed.
UNPACK THE CARTONS
NOTE: Before you install the machine, read the following
assembly procedure completely. Then study "Getting to
Know Your Bedknife Grinder" in the Operators Manual.
Use care when unpacking. Double-check the packing
cartons for any miscellaneous items before discarding.
Inspect all items for shipping damage as they are
removed from the shipping containers. If you find any
damage, notify the carrier's claims agent and do not
proceed further until the damage has been inspected by
the agent. Refer also to the "Shipping and Receiving
Instructions" packed with the unit.
Remove the Coolant Tank carton from under the machine.
Remove the control box from under the machine. Be
careful of the electrical wiring which was preconnected at
the factory.
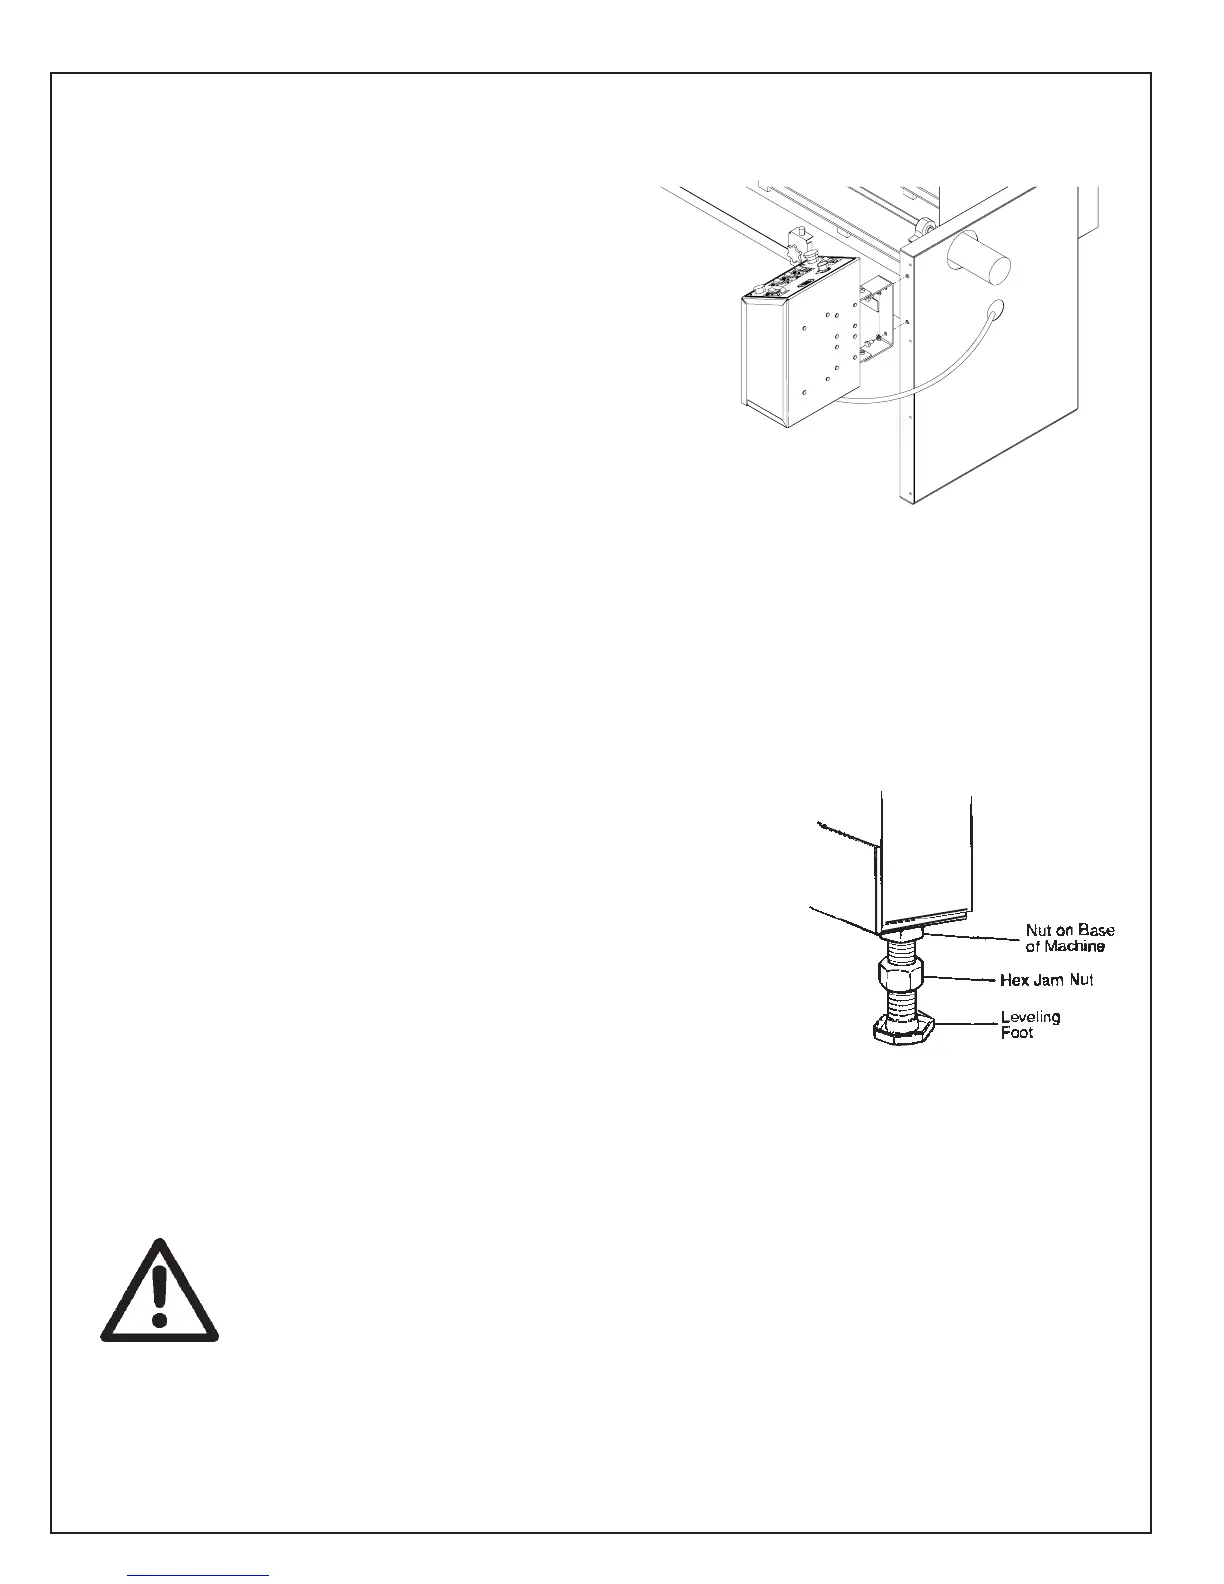
Install the Control Box
Attach the control box to the right front end of the
machine, using the two 3/8-16 x 5/8" hex-head bolts, and
two lock washers provided. See FIG. 1. The fasteners
are shipped in an envelope inside the control box carton.
Remove the Grinder from the Pallet
To remove the Grinder from the wood pallet:
1. Unbolt the brackets that hold each end of the Grinder
legs to the bottom of the pallet.
2. The Grinder's four leveling feet (FIG. 2) are seated in
countersunk holes in the pallet. Lift one end of the
machine until both feet are out of their holes.
3. Prop this first end up with sturdy boards or other
supports so the feet remain out of their holes, then
lift the other end and remove the Grinder from the
pallet.
THE GRINDER WEIGHS 780
LBS [354 KG]. TO LIFT, USE
POWER EQUIPMENT
Remove the shipping strap that secures the grinding
head and carriage to the left end of the machine during
shipment. Discard the leg screw and the shipping strap.