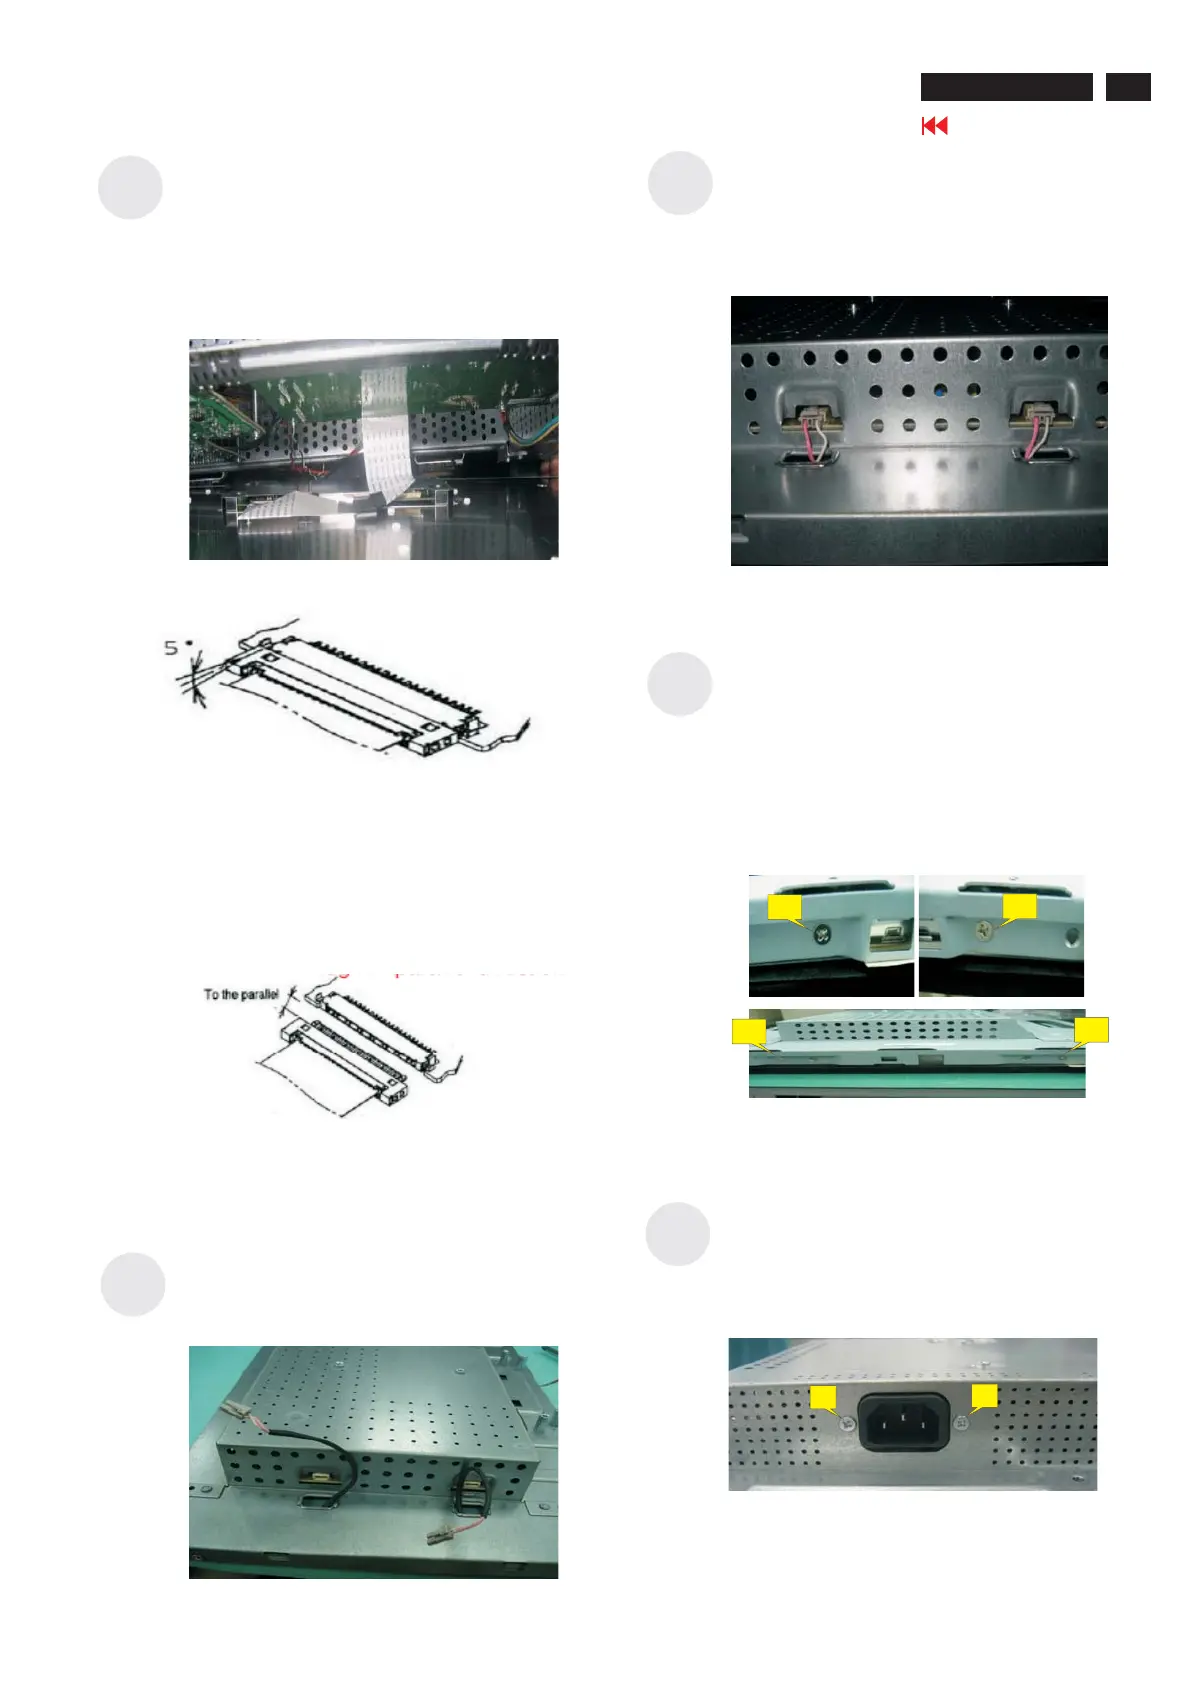
Plug 2 lamp cables to the connectors of power
board.
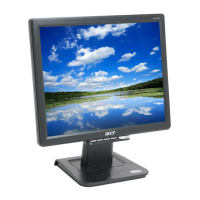
Take lamp cables out from the holes shown as the
photo.
Turn the monitor faced down and put it on the
Bracket Chassis module till both parts firmly
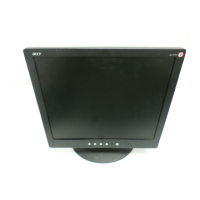
Connect FFC cable to LCD panel. There are
two locks over here when plugging in should be
noticed
Use a Phillips-head screwdriver screwed the
No.1~4 screws on both side and assemble the
LCD panel and bracket chassis module.
(No1~4 screw size=M3x6; Torque=2~3KGFxCM).
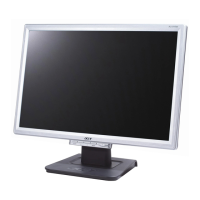
Use a Phillips-head screwdriver screwed the
No.1~2 screws. (No1~2 screw size=M3x10;
Torque=5~6KGFxCM).
4. Assembly and Disassembly Procedures (continued)
S10
S7
S9
S8
Angel < 5 degrees
Plug in parallel direction
2
3
4
1
1
2
S11
13
Go to cover page
ACER AL1516W