Do you have a question about the Acer Aspire 3810T Series and is the answer not in the manual?
Explains the meaning of symbols and text conventions used in the manual.
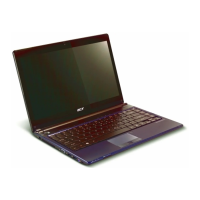
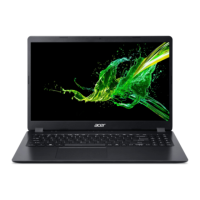
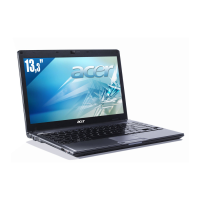
Provides a summary of the computer's features and technical specifications.
Illustrates the interconnections between major computer components.
Shows the top and bottom views of the motherboard and connector locations.
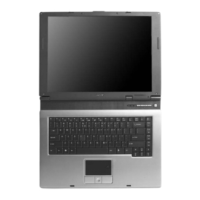
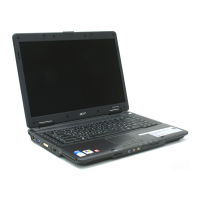
Guides users through the external features and ports of the Acer notebook.
Explains how to use the touchpad for navigation and interaction.
Details the keyboard layout, lock keys, and embedded numeric keypad functions.
Describes keyboard shortcuts for controlling system functions like brightness and volume.
Explains how to use Acer GridVista for display management and Acer Backup Manager.
Discusses the computer's power management features, including Acer PowerSmart key.
Outlines how to back up and restore the system using Acer eRecovery Management.
Describes the multimedia player for music, photos, DVDs, and videos.
Covers essential system utilities like BIOS Setup and BIOS Flash.
Explains how to access and configure BIOS settings for system parameters.
Details the steps to enter and navigate the BIOS Setup Utility interface.
Provides instructions for updating the system BIOS using the Phlash utility.
Step-by-step guide for disassembling and replacing notebook components.
Precautionary steps and tool requirements before starting disassembly.
Visual flowchart outlining the sequence for disassembling the main unit and LCM module.
Instructions for safely removing the notebook's battery pack.
Steps for removing the Hard Disk Drive (HDD) and Random Access Memory (RAM).
Procedures for disconnecting and removing the keyboard assembly.
Instructions for removing Flexible Flat Cables (FFCs) from the main board.
Steps for removing the wireless card and thermal module.
Detailed steps for disconnecting and removing the main logic board.
Guide for removing I/O boards and the display panel assembly.
Procedures for disassembling the Liquid Crystal Display (LCD) module.
Instructions for disassembling external modules, specifically the HDD module.
Guide to diagnose and resolve common computer problems and errors.
Steps for checking external drives, keyboard, and other input devices.
Procedure to check for memory errors and ensure proper DIMM installation.
Steps to verify power adapter and battery pack functionality.
Lists POST error messages, their causes, and recommended FRU actions.
Comprehensive list of error codes and their corresponding messages and FRU actions.
Explains BIOS beep codes and their associated POST routine descriptions.
Guidance on diagnosing and resolving intermittent system hang issues.
Procedures for isolating failing FRUs when diagnostic tests are inconclusive.
Diagrams showing the top and bottom views of the motherboard with connector labels.
Lists all Field Replaceable Units (FRUs) with part numbers for repair and replacement.
Visual representation of how the computer components are assembled.
Categorized list of FRU parts including accessories, adapters, batteries, boards, and cables.
| Display | 13.3-inch, 1366 x 768 pixels |
|---|---|
| RAM | Up to 4 GB DDR3 |
| Graphics | Intel GMA 4500MHD |
| Operating System | Windows Vista Home Premium |
| Battery Life | Up to 8 hours |
| Weight | 1.6 kg (3.5 lbs) |
| Battery | 6-cell Li-ion |
| Processor | Intel Core 2 Solo SU3500 |
| Storage | 320GB HDD |