Do you have a question about the Acer ConceptD CM3271K and is the answer not in the manual?
Connects the signal cable to the HDMI or DP input socket.
Connects USB Type C cable to computer and electric devices.
Connects the USB cable for charging and data transfer.
Inserts the monitor power cable into the power port.
Turns the monitor on/off. Amber indicates power on.
Accesses Main page, hotkey1, or monitor information.
Accesses Main page, hotkey2, or scenario/game mode.
Accesses Main page, input select, or quits OSD.
Accesses Main page, next function, or joystick control.
Device tested to comply with Class B digital device FCC rules.
LCD monitor compliance with EMC, Low Voltage, RoHS directives.
Use shielded cables for connections to maintain EMC compliance.
Attach only Class B certified peripherals to maintain compliance.
Device complies with FCC Rules subject to specific conditions.
Compliance with CAN ICES-3(B)/NMB-3(B) standards.
Proper disposal of waste electrical equipment in private households.
Details on LCD panel size, resolution, brightness, and response time.
Information on DP, HDMI, USB Type C, and USB-B input ports.
Specifications for power source, operating temperature, and humidity.
Details on physical adjustments and OSD control functions.
This document outlines the essential functions, usage, and maintenance of the Acer LCD Monitor. It serves as a quick start guide to help users set up and operate their monitor safely and efficiently.
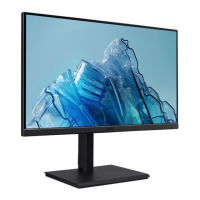
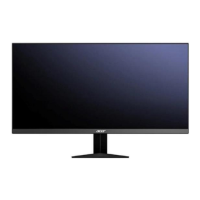
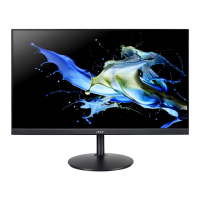
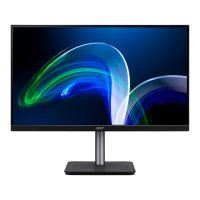
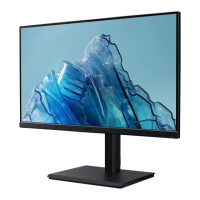
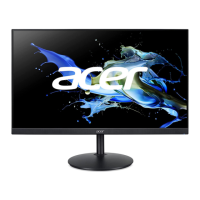
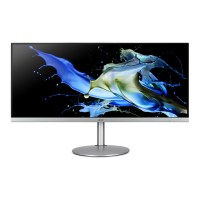
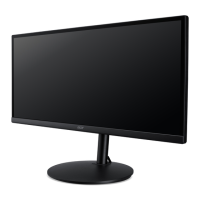
The Acer LCD Monitor is designed for video and visual display of information from electronic devices. It provides a high-quality visual experience for various applications, from general computing to gaming and multimedia. The monitor features a range of input connectors, including HDMI, DisplayPort (DP), and USB Type-C, allowing for versatile connectivity with different computers and devices. It also includes USB hub functionality with fast-charging USB 3.0 ports, enabling users to connect peripherals and charge devices directly from the monitor. For models with audio output, the monitor can deliver sound, enhancing the multimedia experience. The monitor's controls are intuitive, featuring a power button and a joystick-like function key on the backside of the display bezel for easy navigation through the On-Screen Display (OSD) menu.
Setting up the Acer LCD Monitor involves a few straightforward steps. First, users need to turn off their computer and unplug its power cord. Then, the signal cable (HDMI or DP) should be connected from the monitor to the graphics card on the computer. For models with USB Type-C input, a USB Type-C cable can be used to connect the monitor to the computer and other electric devices. Additionally, a USB 3.0/USB-B cable can be connected to enable the monitor's USB hub functionality, providing fast-charging ports for compatible devices. Finally, the monitor's power cable is inserted into the power port, and the power adapter and cord are connected to a grounded AC outlet.
The monitor offers a variety of adjustable features through its OSD menu, accessible via the function key. Users can turn the monitor on or off using the power button, which indicates its status with amber light (solid for power on, blinking for standby/power saving mode). The function key allows users to navigate the OSD menu, view basic monitor information, reset custom color settings, select scenario modes (e.g., game mode), and choose input sources. The joystick-like control on the back of the display bezel simplifies cursor movement and option selection within the OSD.
The monitor supports AMD FreeSync technology, which allows a compatible graphics source to dynamically adjust the display refresh rate. This feature ensures a smooth, stutter-free, and low-latency display update, particularly beneficial for gaming and fast-paced video content. DP ports support AMD FreeSync, while HDMI ports may support HDMI-VRR (Variable Refresh Rate), enhancing the gaming experience on platforms like Xbox One.
Physical adjustments include tilt, swivel, height adjustment, and pivot, allowing users to customize the monitor's position for optimal viewing comfort. The detachable foot stand provides flexibility in setup.
Proper maintenance is crucial for the longevity and performance of the Acer LCD Monitor. The document provides several important safety instructions that double as maintenance guidelines.
By following these guidelines, users can ensure the safe and effective operation and maintenance of their Acer LCD Monitor.
| Screen shape | Flat |
|---|---|
| Backlight type | LED |
| Display diagonal | 27 \ |
| Display technology | LCD |
| Native aspect ratio | 16:9 |
| Maximum refresh rate | 60 Hz |
| Contrast ratio (dynamic) | 100000000:1 |
| Contrast ratio (typical) | 1000:1 |
| Display number of colors | 1.073 billion colors |
| Display brightness (typical) | 350 cd/m² |
| AMD FreeSync | Yes |
| RMS rated power | 4 W |
| Number of speakers | 2 |
| Certification | MPR II |
| Product color | Black |
| Market positioning | Home |
| Audio input | - |
| Tilt angle range | -5 - 35 ° |
| Panel mounting interface | 100 x 100 mm |
| Power consumption (standby) | - W |
| Harmonized System (HS) code | 85285210 |
| Width (without stand) | - mm |
|---|---|
| Weight (without stand) | - g |