English
Acer LCD Monitor Quick Start Guide (QSG)
Important safety instructions
Please read the following instructions carefully.
1 To clean the LCD monitor screen:
• Turn off the LCD monitor and unplug the power cord.
• Spray a non-solvent cleaning solution onto a rag and clean the screen gently.
2 Do not place the LCD monitor near a window. Exposing the monitor to rain, moisture or sunlight can severely damage it.
3 Do not apply pressure to the LCD screen. Excessive pressure may cause permanent damage to the display.
4 Do not remove the cover or attempt to service this unit yourself. An authorized technician should perform servicing of any nature.
5 Store the LCD monitor in a room with a temperature of -20° to 60° C (-4° to140° F). Storing the LCD monitor outside this range may
result in permanent damage.
6 Immediately unplug your monitor and call an authorized technician if any of the following circumstances occur:
• Monitor-to-PC signal cable is frayed or damaged.
• Liquid spills onto the LCD monitor or the monitor is exposed to rain.
• The LCD monitor or case is damaged.
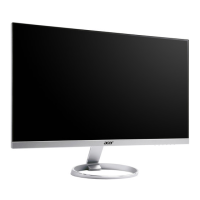
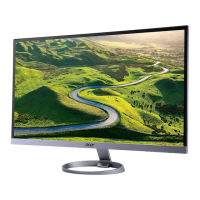
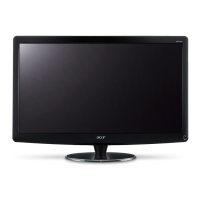
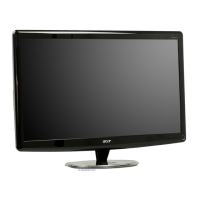
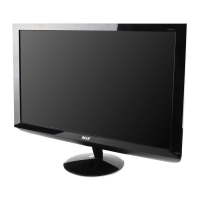
Package contents
LCD
monitor
Quick
start
guide
AC
Adapter
AC Power
cord
HDMI
cable
(Optional)
DVI / DVI
(Dual Link)
cable
(Optional)
Mini DP
cable
(Optional)
Audio
cable
(Optional)
DP cable
(Optional)
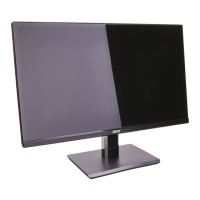
Adjusting the monitor base
1 Carefully remove the monitor from its packaging.
• The monitor base is attached onto the monitor before shipment and it is undetachable.
2 Pull the monitor base out fully so that the monitor can be placed on a stable surface in the upright position.
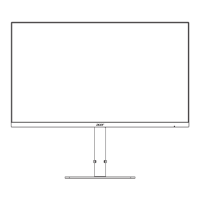
3
Secure the monitor base by turning the white screws (at the bottom of the base) using the integrated tab or a suitable coin.
Connecting your monitor to a computer
1 Turn off your computer and unplug your computer’s power cord.
2 Connect the signal cable to the DVI-D (optional) and/or HDMI (optional) and/or
DP (optional) and/or mini DP (optional) input socket of the monitor, and the DVI-D
(optional) and/or HDMI (optional) and/or DP (optional) and/or mini DP (optional)
output socket of the graphics card on the computer.Then tighten the thumbscrews
on the signal cable connector.
3 Connect one end of the adapter to the monitor and the other end to a properly
grounded, AC outlet.
4 Plug the power cords of your computer and your monitor into a nearby electrical outlet.
5 Connect the audio cable (Optional).
Connect an audio cable to the audio port of the monitor.
Panel controls
No. Item Description
1 Power button/
indicator
Turns the monitor on/off. Blue indicates power on.
Blinking blue indicates standby/power saving mode.
2
< / > button Press the < / > button to navigate to the desired
function or to change the settings of the current
function.
3 Menu/Enter
button
Press to view the OSD menu. Press it again to enter a
selection in the OSD menu.
4 Auto/Exit button • When the OSD menu is active, press this button to
exit the OSD menu.
• When the OSD menu is inactive, press this button to
activate the Auto Adjustment function.
5 Empowering
Key
Press this button to open the Acer eColor Management
OSD and access the scenario modes.
FreeSync:
It can allow a FreeSync supported graphics source to dynamically adjust display refresh rate based on typical content frame rates for
power efcient, virtually stutter free and low-latency display update.
DP Mini-DP
DVI-IN
HDMI DC IN
HDMI
DVI-IN
Mini-DP
DP
AUDIO IN
HDMIHDMI
Note: Audio output is only for audio output model. Please check user
manual for more instruction.
1234
5