Veriton N2110G Service Guide 13
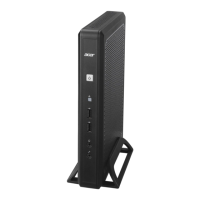
This chapter contains step-by-step procedures on how to disassemble the ThinClient computer for
maintenance and troubleshooting.
Disassembly Requirements
To disassemble the computer, you need the following tools:
• Wrist grounding strap and conductive mat for preventing electrostatic discharge
• Philips screwdriver
NOTE: The screws for the different components vary in size. During the disassembly process, group the
screws with the corresponding components to avoid mismatch when putting back the components.
Pre-disassembly Procedure
Before proceeding with the disassembly procedure, perform the steps listed below:
1. Turn off the system and all the peripherals connected to it.
2. Unplug the power cord from the power outlets.
3. Unplug the power cord from the system.
4. Unplug all peripheral cables from the system.
5. Place the system unit on a flat, stable surface.
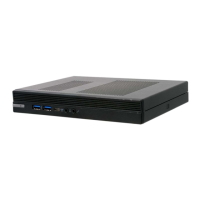
Chapter 3
System Disassembly
 Loading...