DTFRUS056 rev. A.0, August 1. 2017 - Copyright © 2017 by ACKSYS. Under the Law of March 11, 1957, the reproduction in whole or in part of this work, by any means whatsoever, is prohibited without the prior written consent of ACKSYS, 10 rue des Entrepreneurs, ZA Val Joyeux, 78450 VILLEPREUX.
Disclaimer. This document does not constitute a contract. ACKSYS does not guarantee its contents in any way and accepts no responsibility regarding the profitability of the products described or their suitability for the user's needs. Under no circumstances can ACKSYS be held responsible for any errors that may be contained in this document, or for damages, no matter what their extent, that result from the supply, operation or
use of the products. In its ongoing efforts to improve its documentation, ACKSYS reserves the right to revise this document periodically or to change all or part of its content, without incurring any obligation to notify any party whatsoever.
Quick start
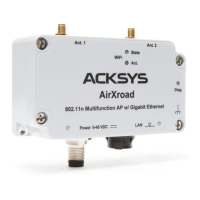
Multifunction 802.11n Access Point
10, rue des Entrepreneurs
Z.A Val Joyeux
78450 VILLEPREUX – France
Phone: +33 (0)1 30 56 46 46
Fax: +33 (0)1 30 56 12 95
Web: www.acksys.fr
Hotline: support@acksys.fr
Sales : sales@acksys.fr
WiFi IEEE 802.11 a/b/g/n 2T/2R
Access point, router, bridge, MESH, repeater
Ethernet 10/100/1000 Base T, RJ45 connector
Compact metal housing
Wall or optional DIN Rail mounting
Power input 9 to 48 VDC
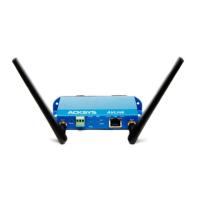
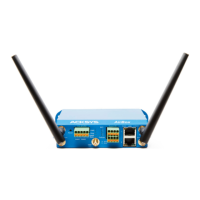
2 RP-SMA female connectors for external antennas
FIRST STEP
Packing list :
- 1 AirLink device.
- This documentation, printed.
- 1 standard cat. 5e straight Ethernet cable.
- 2 external omni-directional dual-band 2.4 GHz and 5GHz antennas.
If any of these items is missing or damaged, please contact your distributor.
Read the user manual (WaveOS user guide), available online.
Check for more recent releases of this quick start user guide and firmware. If yes, download them and install the new firmware (with
ACKSYS NDM software or WEB configuration interface).
HARDWARE INSTALLATION
1. Connect and adjust the antennas
Carefully unpack the antennas. Screw it onto the antenna connectors on the access point and hand-tighten them. For maximum
range, make sure the antennas are vertical (points straight up or straight down), no matter where the product is mounted. The
provided omnidirectional antennas are not advisable for wall mounting, because of radio perturbations induced by the wall.
2. Connect the Ethernet cable from your wired LAN to your product
Use the straight cable provided with the product if you wish to connect the product directly to equipment (a hub, a switch, a router, a
PC...). You can use a crossover cable, the product is auto MDI/MDIx.
3. Connect the power supply
The product has provisions for many levels of constant voltage, from 9V to 48V. No power supply is shipped with the product. Plug
your power supply into the terminal, and the earth wire if necessary.
Notice, the product has no ON/OFF switch. The product turns on automatically when power supply is connected.
SOFTWARE CONFIGURATION
4. Modifying the default IP address 192.168.1.253
From any PC of the network, run the multi-platform application
ACKSYS NDM application (found on the ACKSYS web site).
Go directly to step 5 if the default IP address is compatible with your
network.
Else, select the device and click on « Essential Config. » button.
You can configure the IP address or activate the DHCP client.
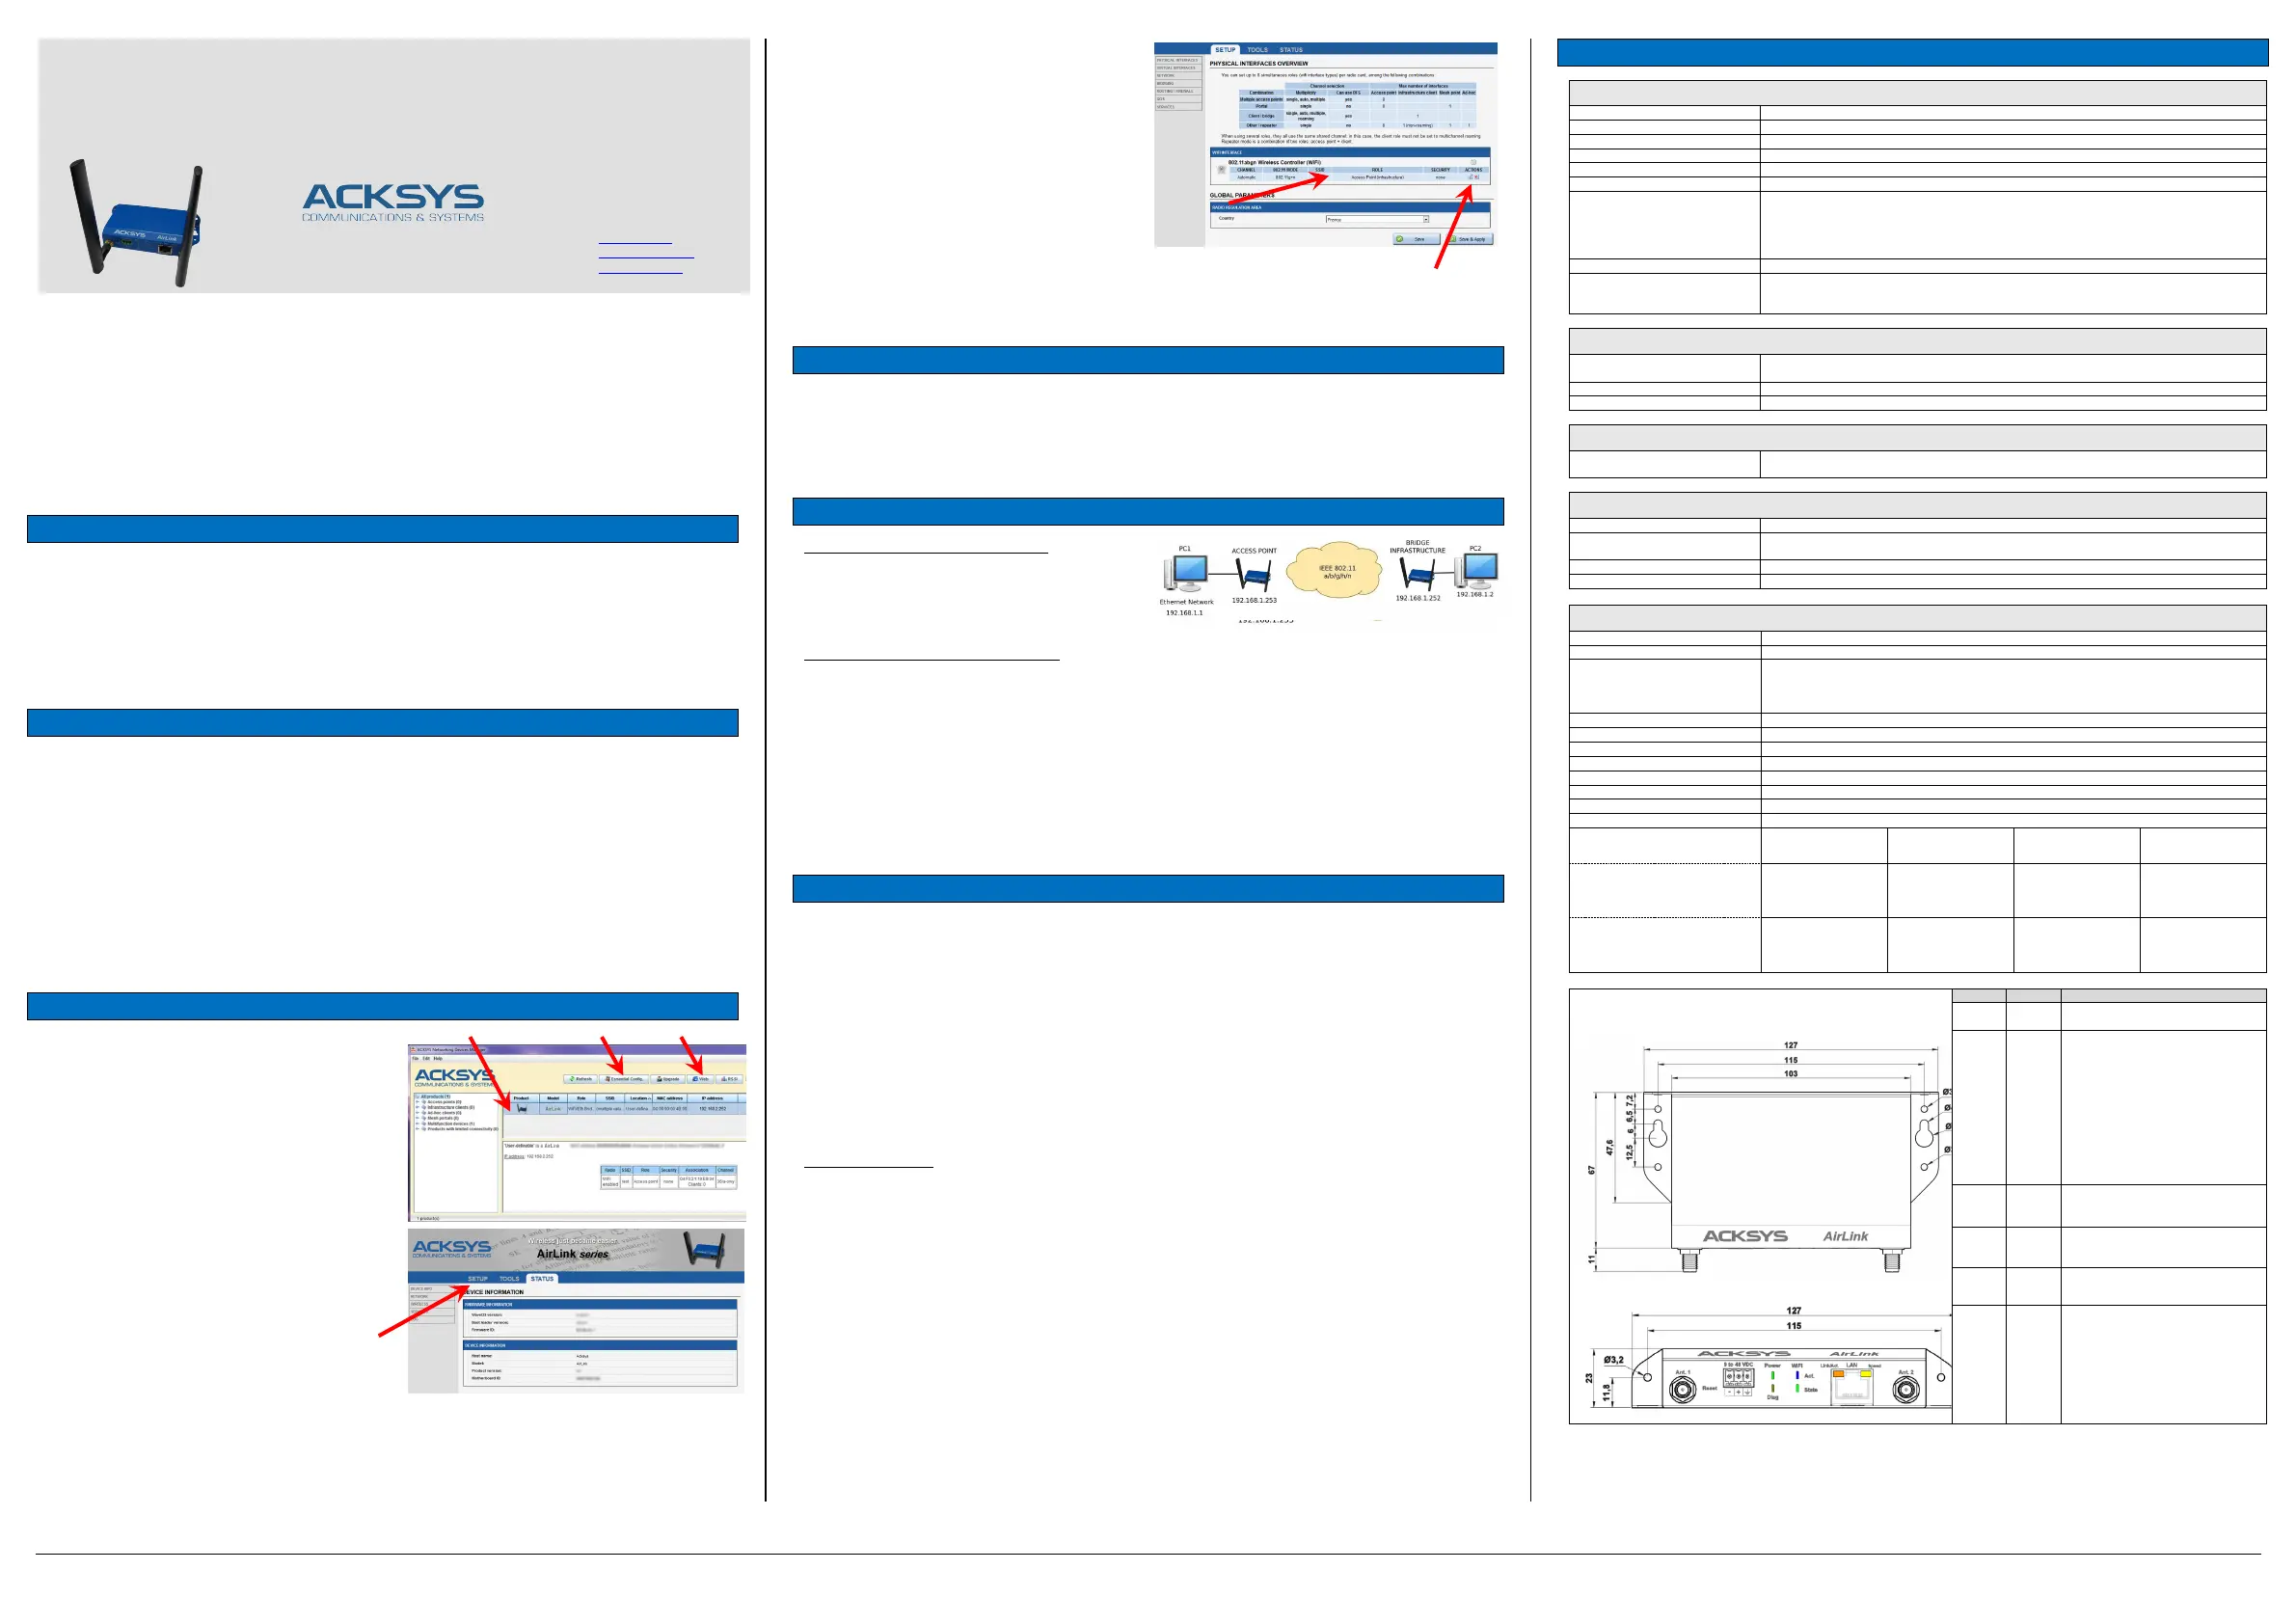
5. Running the internal web server
C
lick on the « Web » button to access from your web browser to the
built-in web-based interface using your web browser. The default
page displays the device status. Now select the “SETUP” tab.
You will be asked to enter a username and a password. You must
choose the root user. No password is required by default. You get
now access to the setup pages.
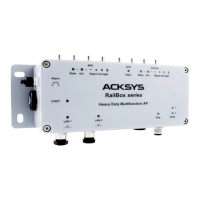
O
n the “wireless overview” page you should first select your
country in order to enforce applicable regulation rules. The
country selector is located in the global parameters, near the
bottom of the page.
You can select any radio interface to set up its Wi-Fi parameters
(alternatively you can navigate to change network and services
configuration). Set the following essential parameters:
o Country: after applying this parameter, channel
regulation rules are enforced
o The operating mode: Access point, client (bridge), Mesh
o Wi-Fi parameters: 802.11 mode, radio channel (take
care about legislation), SSID
o Wi-Fi security parameters (WEP, WPA, WPA-PSK,
WPA2, WPA2-PSK, SSID broadcast or not)
You will find a complete description of all modes in the user
guide.
Upon delivery, the default factory settings are:
o Radio interface disabled, preset for access point mode,
o IP 192.168.1.253
FINAL INSTALLATION
6. Install the device
Place the device in an appropriate place.
7. Install the antennas
Insure that their position and radiation pattern allow proper communication with the peer Wi-Fi devices.
Specifically, insure that there are no obstacles between the device and its peers (“line of sight” concept).
QUICKLY EVALUATE AP & BRIDGE MODES
Quickly evaluate the ACKSYS device in AP role
You need a second computer (PC2) with a working Wireless connection.
Set up the PC2 Wireless network interface according to the default parameters of the ACKSYS AP device (802.11gn, SSID “acksys”,
no security).
Quickly evaluate the ACKSYS device in client role
You need two ACKSYS devices, and a second computer (PC2) with a wired LAN connection.
Set up the IP addresses according to the picture above and set the device connected to PC2 to Client (infrastructure) role.
From each PC, start a command prompt and run the ping command to verify the link.
From PC1: type ping 192.168.1.2, verify the answer returned by PC2
« Answer from 192.168.1.2… »
From PC 2: type ping 192.168.1.1, verify the answer returned by PC1
« Answer from 192.168.1.1… »
Notice: The State LED is flashing until the bridge connects to the AP.
TROUBLESHOOTING
Checking radio conditions
Begin with tests at very short distance. Check that the space between antennas is not obstructed, that there are no obstacles nearby
which could degrade transmission (concrete, rock, metal). In Bridge mode it is helpful to use the “STATUSWireless page which lists
the visible access points in the neighbourhoods.
Checking WLAN configuration
If your WiFi device cannot be connected to the product, check your WiFi configuration. SSID must be the same between your device
and the product.
If your device is connected to the product, but you can’t send data to any devices, check the encryption keys.
For other cases disable security options on all devices and product, and try again.
Checking the network topology
You must be sure that the IP address used by the product is not already used on your network. In order to verify, you can « ping » the
product.
Disconnect the product from the network and type in a command prompt window:
C:\> arp -d
C:\> ping 192.168.1.253
(Remark: If you have already changed the IP address of the product, ping the newly assigned one)
According to the nature of the message, you can know if the address 192.168.1.253 is already used on your network:
- Request timeout: this IP address is not used.
- Answer from 192.168.1.253: this IP address is used by another equipment.
“ACKSYS NDM” does not find your equipment
- ACKSYS NDM only scans the local network. Devices located behind a gateway are not seen.
- If you use a firewall on your computer, check if the application is not blocked.
TECHNICAL CHARACTERISTICS
General characteristics
127 x 67 x 23 mm, w/o antenna connectors (5 x 2.64 x 0.91 inches)
200g w/o accessories, 228 g with 2 antennas and power supply terminal block
-20°C to +60°C (-4°F to 140°F)
-40°C to +85°C (-40°F to 185°F)
5% to 95% w/o condensation
Reset button (accessible from
front panel with a sharp object <
2mm)
Short push, anytime: Reset
Long push (> 2 sec.):
- while operating: Restore factory settings
- while in emergency upgrade mode: Restore factory settings
- at startup: Enter emergency upgrade
6 LEDS: Power, Diag, LAN Speed, LAN Link/Act., WiFi Act. and WiFi State
Certifications
CE (RED), FCC (ID : Z9W-RMB), IC (ID : 11468A-RMB)
RED directive (2014/53/UE) compliant (channels 36 to 64 exclusively indoor)
For additional information see ACKSYS web site
Software
Configuration
Automatic discover of the product
Built in web interface with login/password protection
Web browser or ACKSYS NDM software
Power supply
Characteristics
9 to 48VDC (5.5W typ., 8.5W peak), with protection against wire inversion; 3 way terminal block
connector.
Ethernet Interface
Type of ports
Auto MDI/MDI-X, 10 Base T/100 Base Tx/1000 Base T with automatic negotiation (HDX/FDX,
10/100/1000 Mbps), according to 802.3u
Ethernet CAT5e UTP, 2x RJ45 connector (straight cable T568B)
Wi-Fi interface
IEEE 802.11a/h, 802.11b, 802.11g & 802.11n
Radio bitrates
802.11n : up to 300 Mbps (2T/2R)
802.11a/h : 6 to 54 Mbps
802.11b : 1 to 11 Mbps
AP (Access Point), Router, Bridge/Client, Mesh (802.11s), Repeater, WDS
WEP, WPA-PSK/WPA2-PSK, WPA/ WPA2 with authentication 802.1x, hidden SSID or not.
Security (Bridge/Client mode)
WEP, WPA-PSK, WPA2-PSK. 802.1x supplicant. AES/TKIP/WEP encryption.
Frequency range 802.11a/n
5 GHz; 5.150 to 5.850 GHz
Frequency range 802.11b/g/n
2.4 GHz; 2.412 to 2.484 GHz
2 omnidirectional dual band, 3dBi, RP-SMA
802.11n HT20
2.4GHz band
802.11n HT40
2.4GHz band
802.11n HT20
5GHz band
802.11n HT40
5GHz band
Max. RF output power (1 chain)
(add 3dBm for 2 chains)
(MCS 0)
18 dBm @ 72.2 Mbps
(MCS 0)
18 dBm @ 150 Mbps
(MCS 0)
15 dBm @ 72.2 Mbps
(MCS 0)
15 dBm @ 150 Mbps
Rx sensitivity
(MCS 0)
-
76 dBm @ 72.2 Mbps
(MCS 7)
(MCS 0)
-73 dBm @ 150 Mbps
(MCS 0)
-
75 dBm @ 72.2 Mbps
(MCS 7)
(MCS 0)
-72 dBm @ 150 Mbps
Dimensions and LEDs
Power Green
ON : Power supply is connected
OFF : No power supply
Diag
Red /
Green
OFF : No power supply
RED : 1mn during startup
RED at least 2 minutes :
Boot failed
GREEN : Boot successfull
BLINKING (RED/GREEN) :
The firmware is
downloading or invalid
firmware (Reload it with
LAN
Link/Act.
Green
BLINKING : Tx/Rx
LAN
Speed
Yellow
ON : 1000 Base T mode
OFF : 10/100 Base T mode
WiFi
Act.
Blue
OFF : No Tx/Rx
Blinking : Tx/Rx
WiFi
State
Green
OFF : Radio card disabled
BLINKING : not associated
ON: associated
 Loading...