Hardware Manual
11
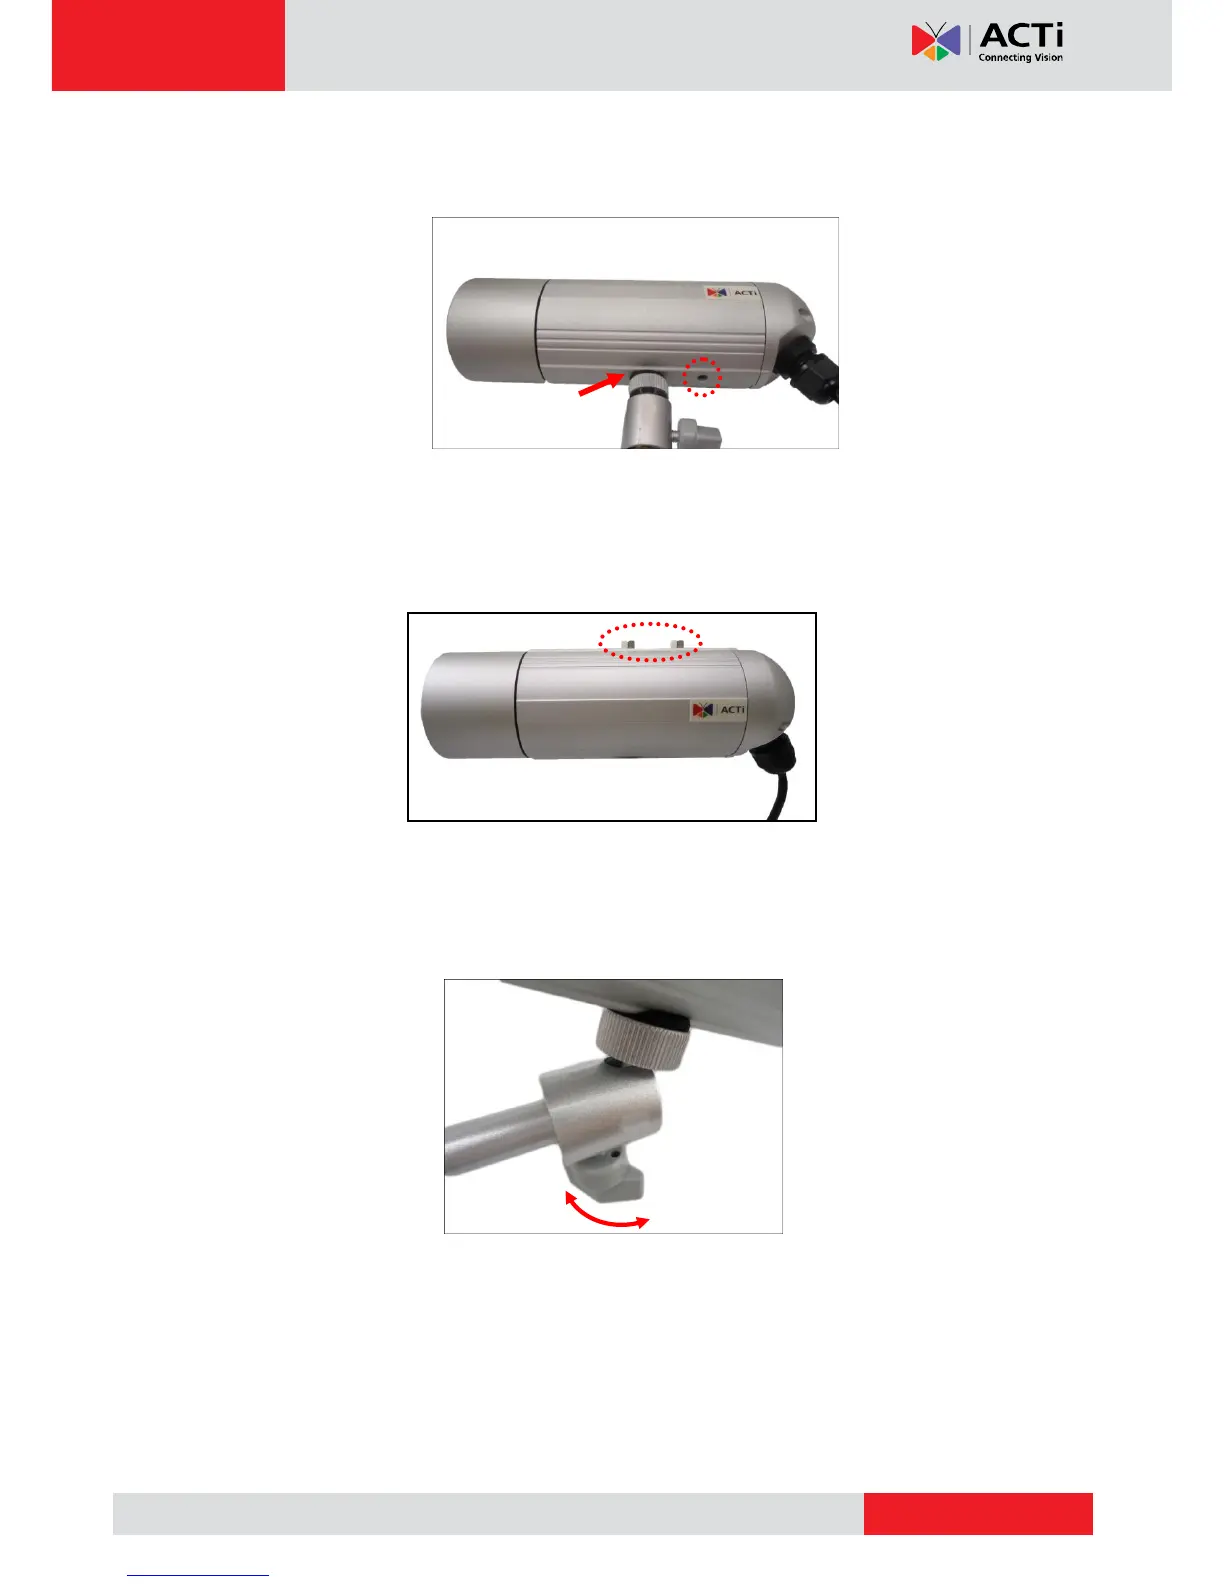
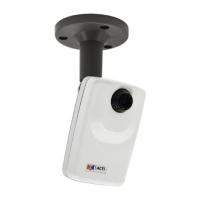
4. Depending on how you want to install the camera, attach the camera to the bracket
through one of the two (2) holes below:
If the camera will be installed indoors and the use of sunshield is not necessary, you may
also use one of the two (2) holes on top of the camera to mount the bracket to the ceiling.
First, remove the pre-installed screw nut using a wrench (not included in the package).
5. Adjust the camera viewing angle and tighten the knob to fix the camera position.
Depending on the camera angle, you may also need to tighten the two (2) screws using
the star wrench (included in the package) to fix the camera position.