Quick Start Guide, 61700515E2-13C, March 2008 1
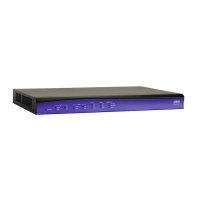
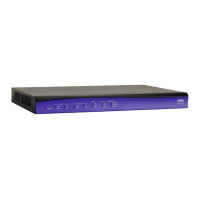
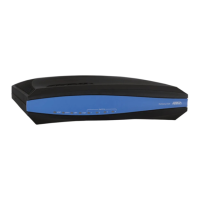
NETVANTA 1335 SERIES
P/N 1700515E2/E12, 1700525E2/E12
4 Copyright © 2008 ADTRAN, Inc. All Rights Reserved.
NETVANTA 1335 POE SERIES
Power over Ethernet (PoE) technology provides the ability to detect attached powered devices
(PDs) and deliver 48 VDC to the PD via existing CAT5 cabling. The NetVanta 1335 PoE units are
fully compliant with the power delivery options called out in the IEEE 802.3af Power over Ethernet
specification. By default, the PoE interfaces discover and provide power to IEEE compliant PDs.
To disable power detection and supply, use the power inline never command in the CLI. To
disable power detection and supply from the graphical user interface (GUI), select the Ports
page. Then select a single port from the list (e.g., switchport 0/1). This will bring up the port
detail page for switchport 0/1. On this page, there is a check box to enable power detection.
NETVANTA 1335 WIFI SERIES
The NetVanta 1335 Wireless Fidelity (WiFi) Series provides a single access point for connection
with IEEE 802.11a/b/g wireless networks. A dual radio design with two dual-band external
antennas is used to support concurrent 802.11a and 802.11b/g connections.
GETTING STARTED
Two configuration methods are available for your NetVanta 1335 Series units:
• Web-based GUI
• AOS command line interface (CLI)
The GUI lets you configure the main unit settings and provides online guidance and explanations
for each setting. However, using the AOS CLI may be necessary for more advanced
configurations.
ACCESS THE GUI
You can access theGUI from any Web browser on your network by following these steps:
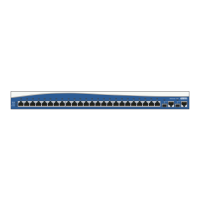
1. Connect the switch to your PC using any of the 24 Ethernet ports on the front of the unit.
2. Set your PC to a fixed IP address of 10.10.10.2. If you cannot change the PC’s IP address,
you will need to change the unit’s IP address using the CLI. (Refer to the next two sections
for instructions.)
3. Enter the unit’s IP address in your browser address line. The default IP address is
10.10.10.1.
4. You will then be prompted for the user name and password (the default settings are admin
and password).
5. The initial GUI screen appears.
CONFIGURE YOUR APPLICATION
More detailed documentation for configuring your ADTRAN unit is provided on the AOS
Documentation CD included in your shipment. For more detail on hardware setup, refer to the
appropriate NIM quick start guides and the hardware installation guide. For more detail on
configuring your system, refer to the AOS Command Reference Guide, configuration guides, and
technical support notes.