NetVanta 3000 Series Routers
Hardware Installation Guide
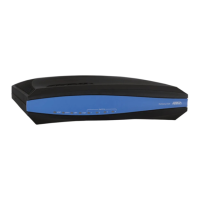
1700600L2 NetVanta 3120 Unit
1700610L2 NetVanta 3130 Unit
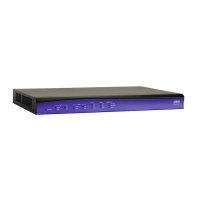
1202860L1 NetVanta 3200 Unit
1202870L1 NetVanta 3205 Unit (AC Version)
1202980L1 NetVanta 3205 Unit (DC Version)
1202880L1 NetVanta 3305 Unit
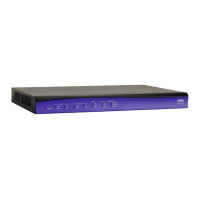
1200820E1 NetVanta 3430 Unit
4200820E2 NetVanta 3430 with Enhanced Feature Pack Software (VPN Bundle)
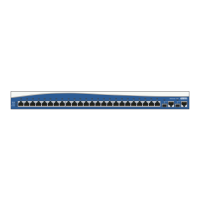
1200821E1 NetVanta 3448 Unit
4200821E2 NetVanta 3448 with Enhanced Feature Pack Software (VPN Bundle)
1200861L1 NetVanta 56K/64K Network Interface Module
1202862L1 NetVanta T1/FT1 Network Interface Module
1200862L2#NEBS NetVanta T1/FT1 NEBS Network Interface Module
1202863L1 NetVanta T1/FT1 + DSX-1 Network Interface Module
1200872L1 NetVanta Dual T1 Network Interface Module
1200868E1/L1 NetVanta E1/FE1 Network Interface Module
1200878E1/L1 NetVanta E1/FE1 + G.703 Network Interface Module
1200866E1/L1 NetVanta Serial Network Interface Module
1200867L1 NetVanta SHDSL Network Interface Module
1200869E1/L1 NetVanta ADSL Network Interface Module, Annex A
1200889E1/L1 NetVanta ADSL Network Interface Module, Annex B
1200864L1 NetVanta Analog Modem Dial Backup Interface Module
1200865L1 NetVanta ISDN BRI Dial Backup Interface Module
1200875L1 NetVanta ISDN S/T Dial Backup Interface Module
1200886L1 NetVanta Serial Dial Backup Interface Module
1950860L2 Enhanced Feature Pack Software for IPSec VPN for NetVanta 3200/3205/3305
4200368L1 Hardware and software (Enhanced Feature Pack) for IPSec VPN for NetVanta 3305
1200813E1, 814E1, 815E1 SODIMM, 256, 512, and 1024 MB, respectively (NetVanta 3430/3448 only)
1200816E1, 817E1, 818E1, 819E1 CompactFlash®, 128, 256, 512, and 1024 MB, respectively (NetVanta 3430/3448 only)
1200827E1 NetVanta 3430/3448 Rackmount kit
61200860L1-34L
July 2006