TM
10
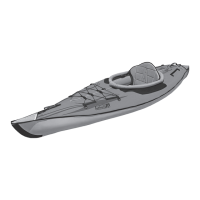
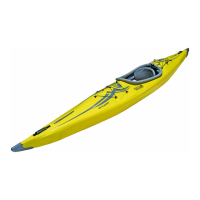
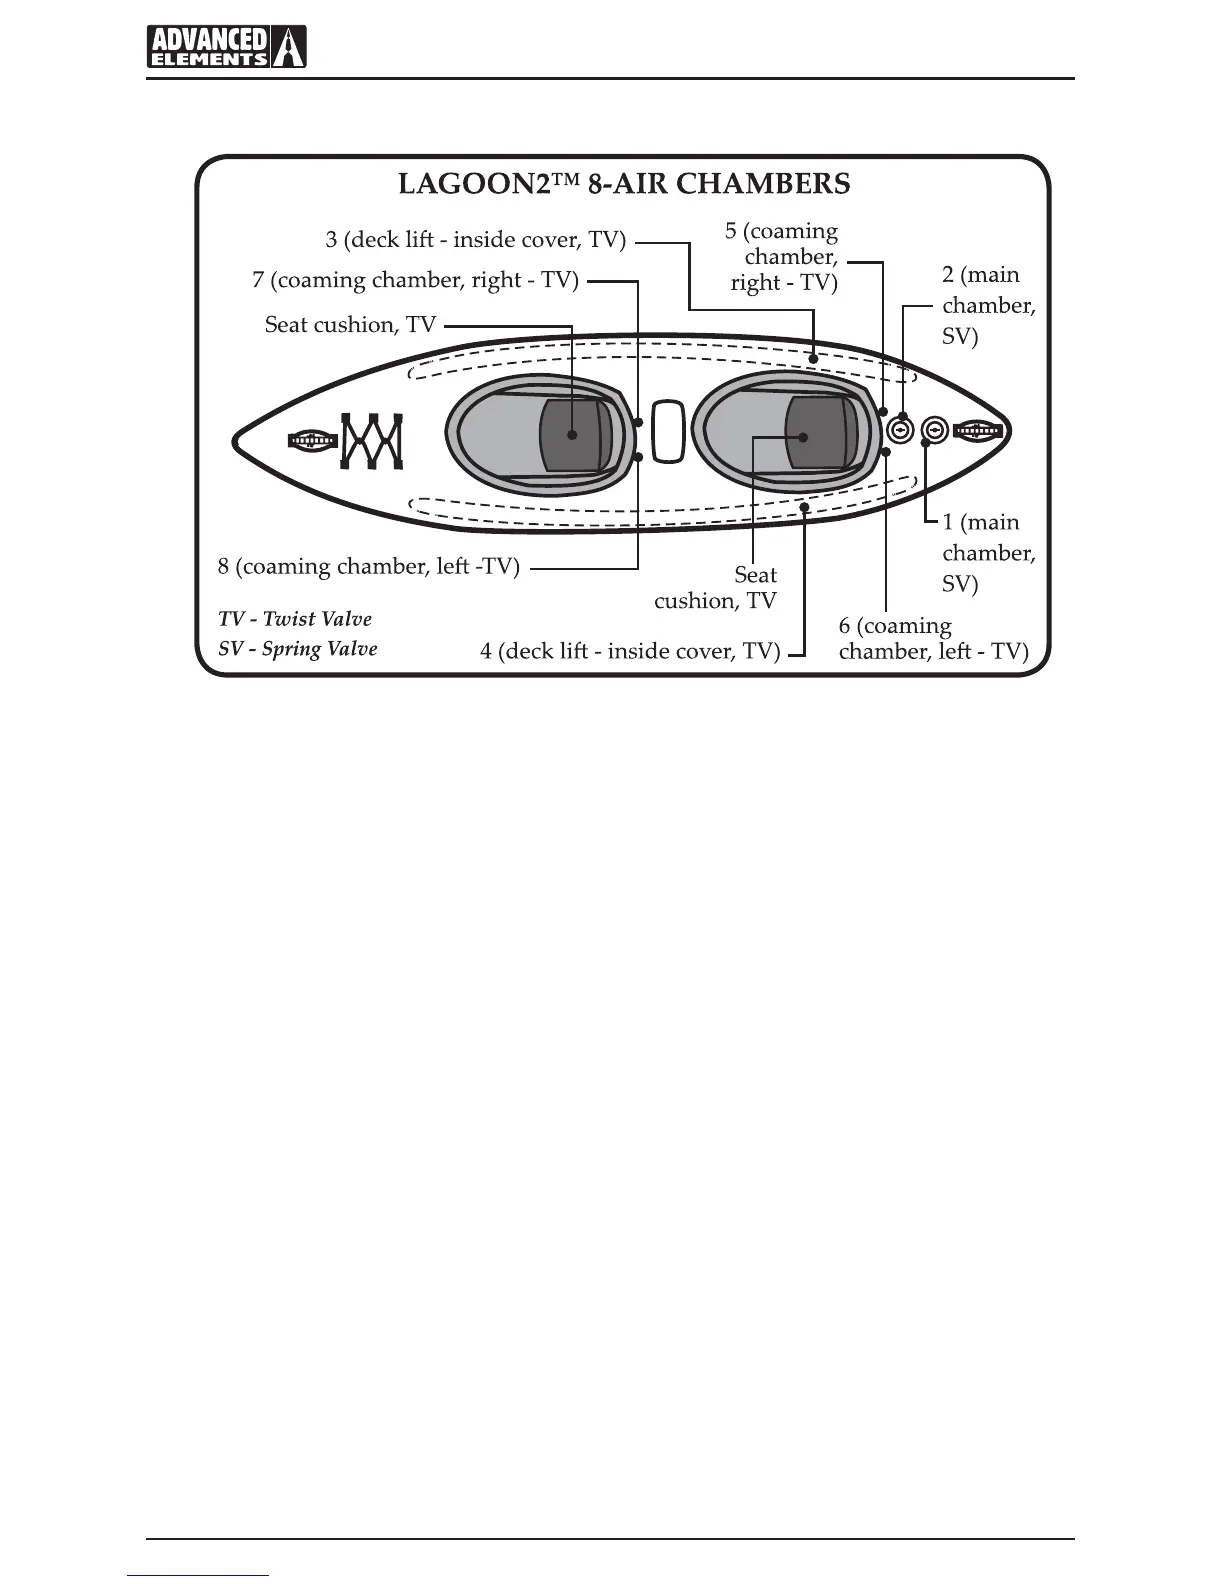
Diagram of Ination Chambers
3.3 Inating
IMPORTANT: Inate your kayak in the following order. Failure to follow these instructions
may cause damage to your kayak. Do not over inate. Be sure to read directions on
operating the spring valves and twist valves located in the section “Understanding your valves”.
Before inating please be sure that the foam oor is positioned inside the kayak seating area,
underneath the side ination tubes. When the kayak is inated it will hold the foam oor in
place.
1. Inate chamber 1 “main1” until the kayak looks about half way inated.
2. Inate chamber 2 “main2” until the kayak feels rm to touch. There should be just a few
wrinkles visible on the side GRAY TUBE COVERS.
3. Inate chambers 3 and 4 “deck li tubes” until rm.
4. Inate chambers 5,6,7,8 until rm.
5. Inate seat cushion to desired rmness and aach to kayak using provided strap.
6. Make sure all valves are closed tightly and properly.
NOTE: Ideally you want to put about half of the air in Chamber 1 and half into chamber 2. This
way if you were to loose pressure in one chamber then you would have the other chamber to
oat the kayak.