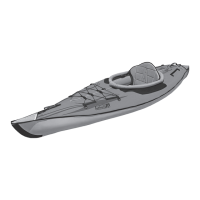
StraitEdge2
TM
PRO Inatable Kayak Owner’s Manual
9
3.3 INFLATION
IMPORTANT: Inate your kayak in the following order. Failure to follow these instructions
may cause damage to your kayak. Do not over inate. Be sure to read directions on operating
the valves in the section “Understanding Your Valves”.
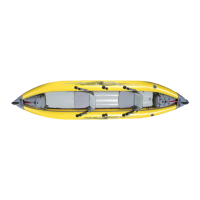
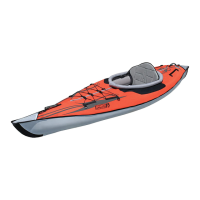
1. Begin by unfolding the kayak and laying it out at. Insert foot brace tracks into webbing
mounting pockets located on kayak main chambers before ination. Orient each of the foot pegs
so that the adjustment tab on the foot plate is facing towards the bow of the kayak. First insert
the foot peg track into the webbing loop nearest to the seating area and the insert the other end of
the track into the webbing pocket at the bow of the kayak. (See gures, Steps 1-4 on next page)
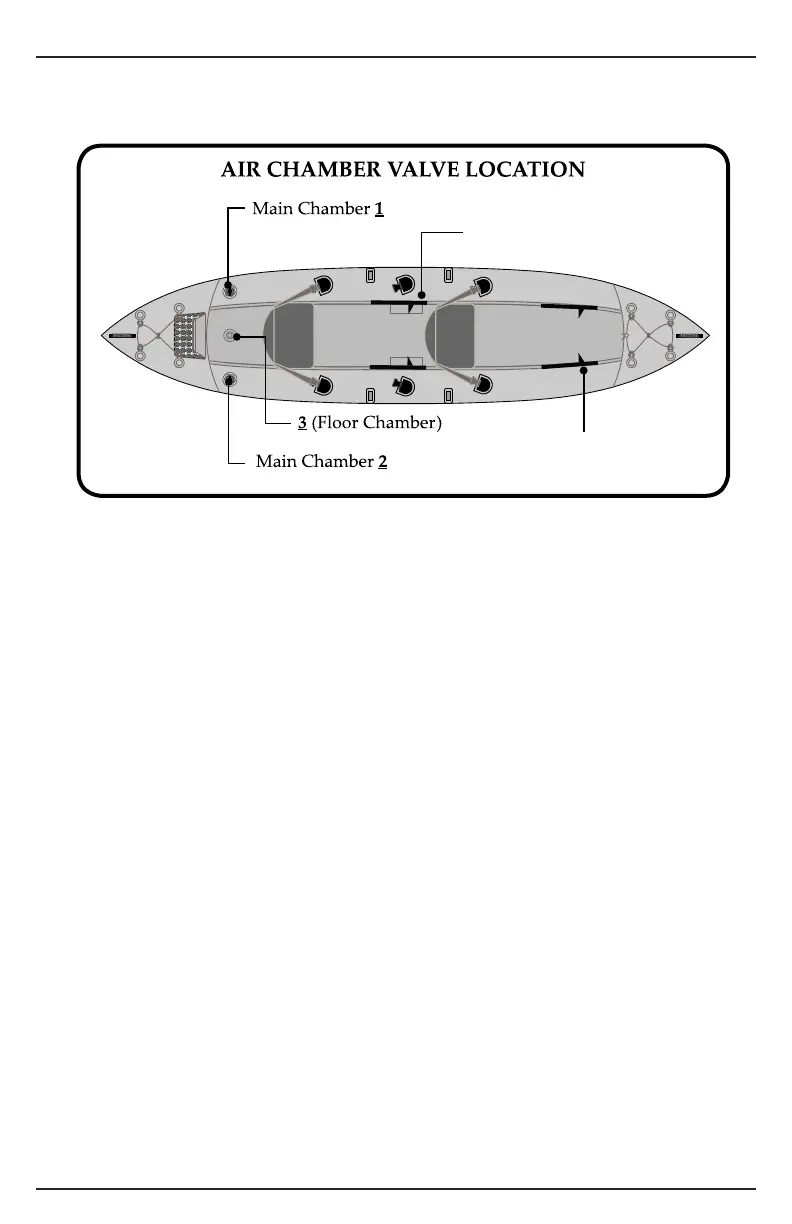
2. Check to be sure all 3 valve plungers are in the UP or Inate position. (See gure 1). Using the
adaptor located in your repair kit, inate Main Chamber 1 until rm to the touch (2.25 psi MAX).
3. Inate Main Chamber 2 until rm to the touch (2.25 psi MAX).
4. Inate oor Chamber 3 until rm (4-6 psi MAX).
5. Make sure all valves are closed tightly and properly.
6. Attach kayak seats to the kayak using the large buckles and adjust for desired support. To
keep seat backrest upright, you can adjust and clip the smaller seat straps to the d-rings on the
kayak directly behind the seat position.
7. Adjust foot pegs for desired bracing by depressing the tabs on the foot plates and sliding along
tracks.
8. If paddling at water, attach tracking n to mount on bottom of kayak. If paddling
whitewater, leave n o of kayak.
Full-Time Self-bailing
PUSH IN CENTER STEM
WITH FINGER & TURN
Foot Brace Location
Foot Brace Location