2. Drill 4 screw holes for expansion screws.
3. Unscrew the bubble of the camera.
4. (Optional) Insert the memory card to the camera, if your camera
supports memory card installation. Refer to Section 2.1.
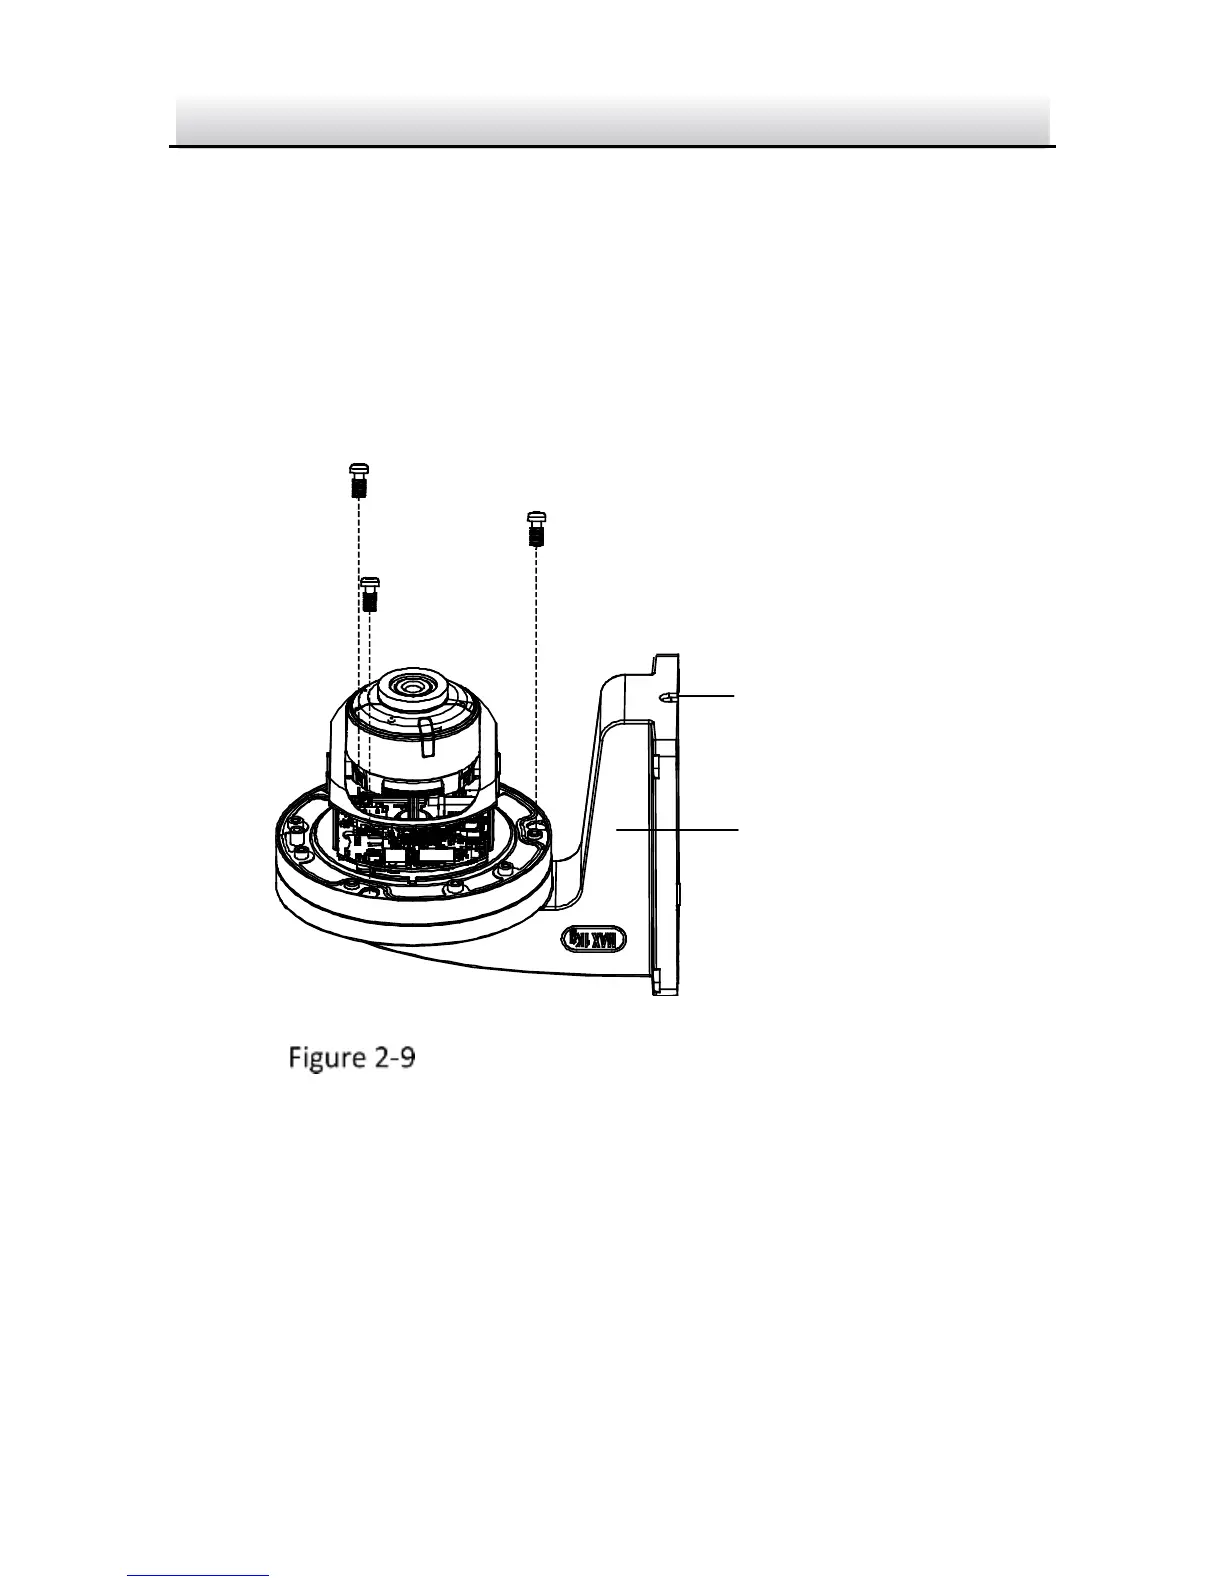
5. Route the cables and fix the camera to the cap of the wall
mounting bracket with three supplied self-tapping screws.
Fix the Camera to Wall Mounting Bracket
6. Align the wall mounting bracket to the screw holes and fix it to
wall.
Note:
If you install the camera in outdoor, install the water-proof jacket
to the network cable. See Section 2.4