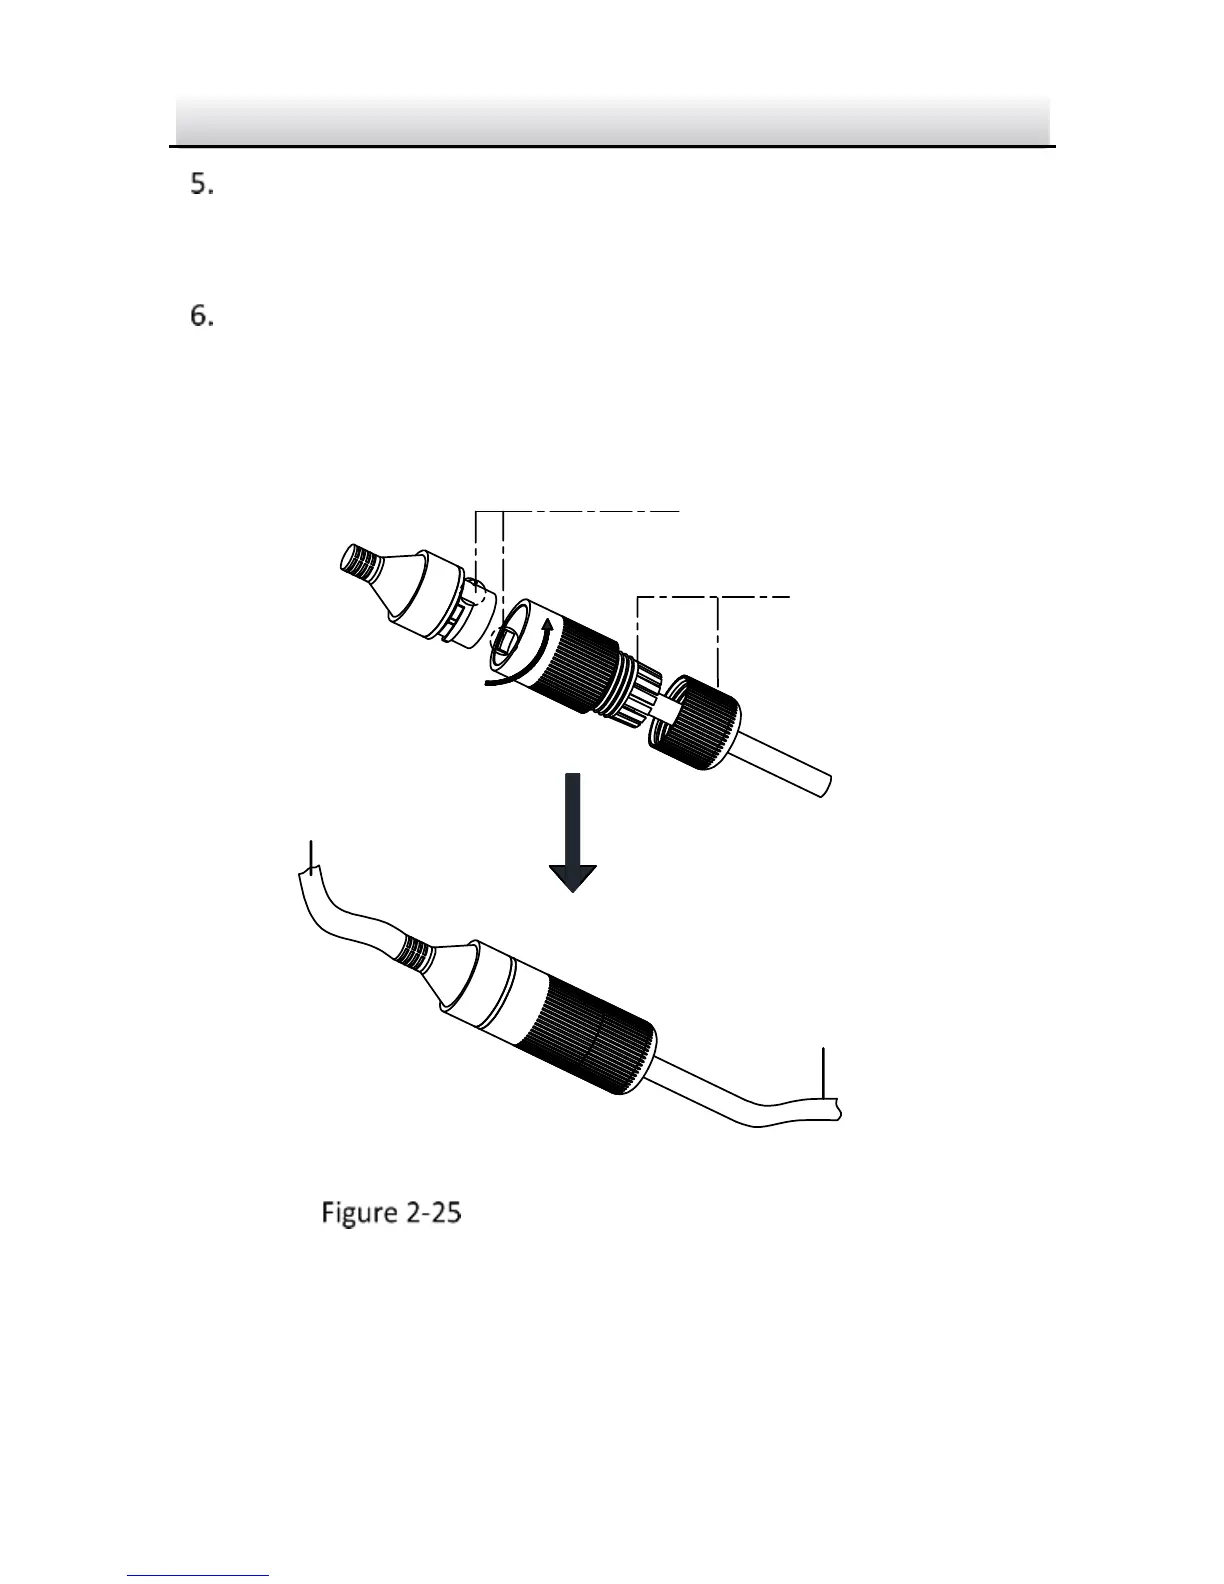
Insert the water-proof rubber gasket ⑤ into the waterproof
endcap ④, and secure lock nut ⑥ with the water-proof
endcap ④.
Align the snap on the water-proof endcap ④ with the notch on
the camera’s network interface socket ①, and then secure the
water-proof endcap ④ to the camera’s network interface
socket ① to finish installation.



 To Next Page