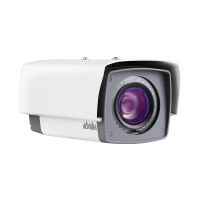
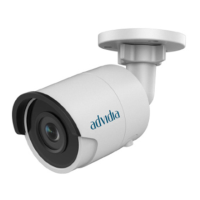
Network Bullet Camera·Quick Start Guide
Feed the plugless network cable ⑦ through the lock nut ⑥,
waterproof rubber gasket ⑤ (rubber gasket inset ridge must
face waterproof endcap), and the water-proof endcap ④ in
order.
Crimp an RJ-45 network plug ③onto the end of the cable,
taking care to insert the twisted pairs of wires in correct order.
Place the O-type gasket ② onto the end of the camera’s
network interface socket ①.
Insert the network plug ③ into the camera’s network interface
socket①.
Insert the water-proof rubber gasket ⑤ into the waterproof
endcap ④, and secure lock nut ⑥ with the water-proof
endcap ④.
Align the snap on the water-proof endcap ④ with the notch on
the camera’s network interface socket ①, and then secure the
water-proof endcap ④ to the camera’s network interface
socket ① to finish installation.


 To Next Page