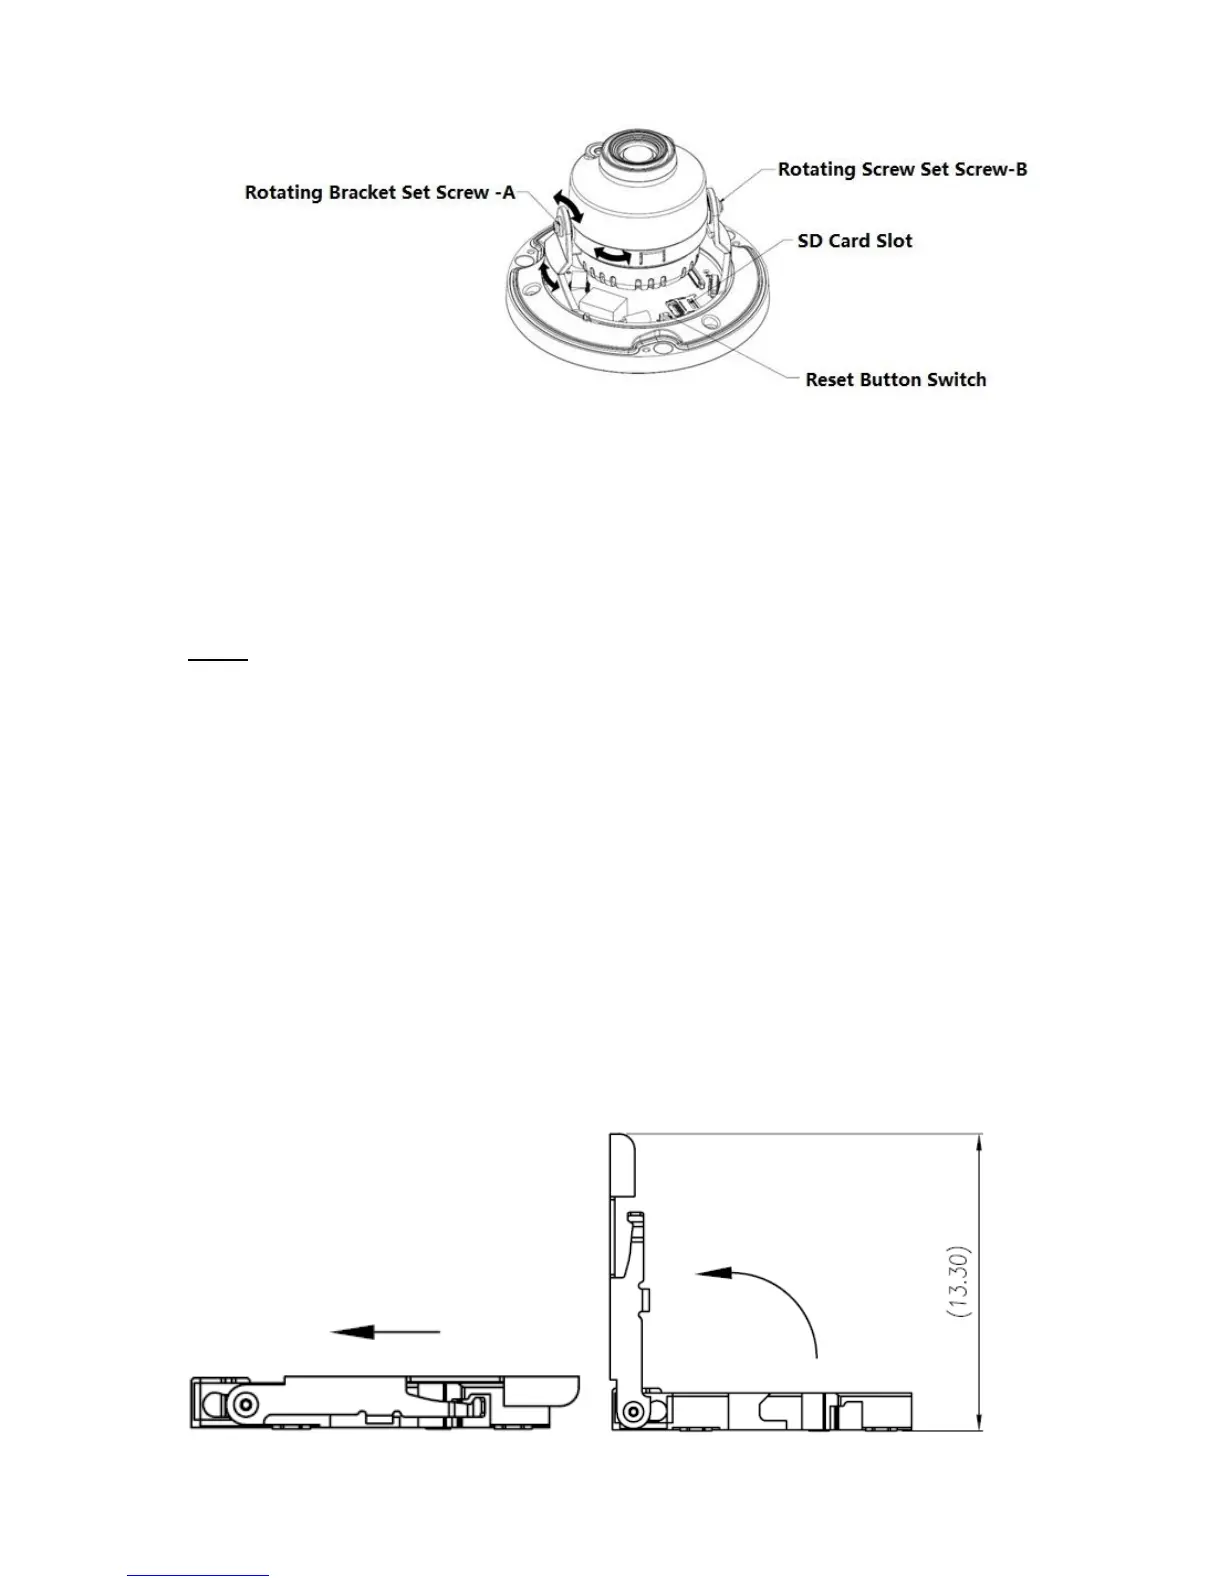
Figure 2-2
Note:
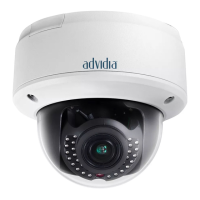
Long press the “Reset” button shown in Figure 2-2 for 10 seconds when the device is power on if
the device needs to be restored to factory setting.
If the device needs to use WPS function, short press “Reset” button shown in Figure 2-2 for 1~2
seconds when the device is power on, press the WPS button of the router, generally the device
can be connected to the corresponding router within 1 minute (only supported by some models).
Step 6
Take up the dome enclosure, put it back on the camera properly regarding to screw and hole, and
fasten the three inner hex screws with wrench. So far the installation is completed.
2.2 Micro SD Card Installation
Note:
Some series products do not support the Micro SD card storage function, which can’t be applied to the
following chapter.
Please shut down the power and then turn off the device before you install the Micro SD card.
Step 1 Find the Micro SD Card slot in figure 2-3, open the Micro SD Card slot according to the
direction shown in figure 2-4.
Step 2 Adjust the Micro SD Card to proper direction and install it in the Micro SD card slot.
Step 3 According to the direction shown in figure 2-4, close the Micro SD card slot and keep it locked.