INSTALLATION
8
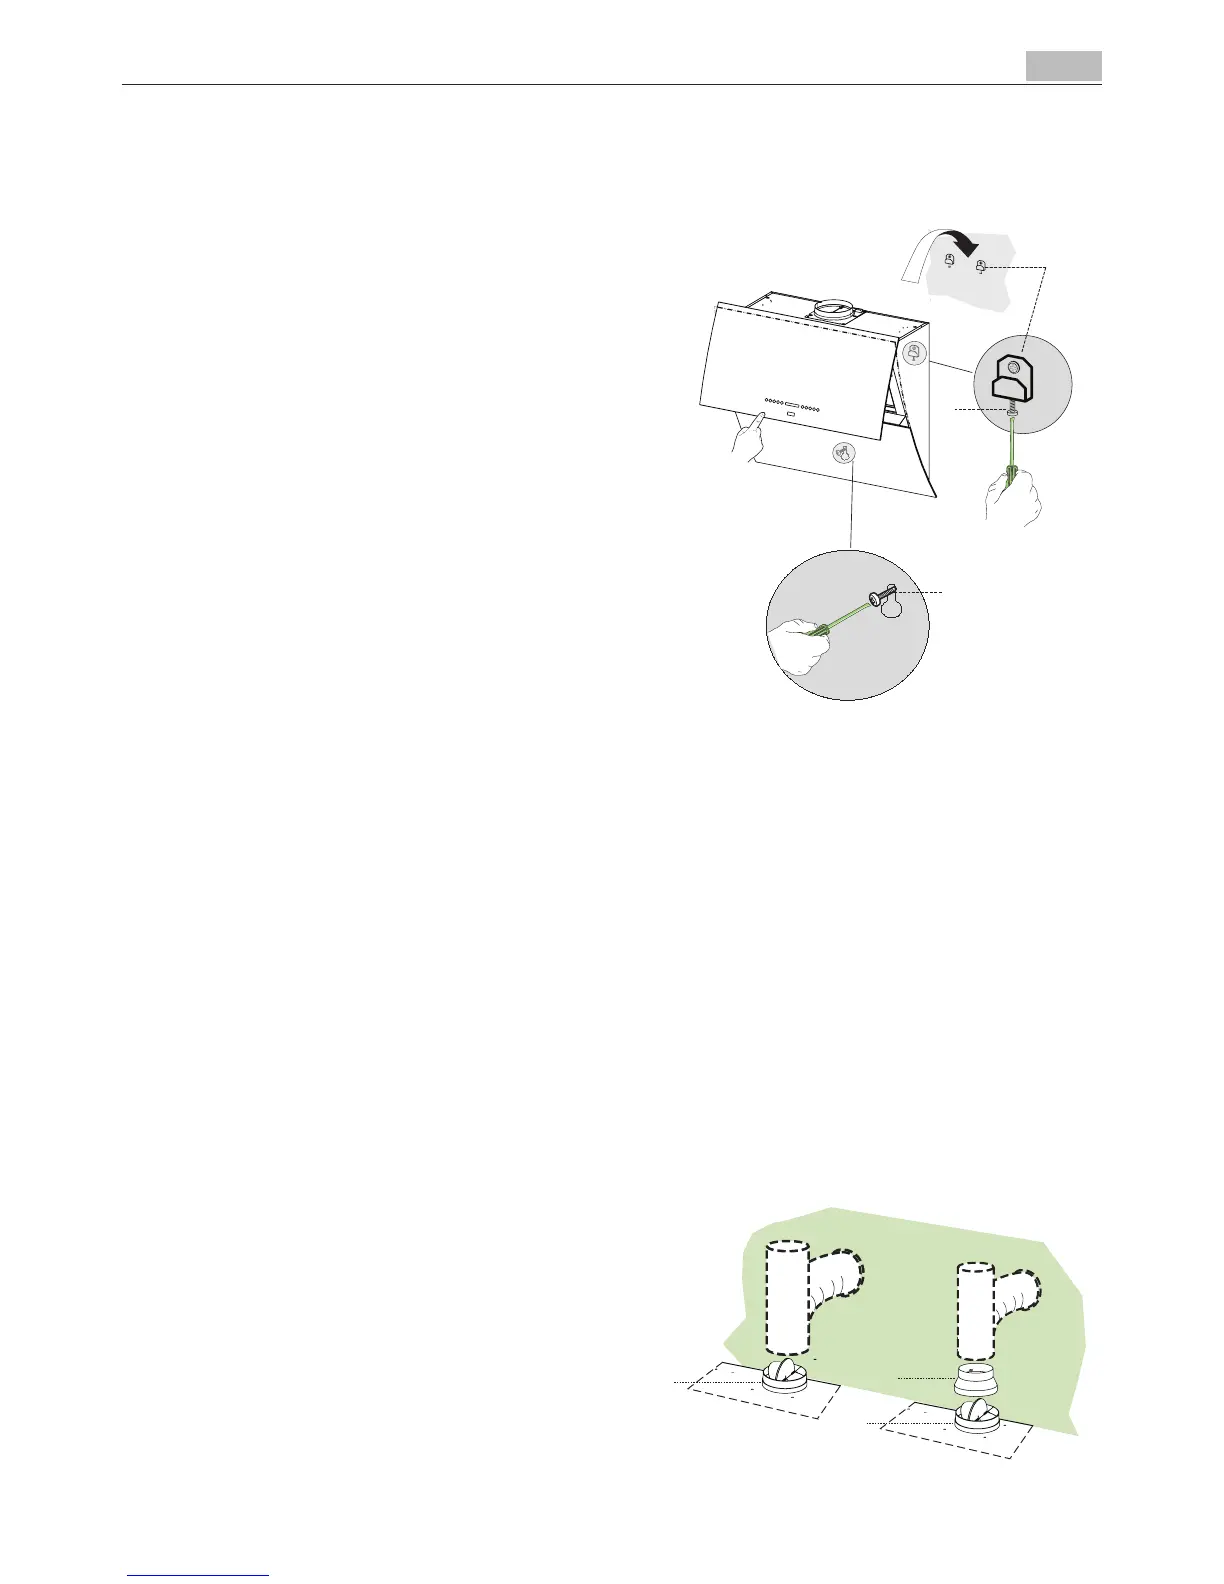
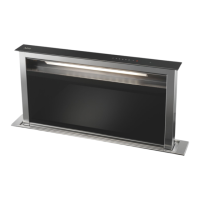
MOUNTING THE HOOD BODY
• Firstly, it is necessary to adjust the two Vr-
screws of the 11a-brackets, at minimun (B).
• Hang the hood body on the two brackets
11a.
• Connect the hood to the mains supply by
means of a bipolar switch with at least 3 mm
contact gap.
•seePartUSE to open the upper panel
• Remove the metal filters by using the han-
dles
• In order to align the hood it is necessary to
adjusttheVr-screws from inside the hood.
• Fastenthesafetyscrew11.
• Fitagainthemetalfiltersintotheirseatsand
see Part USE to close the upper panel.
• Disconnectthehoodfromthemainssupply.
Attention: If any barrier occurs in its way during
the panel opening or closing, the upper panel stops
for 1 sec and starts again the other way round.
If within 5 sec the panel does not open or close,
the motor stops. Press the key once again.
CONNECTIONS
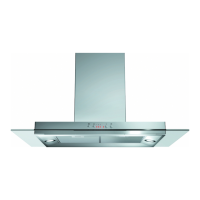
DUCTED VERSION AIR EXHAUST SYSTEM
When installing the ducted version, connect the
hood to the chimney using either a flexible or
rigidpipeø150or120mm,thechoiceofwhich
is left to the installer.
To install a ø 150
• Toinstallthedumper10
• Fix the pipe in position using sufficient pipe
clamps (not supplied).
To install a ø 120
• Toinstallaø120mmairexhaustconnection,
insert the reducer flange 9 on the dumper
10.
• Fix the pipe in position using sufficient pipe
clamps (not supplied).
• Removeanyactivatedcharcoalfilters.