41
ENGLISH
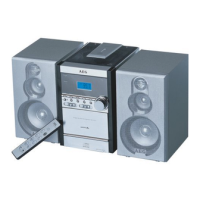
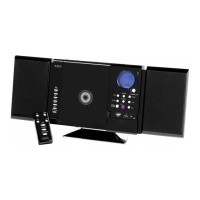
Remote control
1 MEM/CLK-ADJ button (memory/clock)
2 FUNCTION (function selection button)
3 (play/pause) button
4 button (search forward)
5 FOLDER / buttons (album up/down)
6 +10/-10 buttons
7 VOL+/- (volume) buttons
8 REP/RAN button (repeat/random play)
9 PRESET EQ button
10 /BAND (stop/band selection) button
11 (search back)
12 / button
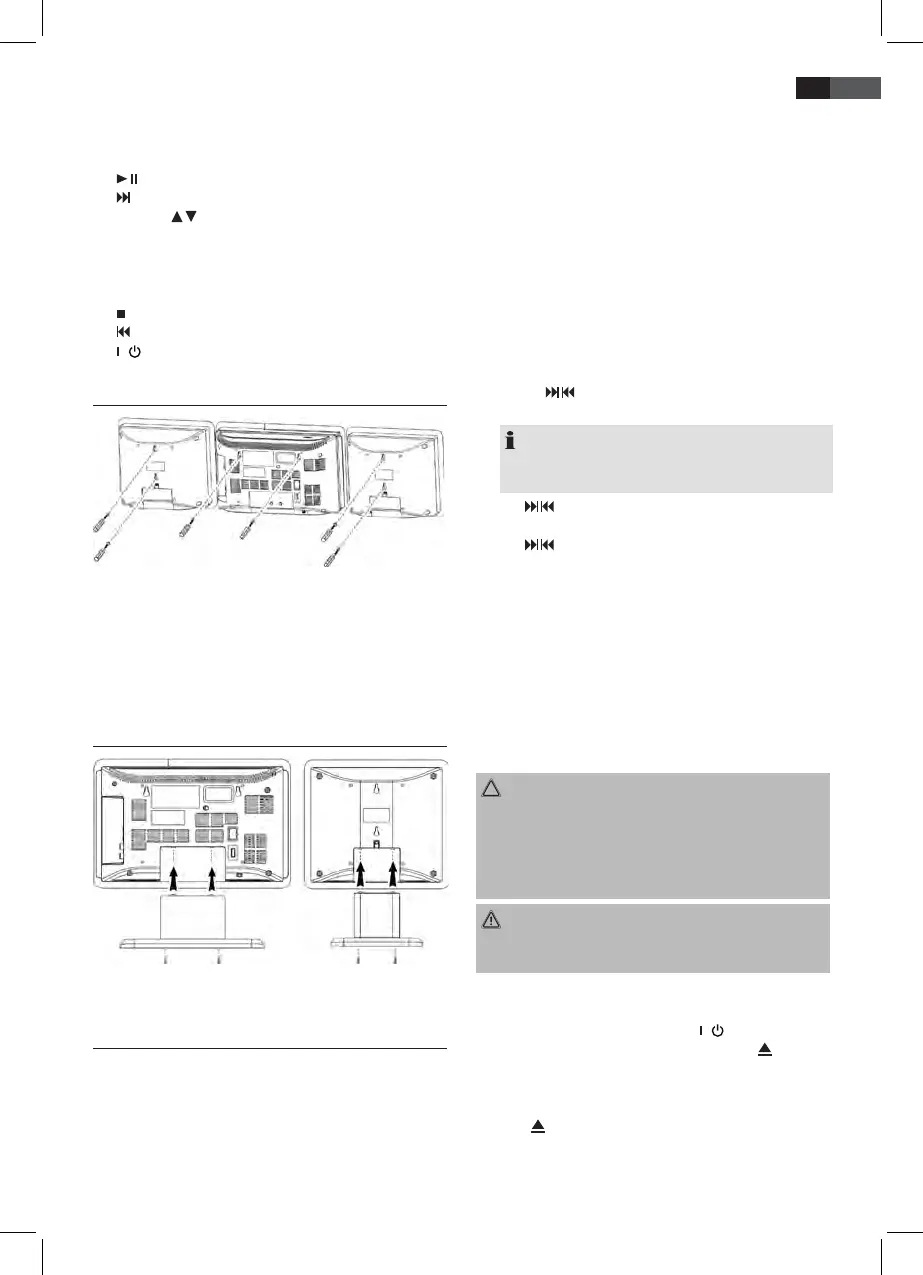
Wall mounting
• Align the drilling template horizontally and mark the drill
holes for the wall mounting.
• Drill the mounting holes (diameter 6 mm).
• Insert plastic dowels into the holes.
• Tighten the mounting screws until they protrude by around
4 mm from the wall.
• Mount the unit and both speakers onto the screws.
Mounting the support stand
• Attach the unit and the speakers to the supplied support
stands and fasten using the correct screws.
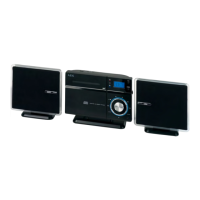
Installation/Introduction
• Read the manual thoroughly before operating the device!
• Choose an appropriate location for the device and speakers.
Suitable locations are dry, even and anti-slip surfaces on
which you may operate the device easily.
• Make sure there is proper ventilation for the device!
• Connect the speakers on the right side of the unit to
“SPEAKER R and L” (12).
• Remove, if necessary, the protection sheet from the display.
Power supply
• Connect the mains plug to a standard outlet, 230 V, 50 Hz.
• Make sure the voltage is in conformity with the rating plate.
• In case of power interruptions all clock and station settings
will be lost.
Setting the clock (during standby mode)
1. Press the MEM/CLK-ADJ button (21/1). The display will
show “12 H”.
2. Use the / buttons (15/4/11) to select between 24-hour
and 12-hour display setting. Conrm with MEM/CLK-ADJ.
NOTE: The 12-hour setting will result in the following
display
PM = afternoon.
3. Use / buttons to set the hours. Conrm with MEM/CLK-
ADJ.
4. Use / buttons to set the minutes.
5. Press MEM/CLK-ADJ again in order to save the time set-
tings.
Batteries of remote control (Batteries not included)
• Open the cover of the battery compartment on the rear side
of the remote control.
• Insert 2 x R03 “AAA” 1.5V batteries. Please observe correct
polarity (see bottom of battery compartment)!
• If you do not use the remote control for a longer period of
time, please remove the batteries in order to avoid “leakage”
of battery acid.
CAUTION:
• Different battery types or new and used batteries must not
be used together.
• Do not dispose of batteries with your household trash.
Please hand over at authorized collection points or return
to your dealer.
WARNING:
Do not expose batteries to heat or direct sunlight. Never throw
batteries into re. Danger of explosion!
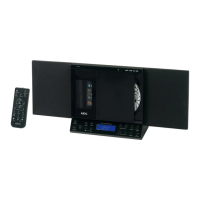
Transport securing device of CD compartment
• Turn on the device, please press the / button (7/12).
• Open the CD compartment (2), by pressing the (open/
close) button (19). The CD door opens upwards.
• Remove, if present, the transport securing device from the
CD player before starting operation.
• Press button again to close the CD compartment.