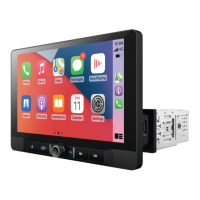
Step #1 Adjusting the LCD Extension (optional)
• Depending on the vehicle, it may be necessary to use the LCD extension to adjust the
screen position when mounting the unit. The default setting is all the way forward, but if
adjustment is necessary, the following steps show how to adjust it to the desired position.
• Depending on your vehicle’s dash, the LCD mounting bracket can be adjusted to 3 positions
(Flush ,1/2" and 1"). The bracket comes in the Flush setting when purchased. To adjust the
bracket to either the 1/2" or 1" setting, gently pull the LCD bracket out from the chassis, adjust
it to the desired position and lock it in place by inserting the screws to the top of the chassis.
(see below images for reference)
1
INSTALLATION
Peel off the label before
installation.
1“ (25mm) 1/2“ (12.5mm) Flush
Remove the 4 screws located
on top of the unit.
Note: Do not remove the center screw.