Assembly Instructions
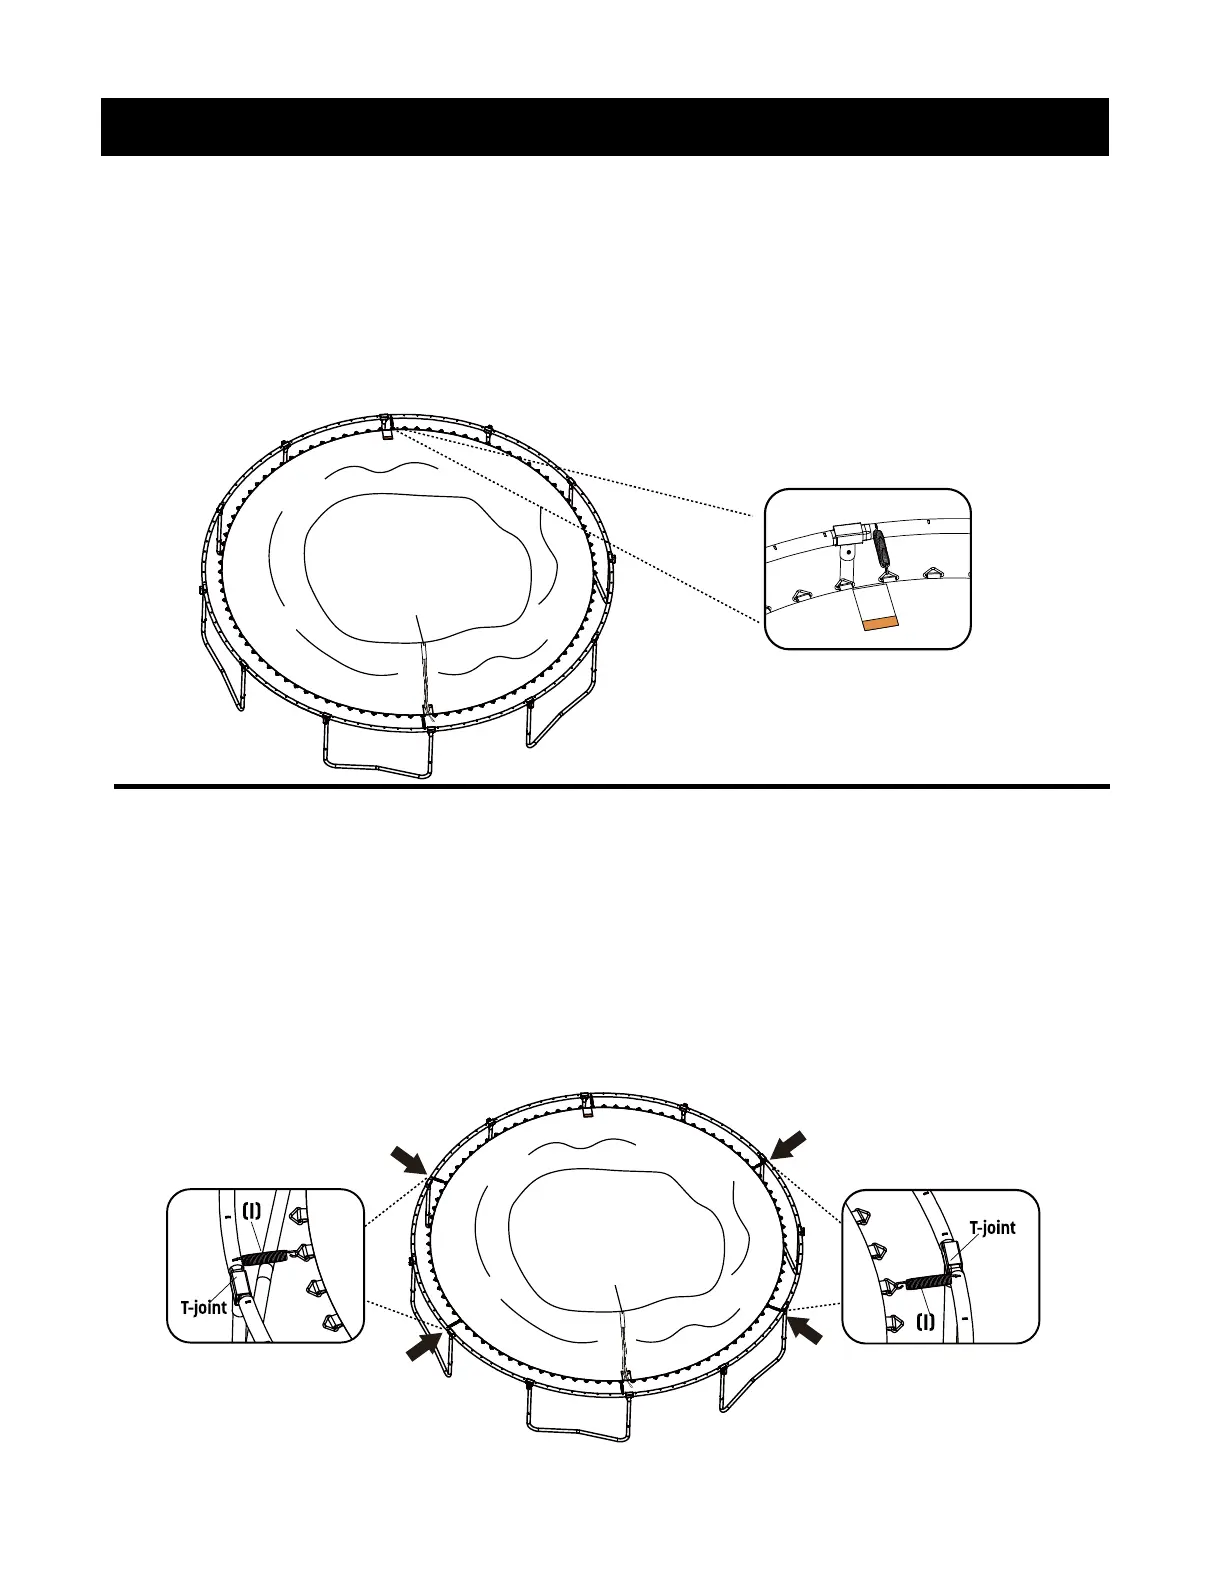
Step 9:
Step 10:
Now, repeat step 8 on the other side of the trampoline placing a spring in the
v-ring to the left of the warning label and into the spring hole to the left of the
T-joint.
You now have attached two springs.
Locate the remaining T-joints. Place springs into the V-rings just left of the
T-joints, and stretch the springs until they reach the frame hole just left of the
T-joint.
You have now attached six springs.
Pro tip: Starting at an already placed spring, count the exact number of V-rings
and frame holes to make sure each one corresponds! This will help to prevent
any misalignments!
Page 12 of 22