– 4 – – 5 –
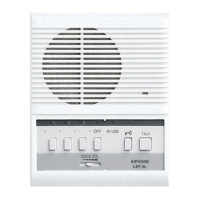
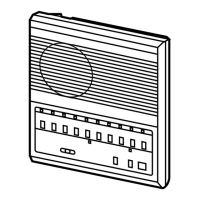
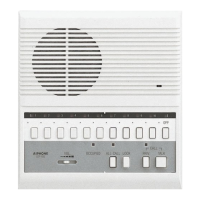
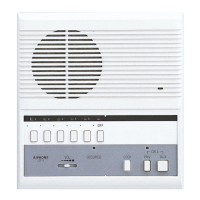
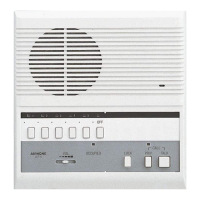
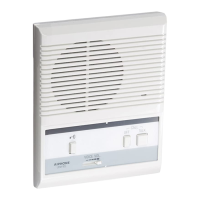
Operation Plate
PUSH
Directory Card
To remove the Operation
Plate, push either left or
right side of the plate.
4
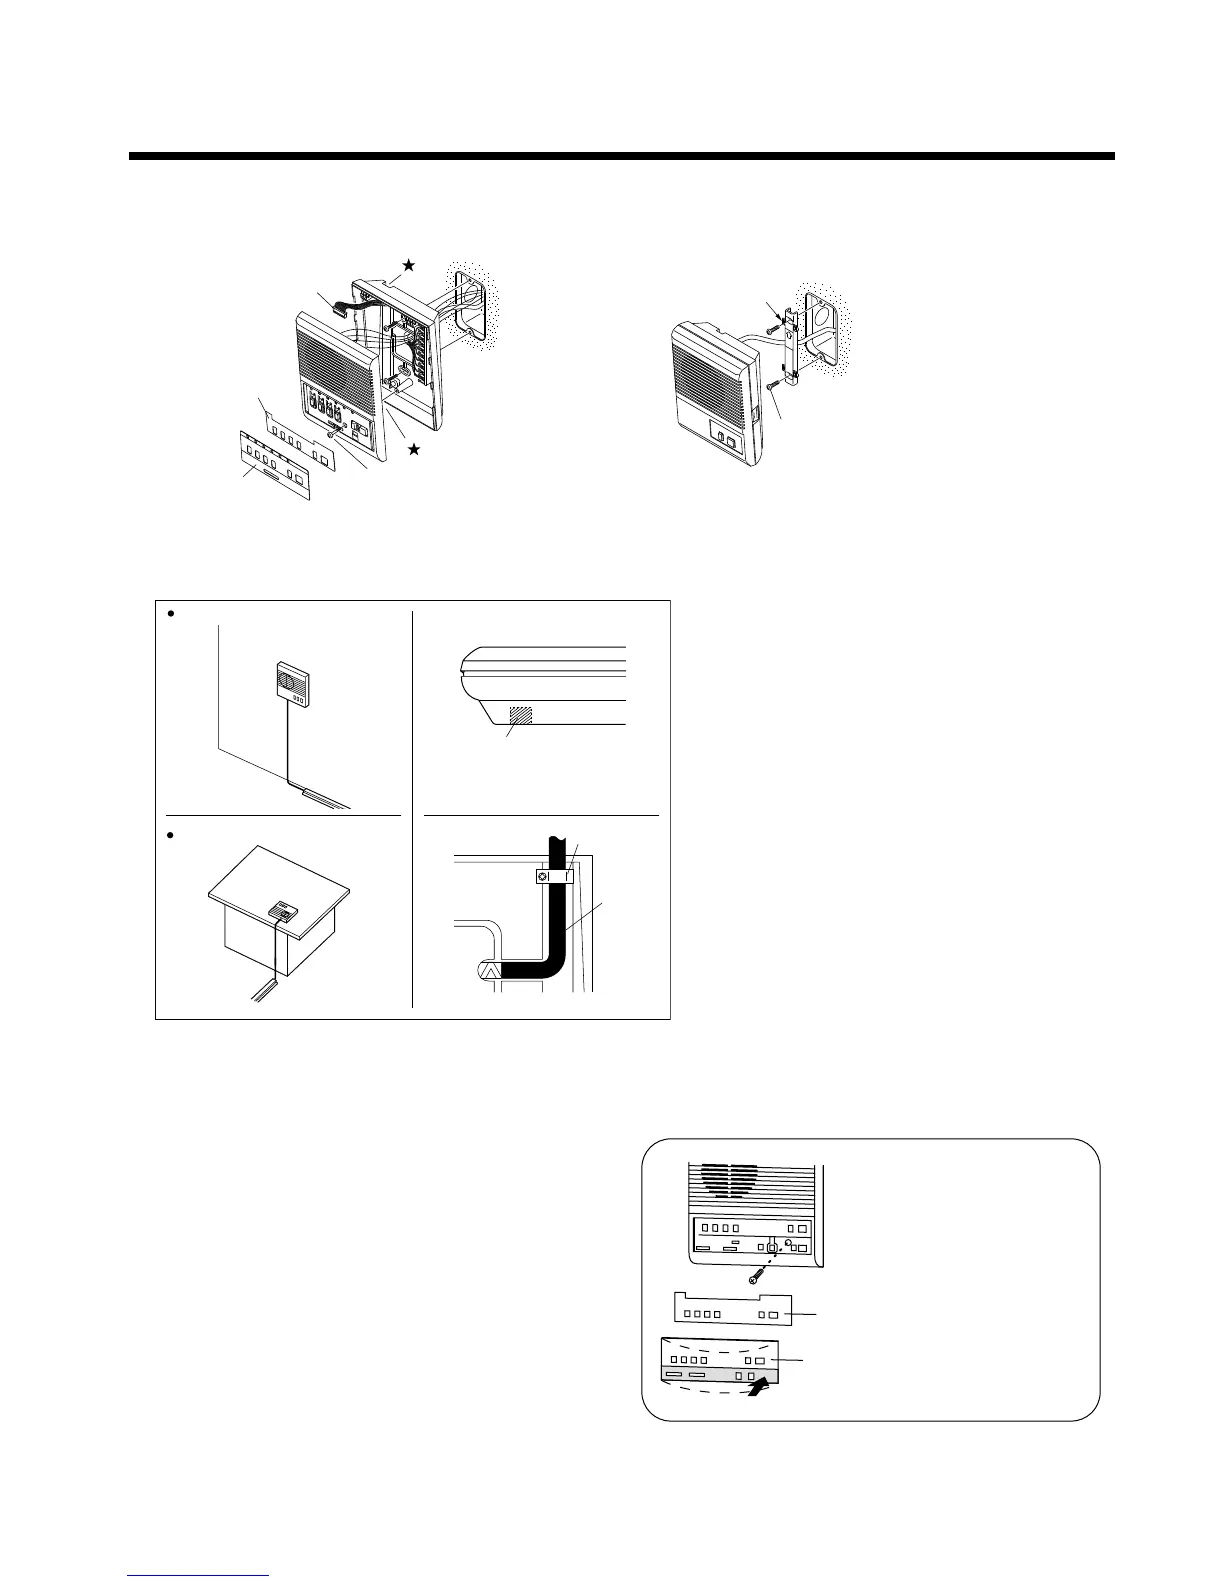
Mounting
LEF-3L
intercom
SINGLE-GANG
BOX
83.5mm,
3-5/16"
2 screws
supplied
Chassis
Loosen
Operation
Plate
Directory
Card
2
1
UP
83.5mm,
3-5/16"
SINGLE-GANG BOX
Mounting
bracket
2 screws
supplied(
LE-A
)
Unplug
while installing
Back wiring LE room subs
Surface wiring or Desk-top use
★
1, 2 : When running cable on the surface, pass cable through the top or bottom of the chassis and fasten with the wire clamps (attached,
one outside and one inside chassis). To pass the cable through the bottom side of the unit, cut out the cable inlet section.
Cut out the cable inlet section
Desk-top use;
wall
Surface wiring
Bottom view of LEF-3L
Clamp
Cable
Back
view
■
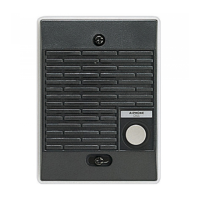
INTERCOM LOCATIONS TO AVOID
· Do not install intercoms near dimmer or light
switches, or other electrical wall devices.
· Do not place sub stations back-to-back on a
common wall, feedback may occur.
· Do not install near alarm panels or other electronic
equipment that may emit data noise.
· Do not place behind doorways or other areas that
may obstruct unit.
Accessing inside of unit to connect wires:
1. Remove Operation Plate and Directory Card and
loosen the screw on the front of the unit. Do not
remove screw.
2. Carefully separate front of intercom from the back
chassis.
3. If desired, unplug connectors and set front of intercom
aside during mounting and wiring of the back chassis.
4. When wiring is completed, plug in connectors and
reassemble. Peel protective covering off of Operation
Plate.