INSTALLATION - CARPENTRY
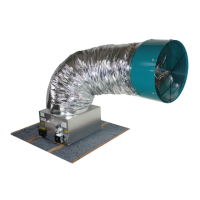
The 2.5/2.5e WHF has been designed to fit on top of a 14½" x 22½" wall or ceiling opening. Since
most modern houses have been built with either 16" or 24" on-center (O/C) spaced joists or studs, a
simple "box" is constructed in the wall/ceiling.
NOTE: There are two different installation methods determined by how the 2.5/2.5e will be inserted
into the attic. Please follow the instructions that apply to your install.
There is an existing attic access large enough for the 2.5/2.5e fan to fit through:
16” O/C Framing
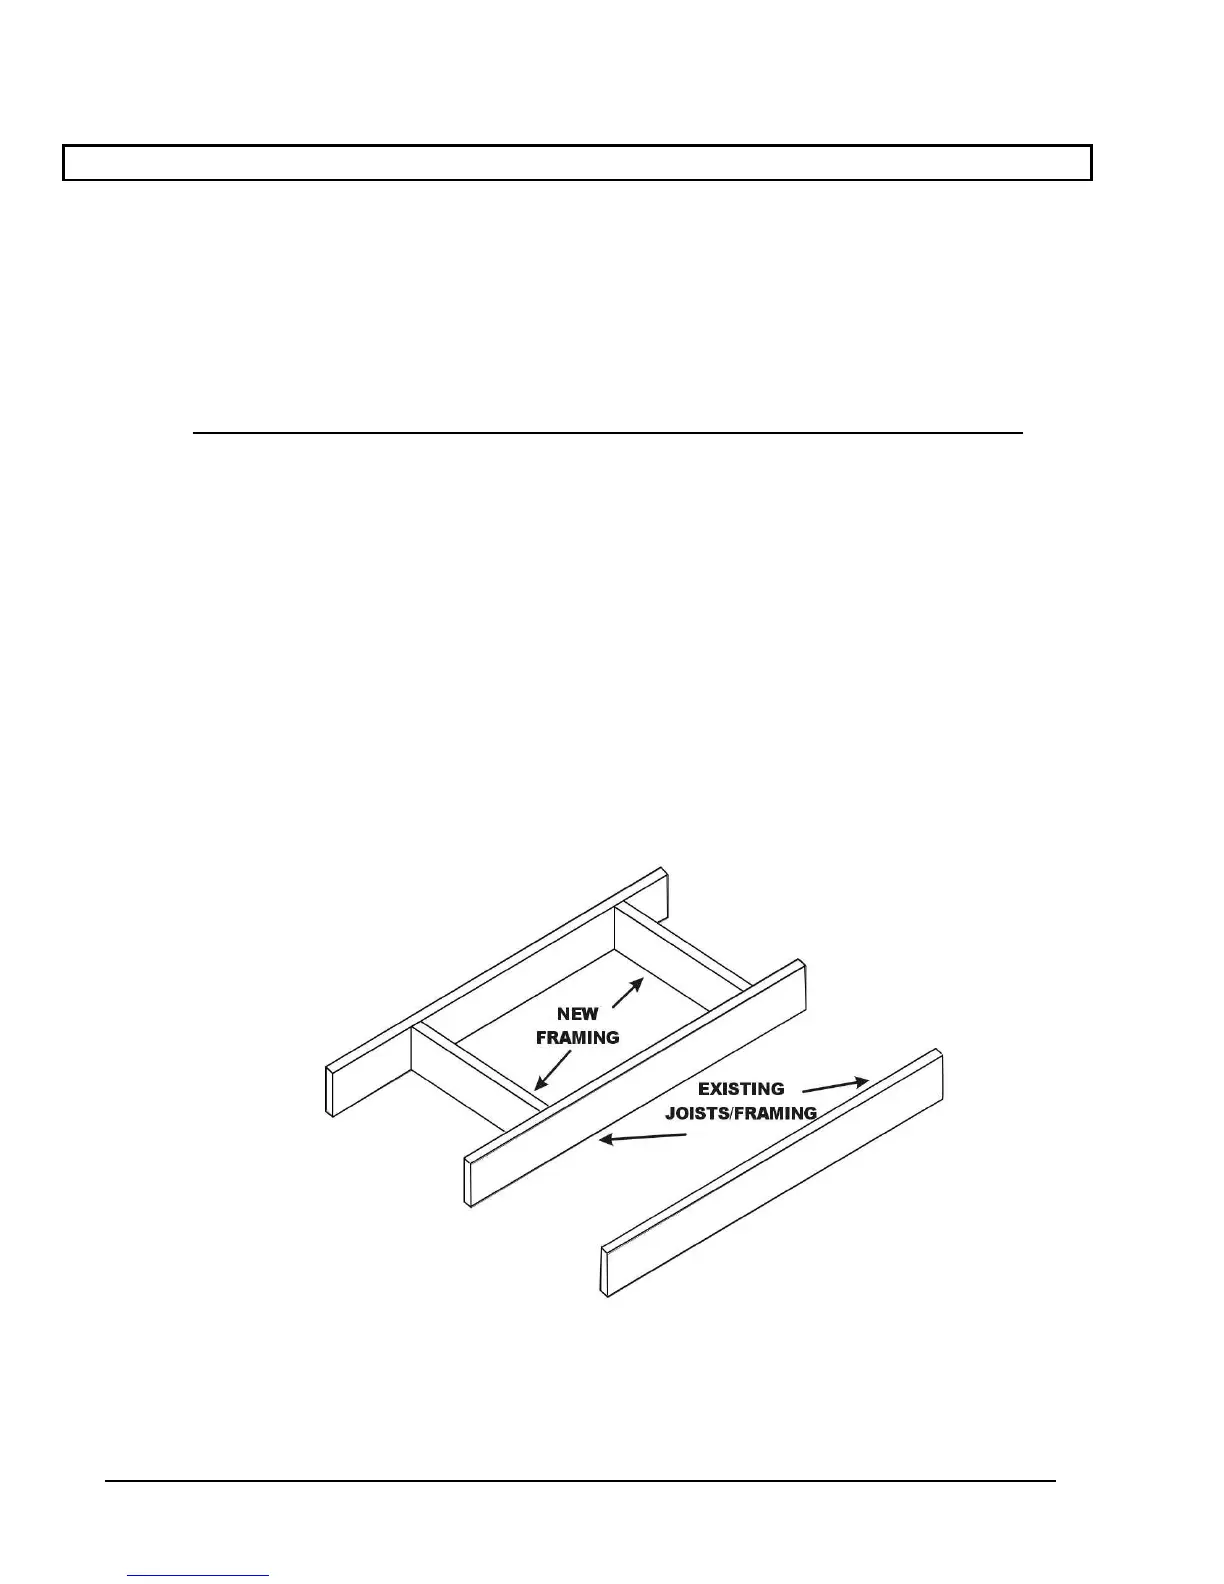
Step 1: Install two 14½" cross pieces creating a box with inside dimensions 14½" x 22½" (Figure 3).
Step 2: Cut out dry wall inside the framed box.
24” O/C Framing
Step 1: Install two 22½" cross pieces creating a box with inside dimensions of 14½" x 22½" (Figure 3).
Step 2: Cut out dry wall inside the framed box.
FIGURE 3 – 16” O/C Framing
AirScape 2.5/2.5e WHF Installation Manual 02-11 Page 5