Do you have a question about the Aiwa AD-F850 and is the answer not in the manual?
Explains symbols for safety warnings like lightning flash and exclamation point.
Important safety advice to reduce risk of electric shock, fire, and moisture.
Space to record model and serial numbers for dealer contact.
Warning about cutting off the UK plug and dangers of incorrect use.
Instructions for connecting mains lead wires according to color code.
Advice on placing the unit in suitable environments to avoid damage or interference.
Instructions on checking and adjusting the AC voltage selector for local power.
Guidelines for connecting/disconnecting AC cord and handling damaged cords safely.
General advice to connect all equipment before plugging in the AC cord.
Description of playback/output jacks and how to connect them to an amplifier.
Description of recording/input jacks and how to connect them from a sound source.
How to use the remote control when connected to an Aiwa amplifier.
Details on connecting headphones to the PHONES jack.
How to connect the power cord, turn the unit on, and the standby indicator.
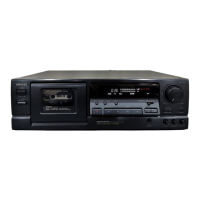
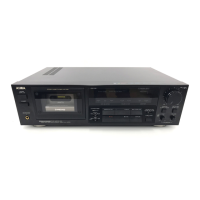
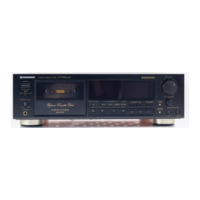
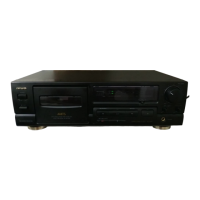
Identifies front panel buttons, controls, and jacks with their functions.
Explains the various indicators shown on the unit's display.
Step-by-step guide on how to insert a cassette into the deck.
Instructions on how to take up tape slack to prevent jamming or breakage.
Advice regarding the use of 120-minute or longer tapes, noting they are not recommended.
How to break off plastic tabs to prevent accidental erasure of recorded content.
Method for reusing tapes, including covering openings with tape.
How to use the music sensor to skip tracks or find the beginning of selections.
Limitations of the music sensor with specific tape types or conditions.
How to use Review/Cue for repeated playback of tape portions or locating specific sections.
Controls for playback functions like fast forward, rewind, stop, pause, and eject.
Explanation of how the unit automatically stops after reaching the end of the tape.
How to turn off the unit's display indicators.
How to adjust the REC LEVEL control using the peak hold meter for optimal recording.
Using the MONITOR button to switch between source and recorded sound during recording.
Explanation of peak level indicators and their importance for accurate recording levels.
Guidelines for setting the optimal recording level based on tape type and noise reduction.
Explains bias current's effect on distortion and frequency response, and the need for calibration.
How to adjust bias using the BIAS control based on tape type diagrams.
How to adjust REC SENSITIVITY to match playback levels with recording levels.
Initial steps including inserting tape, setting Dolby NR, and inputting a test signal.
Steps to adjust BIAS control for optimal sound by comparing source and tape signals.
Steps to adjust REC SENSITIVITY to match recording and playback levels using source and tape signals.
Steps before starting recording, including Dolby NR selection and initial button presses.
Adjusting REC LEVEL and REC BALANCE controls for optimal recording.
How to initiate recording using the II button and combined playback/REC buttons.
Controls for stopping, pausing, and resuming recording.
How to use the MPX filter button, especially with FM stereo sources and Dolby NR.
Method to start recording while playback is active.
What happens when MS/REVIEW is pressed during recording (rewind, quick review).
How sound monitoring switches automatically between TAPE and SOURCE.
How to use Dolby NR for reducing tape hiss and noise.
How the counter display indicates remaining tape time and stops the deck.
Explanation of Dolby HX PRO for improved high-frequency response and dynamic range.
How to create blank segments on tape using the REC MUTE button.
Using REC MUTE and playback button together to enter mute mode during playback.
Using REC LEVEL control for fade-in and fade-out effects during recording.
How to erase previous recordings by recording over them or setting REC LEVEL to 0.
How the linear counter displays time and how to use it for tracking.
How to set the counter to zero to easily locate specific tracks or points.
Instructions for cleaning the unit's exterior with a mild detergent solution.
How to clean heads, capstan, and pinch rollers for optimal sound quality.
Procedure for demagnetizing heads to maintain sound quality after long-term use.
Statement of compliance with EEC radio interference requirements.
Reminder to consult copyright laws for recordings in the country of use.
Information about Dolby noise reduction and HX PRO headroom extension.
Company name and related product codes.
| Brand | Aiwa |
|---|---|
| Model | AD-F850 |
| Category | Cassette Player |
| Language | English |