Do you have a question about the Aiwa X-808M and is the answer not in the manual?
Clarifies PHONO terminals are for specific turntables or those with built-in phono-equalizers.
Instructions for connecting the FM antenna, including types and placement for optimal reception.
Details on attaching feeder/wire antenna, including shape, direction, and placement for optimal reception.
Instructions for attaching an outdoor antenna to the unit.
Describes types of antenna cords and specifies connection restrictions.
Guidelines for optimal antenna placement to ensure good reception, avoiding interference.
Instructions for setting up the loop antenna on a flat surface, including folding and securing.
Instructions for mounting the loop antenna on a wall, including screw/nail placement.
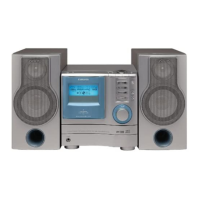
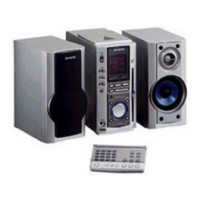
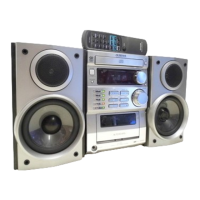
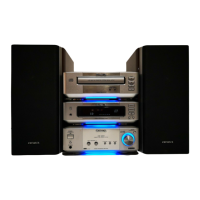
Identifies and explains the controls and indicators of the amplifier/tuner unit.
Controls for graphic equalization (left/right channels) and spectrum analyzer display.
Buttons and controls for operating the first cassette deck, including playback, dubbing, and special functions.
Buttons and controls for operating the second cassette deck, including playback and recording.
Buttons for tuner, timer, sleep, and display operations.
Buttons for CD player and cassette deck playback, recording, and functions.
Buttons for DSL, BBE, volume, mute, and function selection.
Buttons for direct track access and cycling through system functions.
Instructions for connecting the AC power cord and powering on the system.
Guidelines for safely connecting and disconnecting the AC power cord.
Warnings and precautions regarding electrical safety and fire prevention.
Instructions for inserting batteries and tips for correct remote control operation.
Steps for setting the current time, including preparations, procedures, and notes.
Information on changing display format and understanding power failure indicators.
How to adjust the AM tuning interval for specific regions.
Steps to tune into radio stations using the band and tuning controls.
How to manually stop the automatic radio station search.
Instructions for playing cassette tapes on deck 1 or 2.
Notes regarding tape playback, including Dolby NR, reverse modes, and sound adjustment.
Instructions for inserting tapes into both cassette decks for continuous playback.
How to set the selector for continuous playback modes.
Instructions for setting the Dolby NR switch based on tape recording mode.
How to start the continuous playback sequence by pressing the PLAY button.
Steps to play a tape, set the selector, and press REW/FFWD buttons.
How to listen from different tape sides and important operational notes.
Explains when playback stops based on selector position.
Describes repeat playback modes and stop conditions.
Details when playback stops at the end of a tape side.
Explains continuous playback for both decks and stop conditions.
Steps to power on and select the PHONO input.
Instructions for placing the record and setting size/speed selectors.
Final steps to start playback and adjust volume.
Steps for playing CDs, including power, disc loading, and playback controls.
Steps for playing external sources like VCR/AUX, including power and input level adjustment.
Steps to power on the system and connect the microphone.
How to select sources, set the microphone switch, and adjust levels for mixing.
Instructions for recording microphone mixing with a CD.
Important notes regarding microphone placement, controls, and recording limitations.
Steps to prepare for recording, including cassette insertion and Dolby NR settings.
Instructions for recording from radio or records.
How to stop, pause, and notes on recording operations.
Steps for recording from CDs using the CBRS system.
Clarifies the availability of the edit function for specific models.
Instructions for inserting tapes and setting the CBRS/STSD/EDIT selector.
How to start dubbing using SYNCHRO DUBBING buttons and how to stop it.
Explanation of the STSD system for dubbing tapes.
How to create short blank segments using the REC MUTE button.
How to create longer blank segments by repeating REC MUTE.
How to prevent accidental tape erasure by breaking plastic tabs.
Instructions for reusing tapes and erasing recorded content to create blank tapes.
Steps for setting the timer, including preparations, procedures, and notes.
Information on changing display format and understanding power failure indicators.
How to check timer settings, clear standby, and set "once" timer.
Setting the timer to wake up with radio, tape, or CD playback.
Steps for setting the timer, inserting media, confirming standby, adjusting volume, and powering off.
Steps to set the timer and prepare for recording radio broadcasts.
Explains the effects of the BBE system on sound quality.
Instructions for operating the BBE system using its button and control.
Important note about releasing the DSL when using headphones.
Notes on tone adjustment during recording and optimal settings for BBE/EQ.
Explains the surround system's effect and features.
Important cautions regarding surround system usage, like monaural sources and impedance.
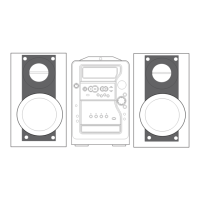
Illustrates speaker connection and placement for the surround system.
Importance of cleaning tape path components for optimal performance.
Electrical power requirements, consumption, dimensions, and weight.
List of accessories provided with the system.
Technical details for the amplifier, FM, AM, and LW tuner sections.
Technical details for the cassette deck functions and speaker system.
| Brand | Aiwa |
|---|---|
| Model | X-808M |
| Category | Stereo System |
| Language | English |