1
5
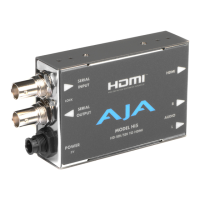
AJA Hi5 HD-SDI/SDI to HDMI and Audio Converter User Manual — Installation
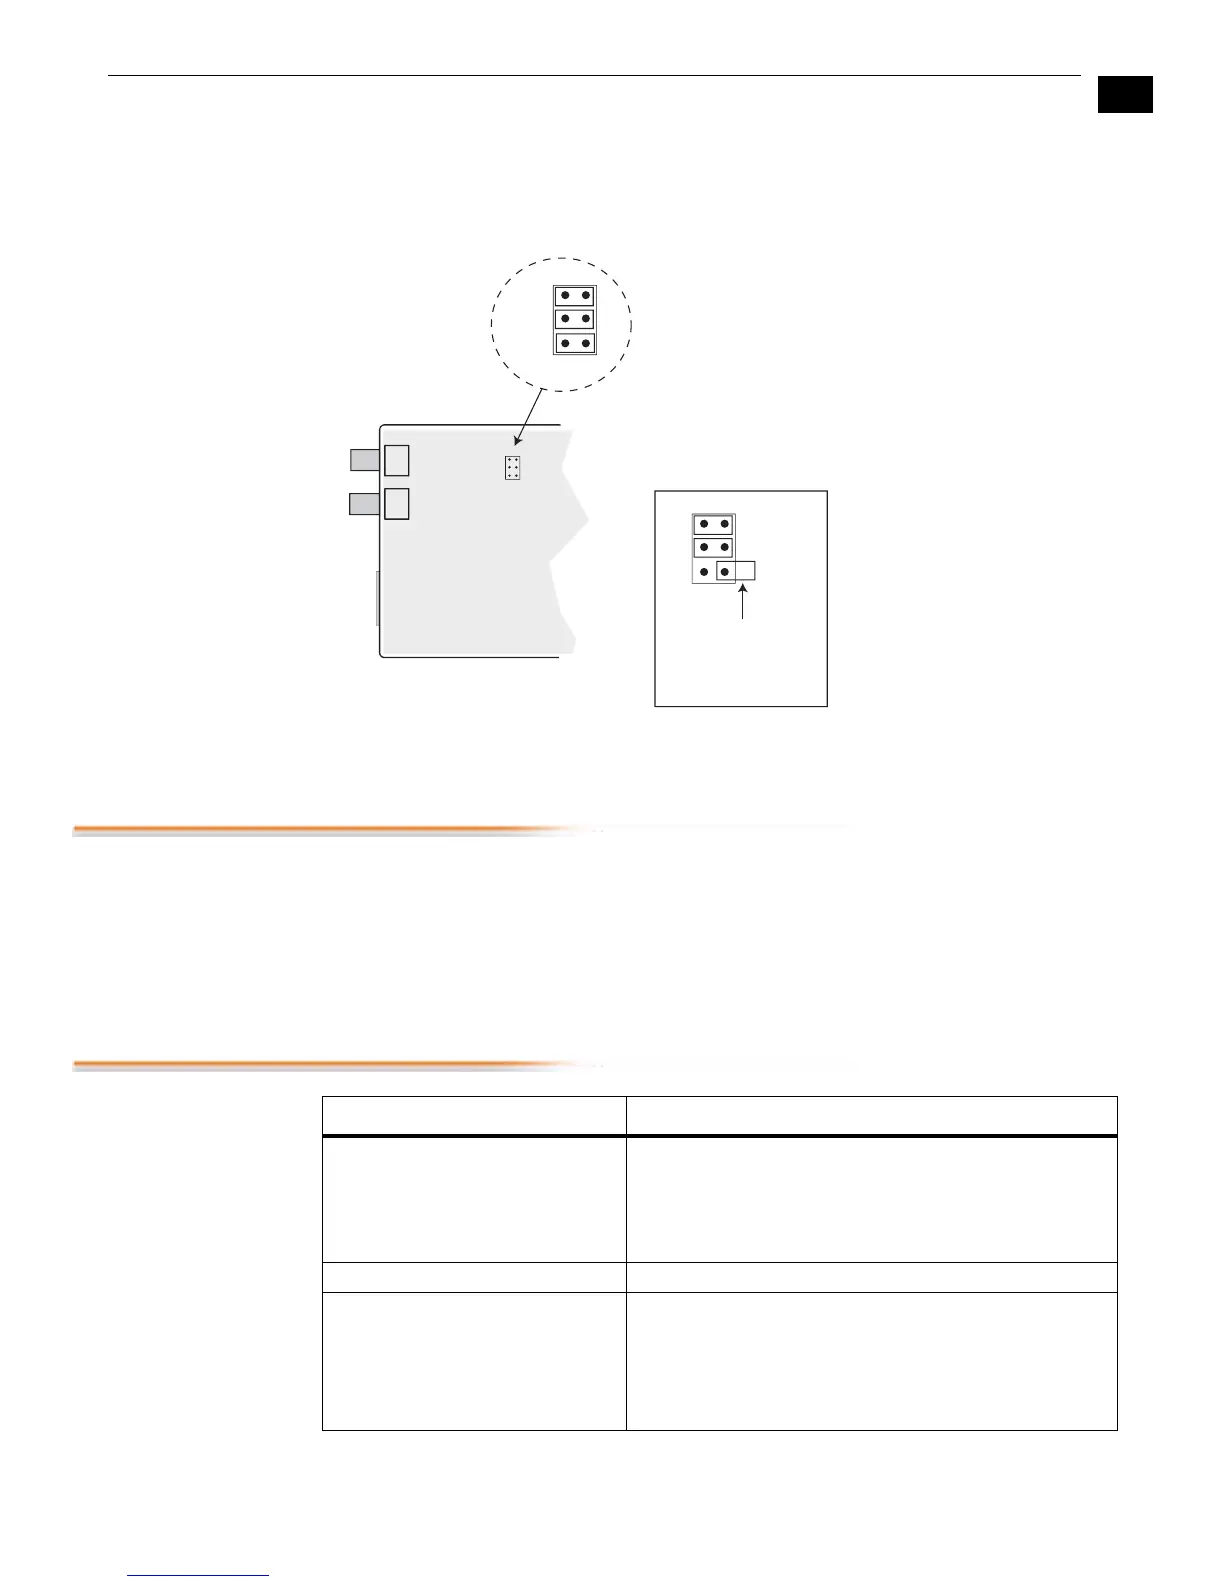
To access this jumper, remove the four phillips screws securing the back side of the Hi5 case.
Once the case cover is removed, locate the jumper block. Jumper positions 1 through 3 are
clearly marked on the circuit board next to the jumper J4.
|Note:
“Removed” jumpers can be stored inside the unit by installing them on only 1 pin
Installation
Typically, Hi5 installation consists of the following steps:
1.
Ensure the Hi5 is disconnected from power.
2.
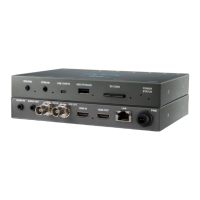
Connect video equipment to the convertor BNCs and HDMI connector.
3.
Connect audio equipment to RCA connectors (optional)
4.
Apply +5VDC power to the converter (AJA power supply model DWP or DWP-U).
Specifications
1
2
3
1
2
3
Defaults Shown Here
1=ON, 2=ON, 3=ON
To keep an
“uninstalled” jumper
for future use, you
can place it over only
a single pin
JUMPER J4
Item Specification
Input Formats 525i, 625i,
720p 50/59.94/60,
1080i 50/59.94/60,
1080p23.98, 1080p24, 1080p25, 1080p29.97, and
1080p30
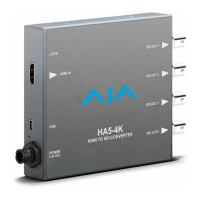
Video Input HD-SDI/SDI, SMPTE-259/274/292/296
Outputs HDMI with embedded audio, 24-bit
(selectable by internal jumper: 2 or 8 channels)
Analog Audio—2 channel RCA-style outputs at -10dBV
(nominal), Channel 1 and 2
1 Looping SDI/HD-SDI output of the SDI input (75 ohm,
unterminated)
 Loading...