ATTENTION!
The sensor’s autonomous work duration depends on the sensor’s trig-
gering frequency and the battery quality. On average, one battery is suf-
ficient for 7 years of functioning.
7. WARRANTY
7.1 The sensor’s warranty period is 24 months. The warranty does not cover
the battery!
8. VIDEO GUIDE
8.1 A detailed video guide for Ajax MotionProtect wireless sensor assembling
and assessing is available online on our website.
battery
PICTURE. 5. Sensor type
with the top cover removed
6. MAINTENANCE
6.1 Maintenance is done once every 6 months. The sensor’s board must be
cleared of dust, spider web, and other impurities.
6.2 Never rub the sensor with substances containing alcohol, acetone, pet-
rol and other solvents. Do not rub the sensor with brushes as the fluff can
scrape the lens which will reduce the sensor’s sensitivity.
6.3 Replace the batteries up to date. If the battery level is low, the sensor
sends an appropriate signal to the alarm system receiver unit. When the
battery has run down, with each movement detection or tamper triggering,
the sensor together with a usual indication turns on its light and turns it
off placidly. In order to replace the battery, undo three self-tapping screws
“3” (PICTURE 4) and remove the sensor’s back cover. Replace the «battery»
(PICTURE 5) with a new one, type CR123A observing the polarity.
PICTURE 3. Sensor’s detection zone
0
0
1.71 3.42 5.13 7.84 9.55 11.26 12
0’
0’
5,61’ 11,22’ 16,83’ 25,72’ 31,33’ 36,94’ 39.4’
1.14
2.4 m
0’
3,74’
7,9’
Side view
Sensor
Sensor
0 m
12 m
0
6
6
12 m
39,4’
0’
19,68’
19,68’
39,4’
Top view
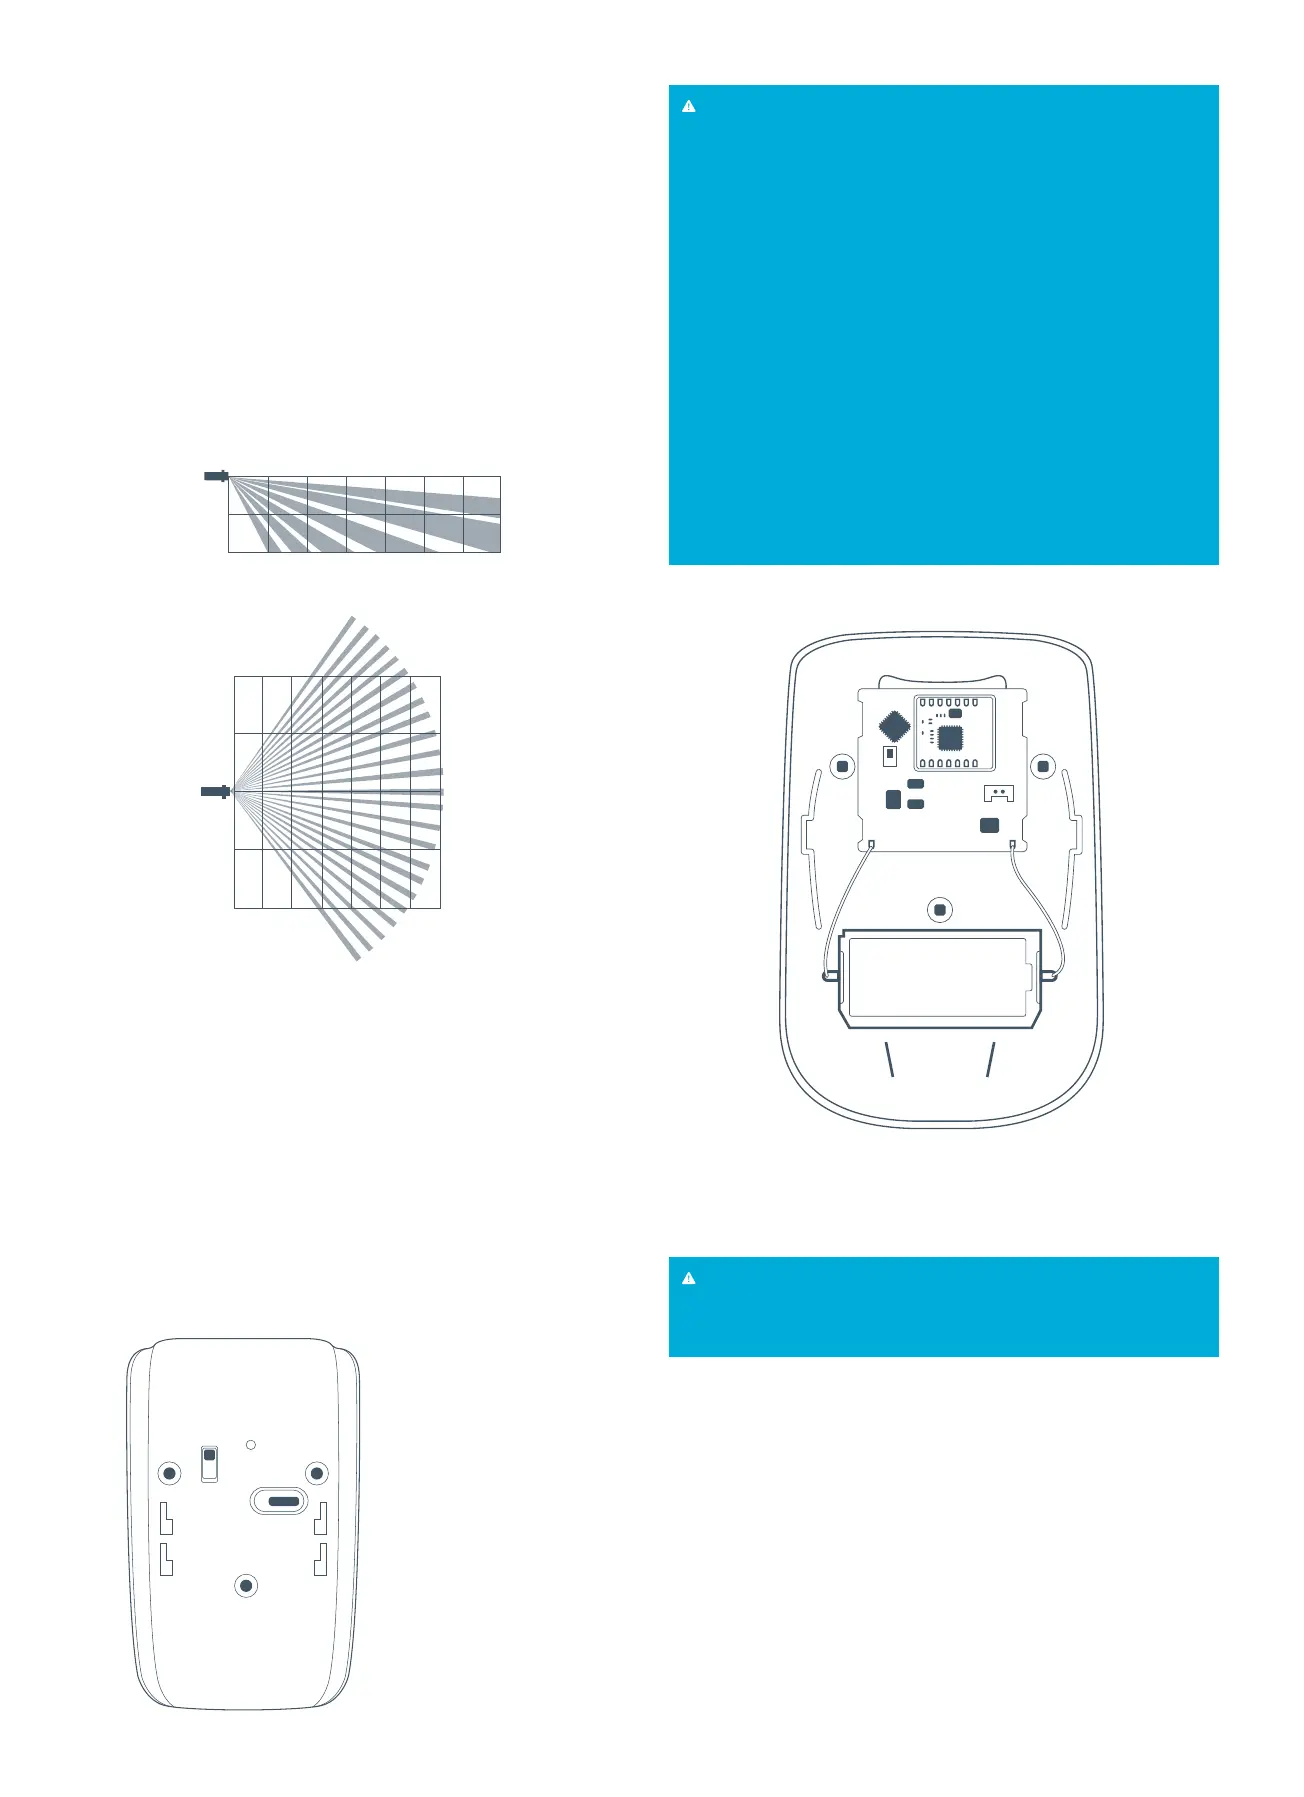
1 – tamper button
2 – cut-off switch
3 – self-tapping
screws
4 – fixing holes on
SmartBracket
PICTURE 4.
Sensor’s backboard
1
2
3
4
ON OFF
4
4
4
3
3
ATTENTION!
DO NOT install the sensor:
• Near the window with sunlight touching the sensor’s lens window;
• Opposite to the objects with fast changing temperature (electric and
gas heaters, etc.);
• Opposite to the moving objects with the temperature close to the body
temperature (curtains floating above the heater);
• Opposite to the reflecting surfaces (mirrors);
• Near the points of fast air circulation (ventilation units, open windows
and doors);
• Near the metal objects causing radio attenuation or shading from it;
• Outside the building;
• In the rooms with temperature and humidity exceeding the appropri-
ate levels.
Be careful while installing the assembling set. Overexertion while in-
stalling can cause deformation and, as a result, impossibility to install
the sensor or to its unreliable fastening. Fix the assembling clip with
the set’s assembling units only! Other fixing system use, for example,
self-tapping screws of big diameter, can damage fastening clip. Togeth-
er with self-tapping screws, there is a double stick tape in the set. It can
be used for temporary sensor fixing only. It is recommended not to use
the tape for the permanent fixing, as the tape dries up over time and the
sensor may fall down which can interfere with its functions.
5.5 The movement sensor is installed!
5.6 Make sure that furniture, curtains, house plants, vases, decoration or
glass constructions do not cover the sensor’s field of view.
5.7 Test the detection zone for movement sensor (PICTURE 3) in order to
check its efficiency. In detection zone test mode, the sensor’s light is on per-
manently, switching off when the movement is detected – it is very easy to
observe.
5.8 With a help of receiver’s configuration software, select the necessary
level of the sensor’s sensitivity. High level – the sensor does not react to
the objects smaller than a hamster. Medium level – the sensor does not
react to such objects as cats or small dogs. Low level – the sensor does
not react to such objects as medium dogs.
5.9 In “security” mode, the sensor sends the alarm signal each 5 seconds
switching on the light simultaneously in case the movement is registered.
In passive mode, the sensor detects movement no more than once in 3 min-
utes without switching on the light emitting diode.
AJAX Systems Inc.,
www.ajax.systems
support@ajax.systems
 Loading...