6
08. Press “Play” on the CD Player.
The MPC2500 will start the recording automatically when the CD player starts the playback and the
bottom of the screen will change as below:
Tip : If the recording level is too low, the MPC2500 may not start the recording when you play the
CD player. In this case, go back to step 5 and adjust the level with the [ REC GAIN ] knob again.
09. Press the [ F6 ] (STOP) button to stop the recording.
If you do not press [ F6 ] (STOP), the MPC2500 will stop the recording at the time set in the Time
field.
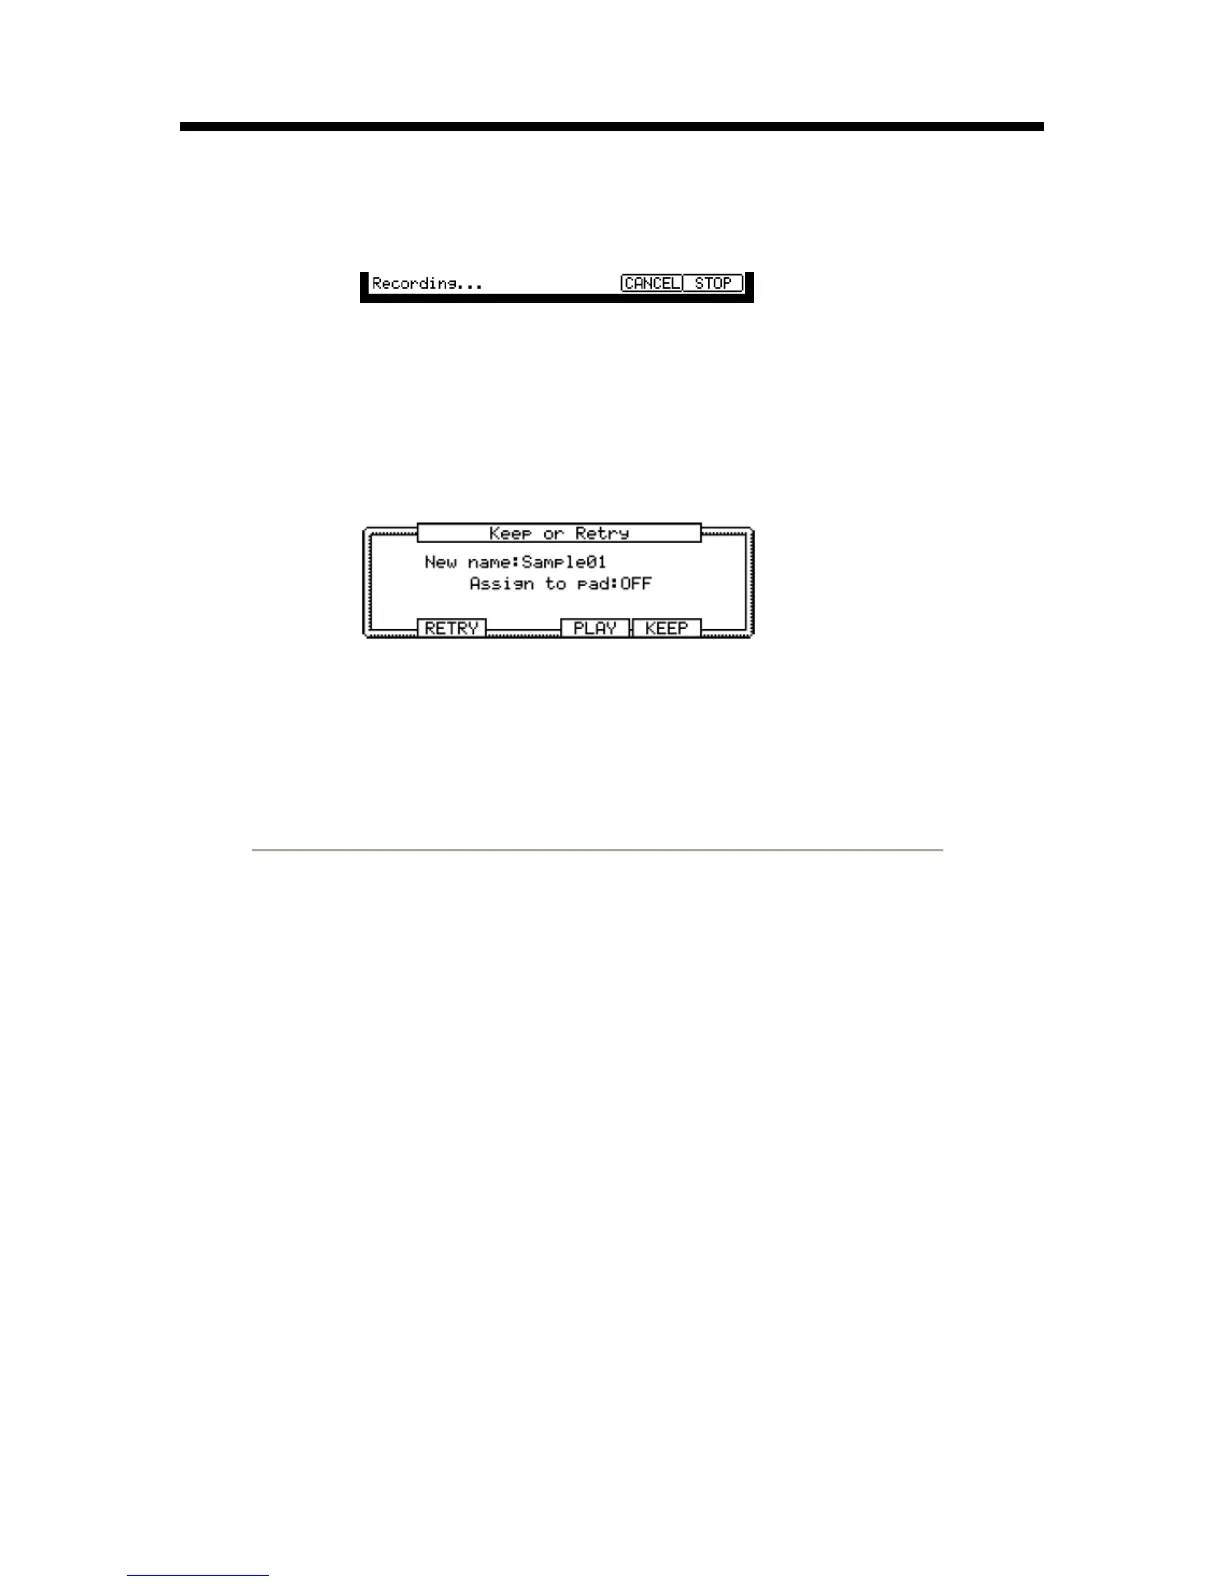
When the MPC2500 finishes the recording, the Keep or Retry window will be displayed.
10. You can check the recorded sample by pressing and holding the [ F4 ] (PLAY) button.
The recorded sample will play until you release the button.
If you do not like the recording, you can remove the recording by pressing the [ F2 ] (RETRY)
button.
Assigning the recorded sound to the pad
11. Select the Assign to pad field with the cursor and hit the pad to which you wish to assign the
sample.
The number of this pad will be displayed in the Assign to pad field.
12. Press the [ F5 ] (KEEP) button to save the sample to the selected pad.
This closes the Keep or Retry window and returns to the RECORD page.
Now you can play the recorded sample with the pad. Hit the pad to make sure the recorded sound
will be played.
Tip : The samples will be assigned to the pads of the program that is selected in the Pgm field of the
MAIN page. To assign the samples to a new program, you need to create a new program in
PROGRAM mode and select it in the Pgm field of the MAIN page in advance. For more information
about creating a new program, see the “Creating a program” section of the Operator's Manual.
(page 78)
Tip : You can play back only a specific part of the sample by adjusting the start/end points. For
more information, see the “Setting the loop” section of the Operator's Manual. (page 76)
Tip : You can change the assigned sample or set the playback method in the PROGRAM mode. For
more information, see the “Chapter13 : Program” section of the Operator's Manual. (page 78)

 Loading...