English
HOW TO POWER ON
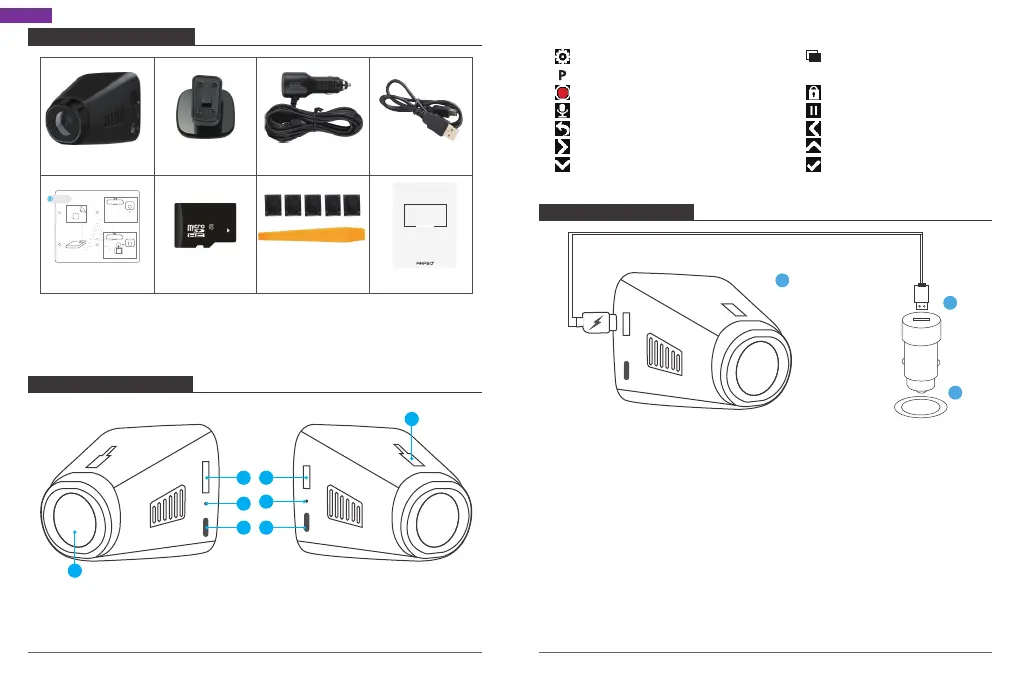
2. Icon Introduction
: Setup : Playback
: the shortcut key of Parking Monitor
: Start to recording : Lock the video
: Microphone : Stop recording
: Back : Backward
: Forward : Up
: Down : OK or Confirm
1
2
3
① Insert the car charger into your car’s cigarette lighter socket.
② Insert the Mini USB into the dash cam USB port
(Charger Specification: In: DC 12-24V, Out: DC 5V 2A)
Note:
① After powering on dash cam through the car charger, the dash cam will automatically
turn on and start recording (if the card has been inserted). If wanting to do some
settings, please firstly stop recording.
② Please charge for 30 minutes before using this dash cam powered by the built-in battery.
③ When the dash cam is connected to the car’s cigarette lighter socket through the car
charger, the built-in battery will be charging at the same time, the red indicator light is
on. When it charged fully, the red light goes off.
01
02
V1 Dash Camera Car Charger Adapter
Car Crowbar +
Cable ClipsElectrostatic stickers * 2 Quick Reference Guide
USB CableBracket * 2
WHAT’S IN THE BOX?
QUICK
REFERENCE
GUIDE
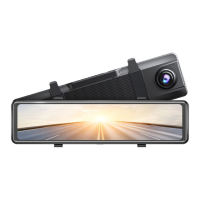
V1 Car Dash Camera
1. Micro SD Card Slot
2. Microphone
3. Wi-Fi Button
4. USB Charging
5. Reset
6. Power Button
7. Camera Lens
8. Bracket Slot
CAMERA OVERVIEW
1
4
8
7
1. Camera Introduction
16GB Micro SD Card
16GB
Please tear off the
film before installing it.
1
2
3
4
2
3
5
6
Note: USB Cable is only used to connect the computer and the dash camera
to read the card.