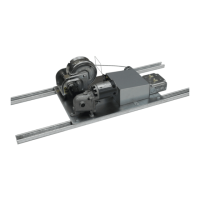
STEP 7
Position ALL200 where ceiling box will be centered in ceiling hole. Weight and bottom contact plate
assembly should hang down through ceiling hole. Adjustments can be made loosening 3/8” channel strut
bolts that hold ALL200 to channel struts. Retighten channel strut bolts after adjustments are made.
Conrm channel strut nuts are seated properly. See Diagram C.
Never adjust the channel struts improperly. is could cause the chandelier to fall, which could cause
death, personal injury, and/or property damage.
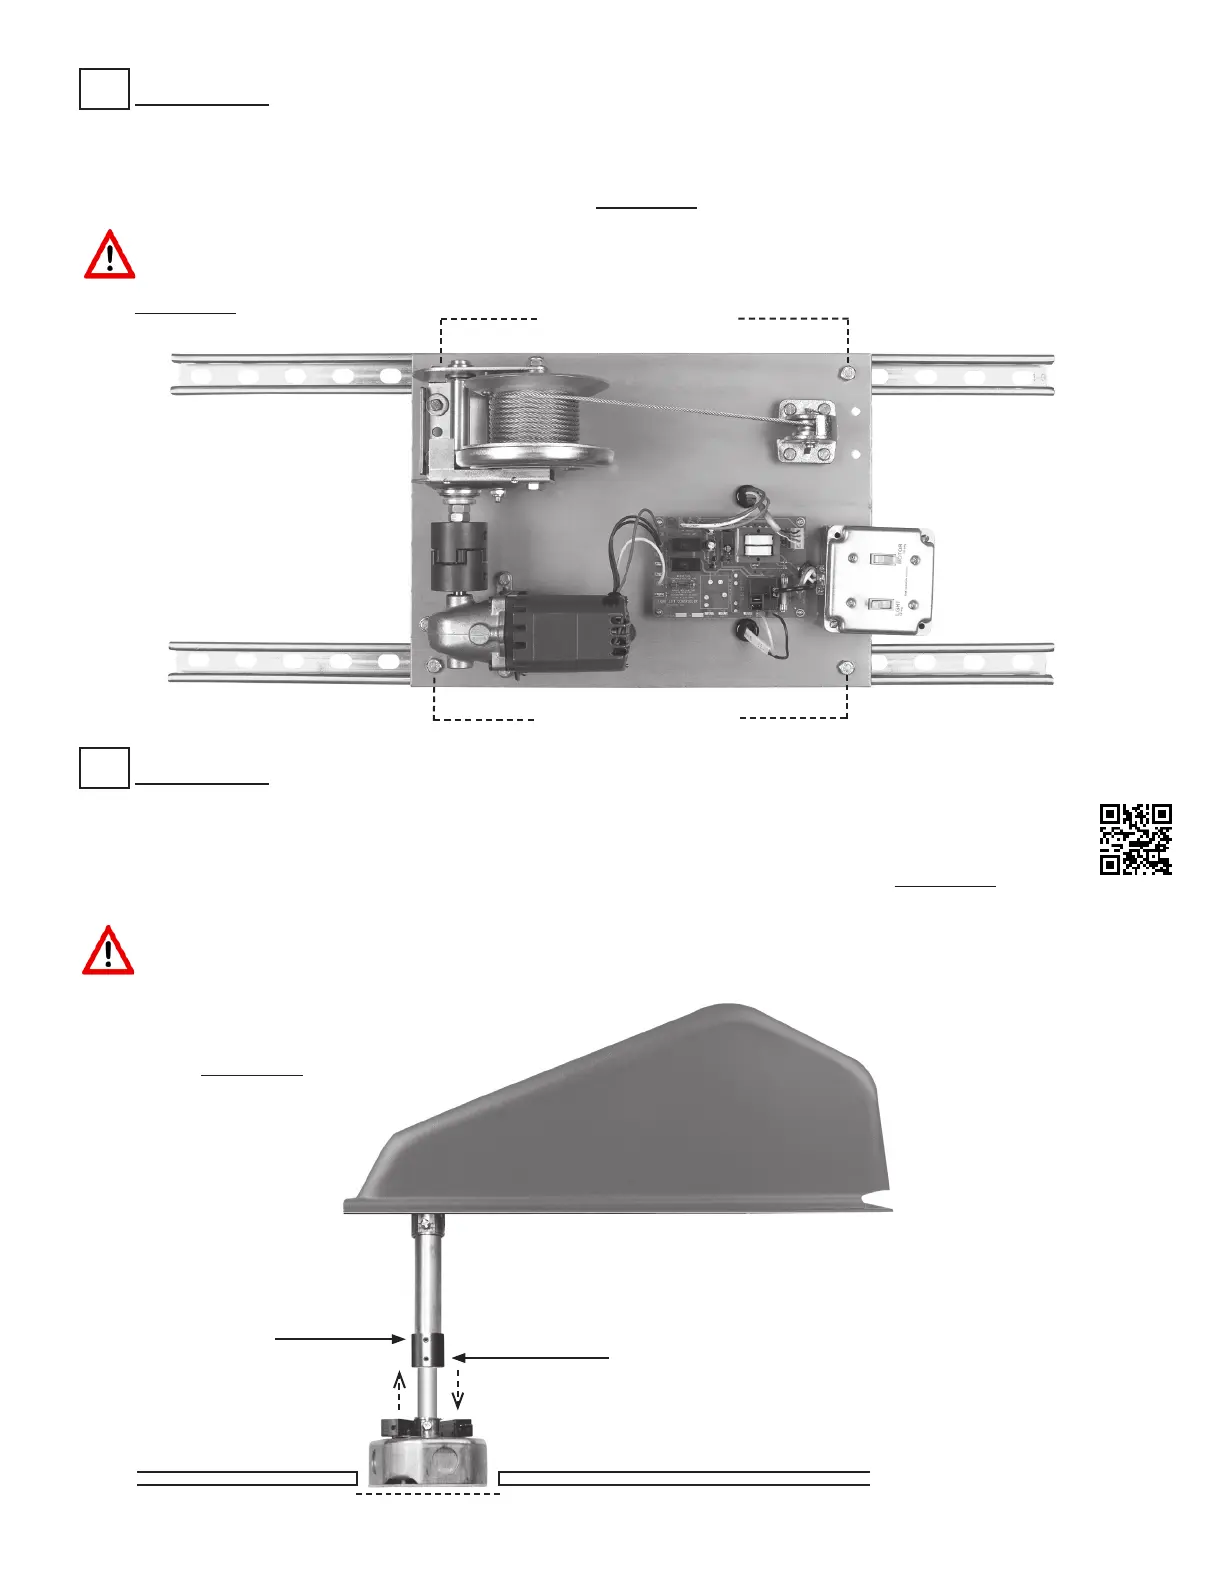
Conduit Coupler
Bottom Set Screw
3/32” Allen Wrench
STEP 8
Adjust ceiling box elevation up or down to be ush with sheetrock (this is a starting position, after the
xture is installed see step 23 for nal adjustments). Use 3/32” Allen wrench on conduit coupler to loosen
bottom set screw. Conduit assembly is telescopic. e ceiling box should not touch inside of ceiling hole.
Retighten bottom set screw on conduit coupler and conrm top set screw is tight. See Diagram D.
https://youtu.be/EbAGV2gLK2E
Never attach or adjust the conduit assembly improperly. is could interfere with the automatic shuto
system and could cause the chandelier to fall, which could cause death, personal injury, and/or property
damage.
Diagram C
3/8” Channel Strut
Adjustment Bolts
3/8” Channel Strut
Adjustment Bolts
Diagram D
4 1/2” Hole
Conduit Coupler
Top Set Screw
3/32” Allen
Wrench
Sheetrock
Sheetrock
 Loading...