6
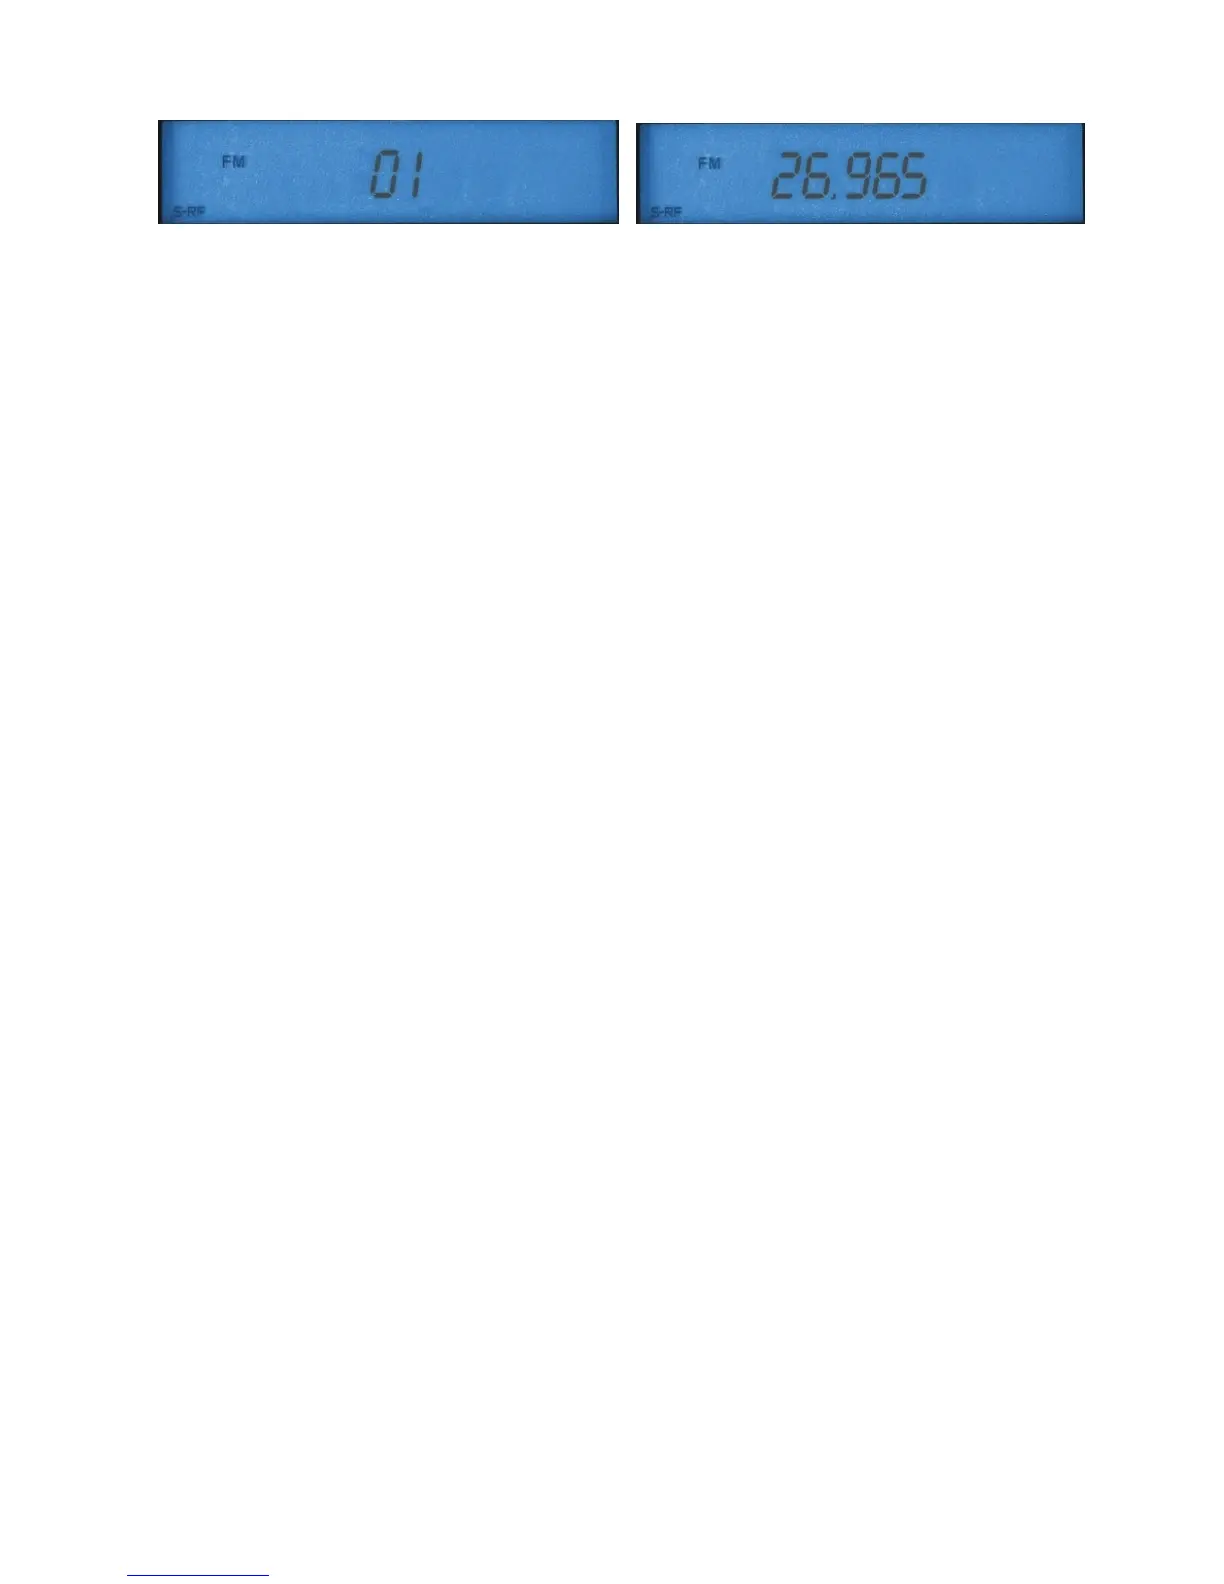
Channel mode Frequency mode
You can toggle your display to frequency mode similar to amateur radio devices. First briefly press the FUNC
button (12). The display shows
FUNC.
Now press the
2
button (7).
The unit switches to frequency display and is in
frequency mode
. The frequency resolution corresponds to the
common CD standard of international 10 kHz resolution, with some channels showing a 20 kHz step instead of 10
kHz (for historical reasons). You can tune the frequency via the CHANNEL knob (9) on the unit or with the
UP/Down buttons on the microphone. Press
FUNC
followed by
2
to toggle between the display modes.
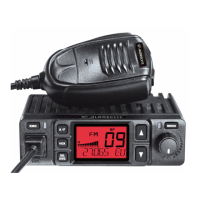
Mic Gain (3)
This control knob is designed for dual function with the RF gain control. Use the upper control knob (3) to set the
sensitivity of the microphone. For the supplied hand microphone the control knob may be set to 2/3 or full
(clockwise). For other microphones the control knob serves individual setting. Optimum modulation is best set with
a control receiver or with an outstation.
RF Gain (4)
Use the RF Gain knob (lower, outer dial of the dual control knob) to set the amplification in the RF receiver. Turn
fully clockwise for the unit to have the highest amplification and sensitivity. This setting is optimal for most receiving
ratios. Turn the RF gain control knob back to mask unwanted long distance or interference signals, especially
when deliberately listening to near stations. In SSB mode with high field strength it may be necessary to adjust the
amplification with the RF gain control knob for optimum quality.
Clarifier (11)
This control knob serves the receiver fine-tuning and is only used in SSB mode if the distant partner station is not
quite on the same transmission frequency. In radio circles with several participants you frequently have to fine tune
individual stations with the clarifier for best comprehensibility.
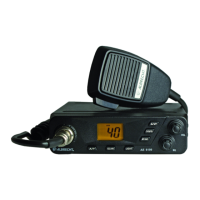
LCD, S Meter and Power Meter
Your radio comes with a large backlit LCD for all settings, such as channel, frequency, status display and analog
values, such as received field strength (S meter) and transmission power. In this way you always have the most
important parameters in view. The S meter setting corresponds with the international short wave amateur standard:
100 µV EMC antenna voltage corresponds to S 9. The S meter uses a 5-stage bar display on the LCD. The
stronger you receive an outstation, the stronger is the deflection on the S meter.
For checking the S meter also works for transmissions as a
power meter
and gives you an approximate clue about
the output power. You will see that for FM you will always have the same transmission display, for AM the
deflection is generally less, and for SSB it varies with the rhythm of the speech.
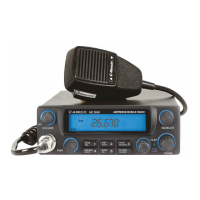
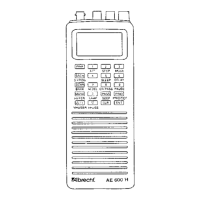
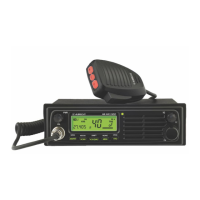
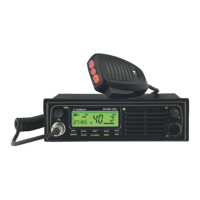
Buttons AE 5800 (5-12)
The buttons of your unit are multi-functional and change automatically – according to the mode – or in combination
with the
FUNC
button (12) manually. To avoid confusion you will find only the name of the corresponding function
in this user manual. For instance for pressing the
MODE
button you will find “MODE” and not the all names of all
functions for this button, such as
“
MODE/LOW/5
”. Furthermore, all button functions, which are only possible in
connection with the FUNC button, are printed in blue. In CB mode some functions are invalid. These functions are
reserved for the amateur radio version of this unit (AE485 S).
Select Mode
Press the
MODE
button (8) to toggle between AM, FM, USB and LSB. The selected mode is displayed. The
abbreviations stand for:
AM Amplitude modulation A3 with full carrier

 Loading...