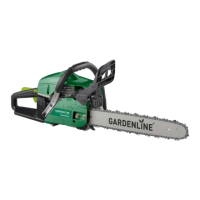
Assembly of the Bucking Spike
(If not already installed)
1. Place the bucking spike (17) in position (Fig A),
aligning the screw holes on the bucking spike
with the holes on the chainsaw.
2. Insert the screws through the screw holes in the
bucking spike (17) and using the supplied allen
key (34), secure the screws into position (Fig B).
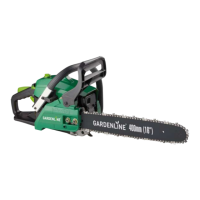
Replacing/Re-Installing the Guide
Bar & Chain
WARNING: The chain has sharp edges. Use
work gloves for safety.
WARNING: Ensure the engine is switched o
when making any adjustments to the chain
and bar.
IMPORTANT: The front guard / chain brake
(12) must be disengaged when replacing / re-
installing the guide bar (18) and/or chain (19).
1. Place the chainsaw on a flat and secure surface and check that the chain
brake (12) is disengaged (Fig C).
2. Remove the chain drive side cover (22) by first pushing out the black locking
lever (23) on the chain drive side cover tool free assembly (37) (Fig D).
Rotate the locking dial (23) using the lever in an anti clockwise direction,
(as shown marked on the dial) until the chain drive side cover (22) is loose
enough to remove (Fig E). Ensure the chain brake (12) is NOT engaged.
3. Remove the existing guide bar (18) and chain (19) from the chainsaw.
A.
B.
Assembly
C. D. E.
BRAKE
ON
BRAKE
OFF