14
AFTER SALES SUPPORT
support@scheppach.com.au
1300 855 831
MODEL: WDV12 PRODUCT CODE: 703406 10/2020
AUS
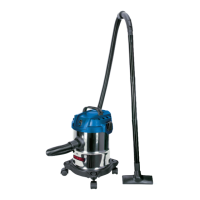
Assembly WDV12
VII. Assembly
m Warning! Ensure the appliance is correctly and completely assembled
before use.
Unpacking (Fig.1.1)
1 Unlock the locking hooks (8) and remove the appliance head (3). Remove all
accessories from the container (7).
Mounting of the castors (Fig.2)
1 Place the container (7) upturned on the ground.
2 Push the castors (5) into the holes at the bottom of the container.
Mounting appliance head (Fig.3)
1 Place the appliance head (3) onto the container (7). Secure the appliance head
(3) with the locking hook (8). When tting the appliance head (3), make sure that
the locking hook (7) locks into place correctly.
Fitting the lter (Fig.4/5)
Never use the appliance without a lter! Always ensure that the lters are
correctly mounted
1 Fitting the foamed plastic lter (12): For wet-vacuuming, slip the supplied foamed
plastic lter (12) over the lter basket. (Fig.4)
2 Fitting the cloth lter (14): For dry vacuum cleaning always use the supplied
cloth lter (14). Slip the cloth lter (14) over the lter basket. (Fig.5)
Assembling the paper bag (Fig.6)
For vacuuming all kind of dry dirt it is recommended that you use the paper bag (13).
Slip the paper bag (13) over the vacuuming hole inside of the container (7). The pa-
per bag (13) is suitable for dry-vacuuming only. The paper bag (13) makes it easier
to dispose of the sucked-in dust.