EasyManua.ls Logo

ALDI Ferrex WDV12 User Manual

ALDI Ferrex WDV12
18 pages
To Next Page IconTo Next Page
Page #1 background imageLoading...
Page #1 background image
User Manual
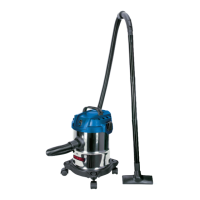
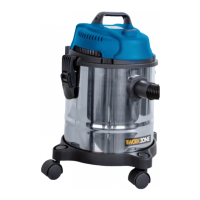
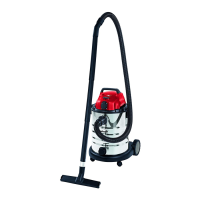
WET & DRY VACUUM CLEANER
Contents
ALDI guarantees that our exclusive brand products are developed to
our stringent quality specications. If you are not entirely satised with this
product, please return it to your nearest ALDI store within 60 days from
the date of purchase for a full refund or replacement, or take advantage of
our after sales support by calling the suppliers Customer Service Hotline.
Made in China
FERREX
®
is a registered trademark of ALDI Stores
DISTRIBUTED BY:
ALDI STORES
1 SARGENTS ROAD
MINCHINBURY NSW 2770
www.aldi.com.au
MODEL: WDV12 PRODUCT CODE: 703406 10/2020
AFTER SALES SUPPORT
1300 855 831 support@scheppach.com.au
AUS
Original instructions
Vers.No. 200604
Overview 04
Utilisation 05
Pack contents/parts 06
Explanation of symbols 08
Introduction 09
Layout 10
Scope of delivery 10
Intended use 11
Safety regulations 11
Technical data 13
Assembly 14
Operation 15
Maintenance and cleaning 17
Troubleshooting 18
Storage 18
Disposal and recycling 18
Warranty Details 19
Repair and Refurbished Goods or Parts Notice 21

Questions and Answers:

ALDI Ferrex WDV12 Specifications

General IconGeneral
TypeWet and Dry Vacuum Cleaner
Power1200 W
Tank Capacity12 L
Noise level78 dB
Dust capacity12 L
Filter typeHEPA
Cord length5 meters

Summary

Explanation of Symbols

Read Operating Instructions

Read the operating instructions to reduce the risk of injury.

Class II Symbol

Class II symbol: dual insulation, no earthed power socket needed.

Australian Requirements Compliance

Compliance with the Australian requirements.

Introduction

Layout

Parts Identification

Identification of all appliance parts and accessories.

Scope of Delivery

Intended Use

Safety Regulations

Accident and Injury Prevention

General safety measures to prevent accidents and injuries.

Electric Shock Prevention

Safety measures to prevent electric shocks.

Technical Data

Assembly

Unpacking

Steps for unpacking the appliance and removing accessories.

Mounting Castors

Instructions for attaching the castors to the container.

Mounting Appliance Head

Procedure for attaching the appliance head to the container.

Fitting Filters

Guidance on fitting the foamed plastic and cloth filters correctly.

Assembling Paper Bag

Instructions for installing the paper bag for dry vacuuming.

Operation

On/Off Switch

Instructions for switching the appliance on and off.

Dry Vacuuming

How to perform dry vacuuming using the correct filters and nozzles.

Wet Vacuuming

Procedure for wet vacuuming using the foamed plastic filter.

Blowing Function

Using the crevice nozzle for blowing applications.

Dust Collector Use

How to connect the appliance to a power tool as a dust collector.

Maintenance and Cleaning

Maintenance Overview

Information regarding the maintenance-free nature of the appliance.

Emptying the Container

Steps for emptying the container when it is full.

Cleaning Procedures

Recommendations and warnings for cleaning the appliance.

Replacement Parts

Information on how to order replacement parts.

Troubleshooting

Storage

Disposal and Recycling

Warranty Details

Repair and Refurbished Goods Notice

Related product manuals