150W Bench Grinder
AFTER SALES SUPPORT
e-mail: info.aldi@positecgroup.com
1300 889 028
MODEL No.: DG75A • 07/2019 • 10275
(toll free)
AFTER SALES SUPPORT
(toll free)
150W Bench Grinder
1300 889 028
MODEL No.: DG75A • 07/2019 • 10275
1
1
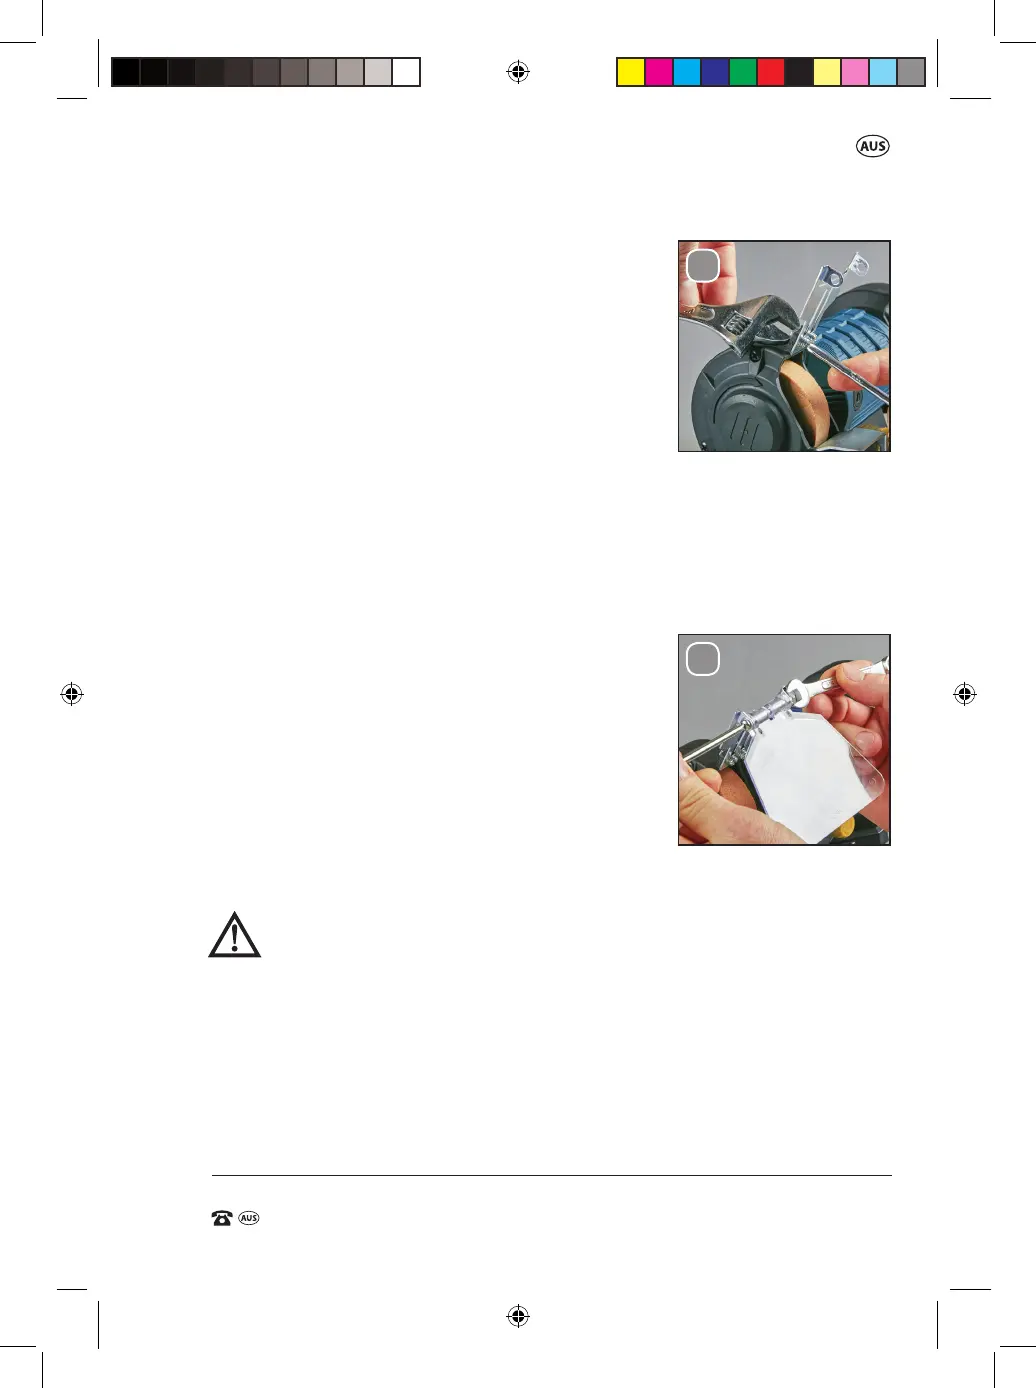
7.3 Fitting the spark deectors (13)
Fit the spark deectors (13) with the aid of the
xing bolts for the sparks deectors (13), nuts,
washers and spring washers to the top of the
grinder (See Fig. B).
Tighten the nuts using a pair of pliers or a wrench
(not supplied). Tighten the xing bolts for the spark
deectors (13) using a phillips head screw driver.
Fit the sparks deectors (13) so that the distance between the grinding
wheel (12) or polishing wheel (2) and the spark deector (13) is as small as
possible. The gap should not be greater than 2mm. Ensure that the spark
deectors (13) do not come into contact with the grinding wheel (12) or the
polishing wheel (2). Adjust the distance repeated as the grinding wheel (12)
or polishing wheel (2) wears down.
7.4 Fitting the Eye shields (1)
Attach the eye shields (1) to the xtures provided
on the spark deectors (13) using the mounting
screws for the eye shields (1), nuts, washers and
spring washers (See Fig. C)
Tighten the nuts using a pair of pliers or a wrench.
Tighten the xing bolts for the eye shields (1)
using a phillips head screwdriver.
7.5 Changing the grinding / polishing wheels
WARNING! RISK OF INJURY!
Always remove the power plug from the wall socket before
carrying out any work on the grinder.
WARNING! The grinding wheel (12) or polishing wheel (2) used
may not be any larger than the prescribed diameter.
Replace the grinding wheel (12) or polishing wheel (2) when the
outer diameter is less than 50mm.
Note that you will require tools which are not included in delivery
for the assembly.
B.
C.
10275 ALDI IM Ed3.indd 13 8/05/2019 2:49 PM