. .
36
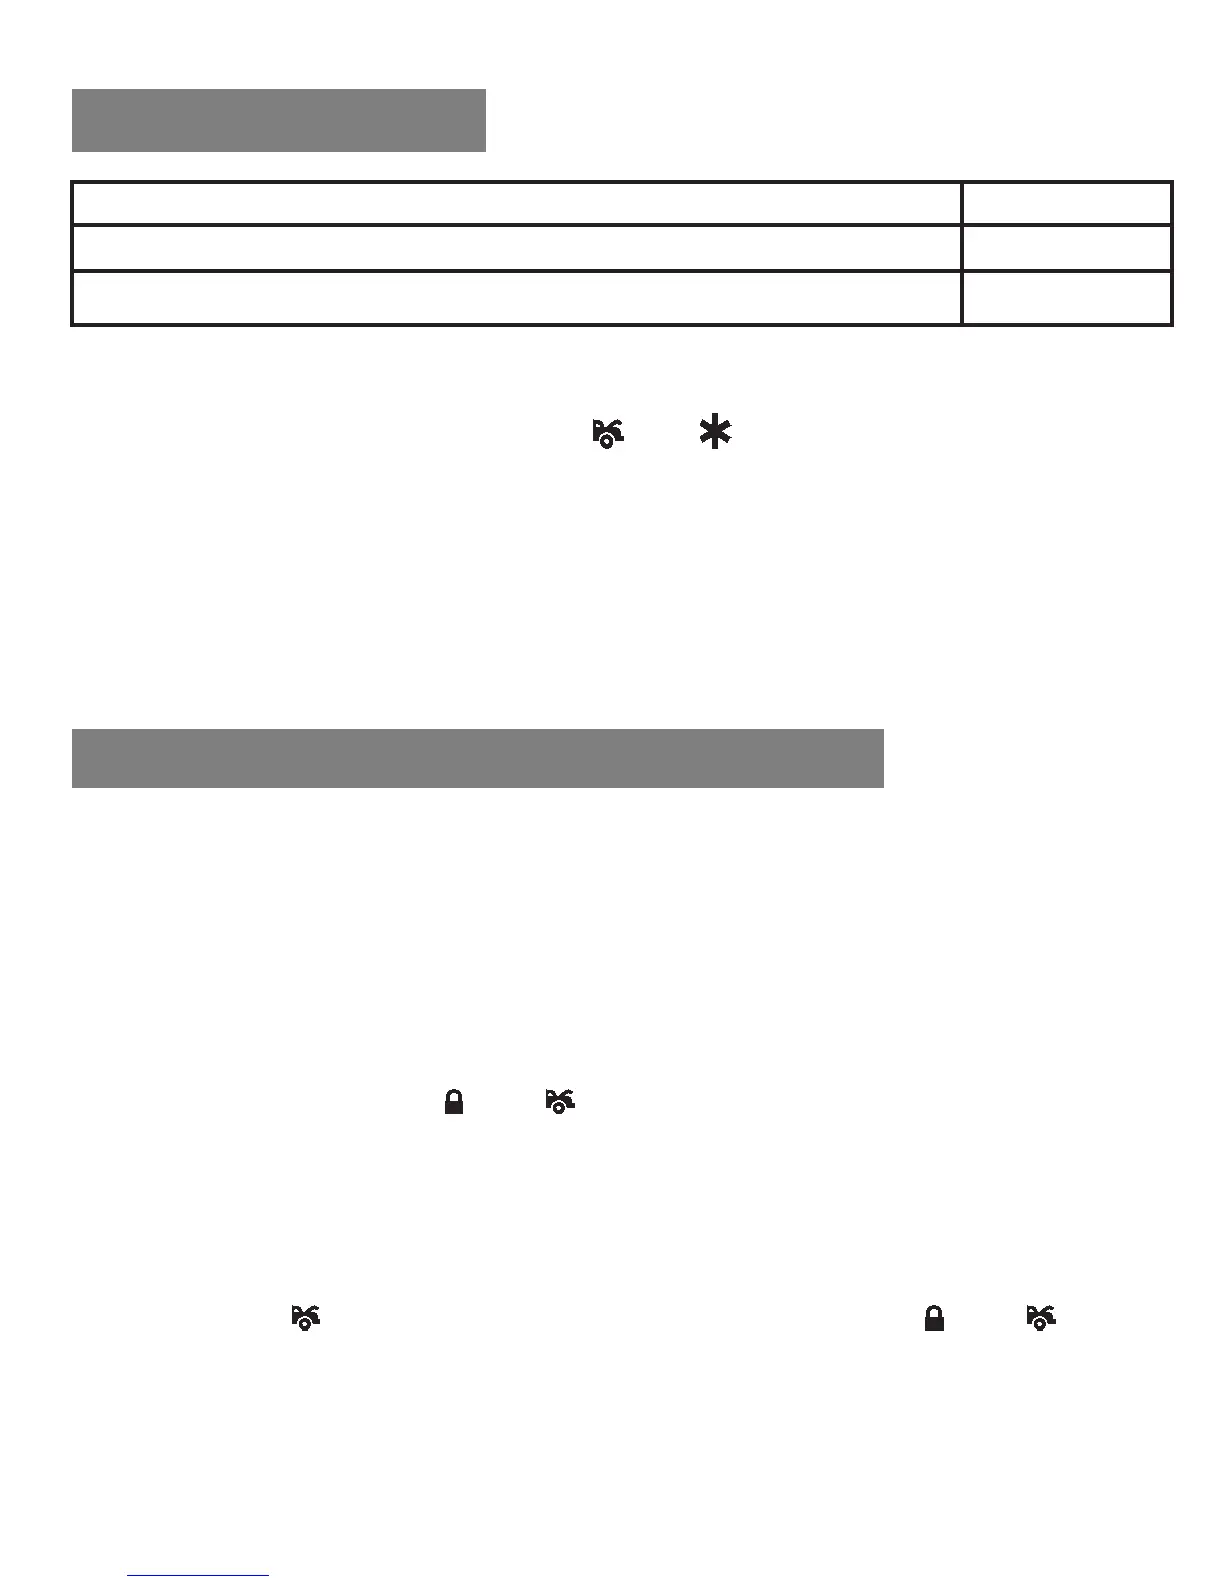
Trigger sensor Siren chirps
Zone 2 / Instant Ground trigger (H5/4 BLUE/WHITE wire) 2
Zone 3 / Door trigger (H5/6 GREEN or H5/7 VIOLET wire) 3
b. Test the Zone 1 & Zone 4 / Two Stage Shock Sensor (Connected
to H7/4 Pin Plug):
Press and release the transmitters
and buttons at the same time
again. [2] LED flashes and [2] chirps will indicate the system is in the
shock sensor (connected to H7/4 pin plug) test mode.
1. Activate the warn-away (first stage of the shock sensor / Zone 1),
system will emit a short chirp.
2. Activate the full alarm (second stage of the shock sensor / Zone 4),
system will emit a long chirp.
3. Continue to test the shock sensor until reaching the proper sensitivity.
Turn the ignition
ON and OFF
(3) TIMES and leave it in the
OFF
position.
1. Press the valet/program switch 12 times and hold it in on
the 12
th
press until (6) chirp with (1) long chirp is heard,
then release the valet/program switch. You are now in the
Return To Factory Default Setting programming mode.
ALARM FEATURE, RETURN ALL TO FACTORY DEFAULT
SETTINGS:
2. Press and hold the
and buttons at the same time on the
transmitter for 5 seconds, there will be a confirmation of six chirp
with 3 long chirps to confirm the system Alarm Feature #1,
2 and 3 Programming all return to factory default setting.
START FEATURE, RETURN ALL TO FACTORY DEFAULT
SETTINGS:
3. Press the
button first, within 3 seconds press and hold
the and buttons at the same time on the transmitter for 5
seconds, there will be a confirmation of (6) chirps with (3) long
chirps to confirm the system Start Feature 1 & 2
Programming all returns to factory default setting.
ALARM TEST MODE
RETURN TO FACTORY DEFAULT SETTING
 Loading...