B
Barry BrownAug 4, 2025
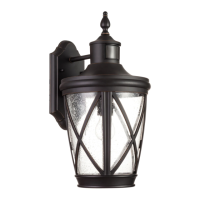
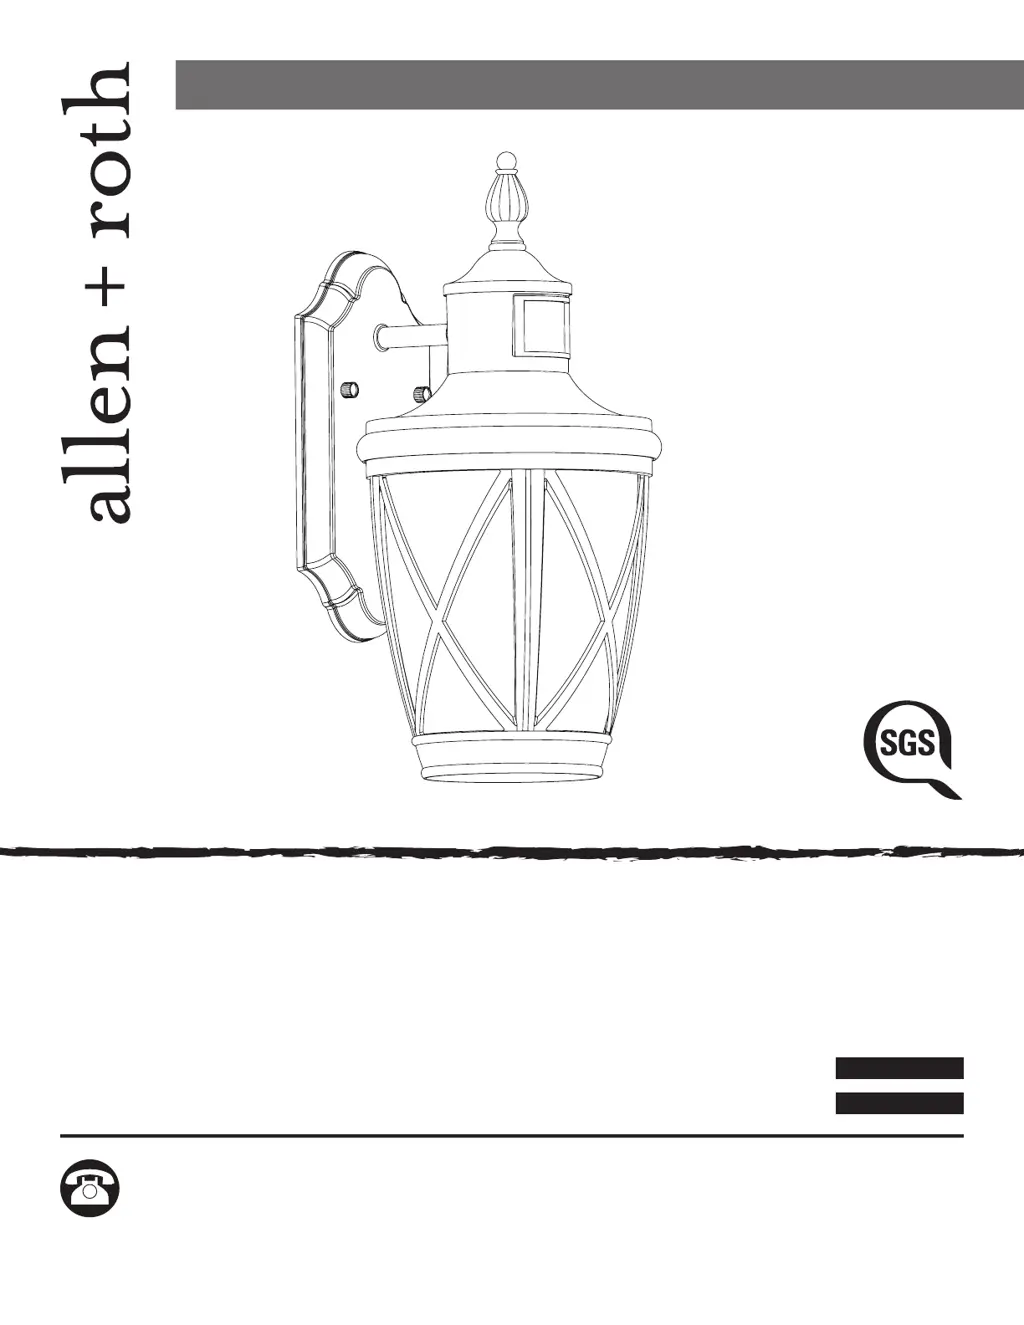
Why does my Allen + Roth Outdoor Light stay on continuously?
- HhuffmanmelissaAug 4, 2025
Your Allen + Roth Outdoor Light might stay on for several reasons: 1. The fixture may not be set to Auto Mode. Try resetting it by turning the power off and on. 2. There could be motion in the detection area. Ensure that no movement is present within this area. 3. The shut-off settings might be incorrect. Adjust the TIMER knob counterclockwise to decrease the shut-off delay time.