Do you have a question about the Allen + Roth GF-12S004B-1 and is the answer not in the manual?
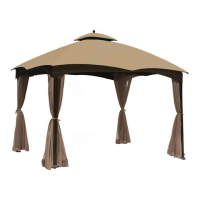
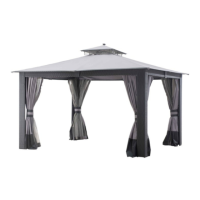
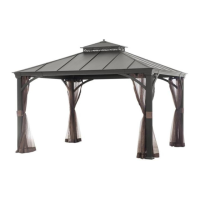
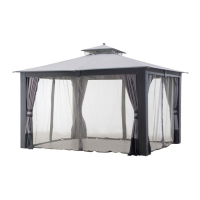
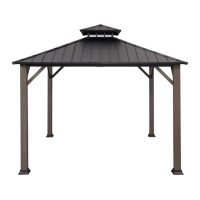
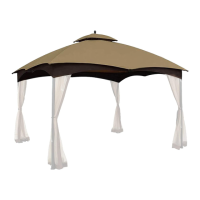
Assemble the post plate cover, post bottom plate, and supporting post using short bolts.
Connect long left and right crossbars using long bolts and nuts, secured with a hex wrench.
Connect short left and right crossbars using long bolts and nuts, secured with a hex wrench.
Secure crossbar assemblies to supporting posts using medium bolts and a hex wrench.
Screw the roof connector pole into the roof connector and twist to tighten.
Insert top and bottom corner roof poles and secure to posts with medium bolts and nuts.
Insert short and long center roof poles into the roof connector and secure with bolts.
Hang the corner curtains onto the crossbars using the preassembled hooks.
Loosely place the fabric cover on top and attach the air vent cover, securing with the finial.
Tighten the fabric cover by pulling it over the four corner roof poles.
Hang mosquito net and side walls on crossbars using hooks, then insert stakes into base plates.
Reverse the order of assembly installation steps 8-11 to remove the canopy.
| Product Name | Allen + Roth GF-12S004B-1 |
|---|---|
| Category | Outdoor Furnishing |
| Fuel Type | Propane |
| Material | Steel |
| Ignition Type | Electronic |
| Color | Black |
| Style | Modern |
| Assembly Required | Yes |
| Weather Resistance | Yes |
| BTU | 50000 |