Do you have a question about the Allen Sports QR545 and is the answer not in the manual?
| Model | QR545 |
|---|---|
| Category | Automobile Accessories |
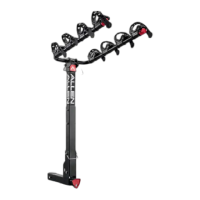
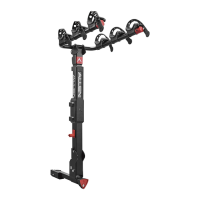
| Bike Capacity | 4 Bikes |
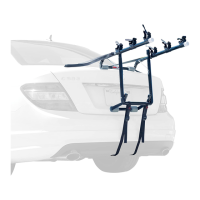
| Mount Type | Hitch Mount |
| Hitch Size | 2 inches |
| Foldable | Yes |
| Tiltable | Yes |
| Material | Steel |
| Lockable | No |
| Type | Bike Rack |
| Weight Capacity | 140 lbs |
| Hitch Compatibility | 2 inch |
Crucial safety warnings for rack usage, including proper mounting, load limits, and vehicle compatibility. Avoid off-road use.
Precautions for safe operation, ensuring rack and bikes are secure, and maintaining visibility and clearance from traffic.
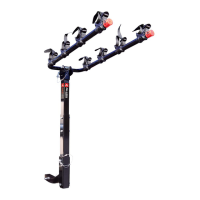
Connect the RR Post to the Hitch Insert using the provided bolt and lock nut, ensuring alignment.
Attach the Carry Arm Assembly to the RR Post using bolts and lock nuts, ensuring a firm connection.
Snap the Spine Pad onto the receiver rack's vertical post by aligning it with the nut and bolt heads.
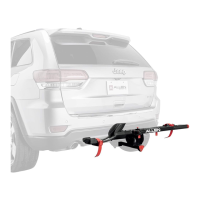
Detailed steps to securely install the rack into a 2" receiver hitch, including locking mechanisms.
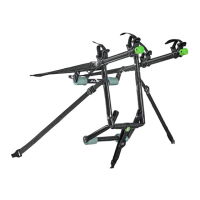
Instructions on how to fold the carry arms into an upright or down position using the red tabs.
Guidance on safely loading bicycles, including checking quick releases and avoiding vehicle contact.
Specific advice for loading women's or alternative frame bicycles, recommending an adaptor bar.
Essential steps to ensure all bicycles are properly tied down to the rack using tie-down straps.
Instructions to register your purchase for warranty qualification and product notifications.
Lists the necessary wrenches for assembly and installation of the bicycle rack.
Lists the components included in the QR-545 box, including hitch insert, carry arm, and hardware kit.
Details the lifetime warranty policy for defects in workmanship or material, excluding normal wear.