8
9. Select the Channel for your country. Then click Next.
A screen is displayed that states installation is in process. Then the
Installation Complete screen is displayed See Figure 8.
Figure 8 Installation Complete Screen
10. Click Finish to complete the installation.
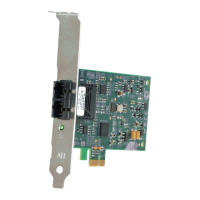
Installing the
AT-WCU200G
Wireless
Adapter
This section provides an installation procedure for the AT-WCU200G
wireless adapter and information about the LEDs. Install the wireless
adapter after you have installed the AT-WCU200G Wireless
Configuration utility.
To install the AT-WCU200G wireless adapter in your laptop or
workstation, perform the following procedure.
1. Remove the AT-WCU200G/NA or AT-WCU200G/EU Installation CD
from the CD ROM drive.
2. Remove the plastic cover from the AT-WCU200G wireless adapter.
Choose one of the following:
- Insert the AT-WCU200G wireless adapter into an available USB port
on your computer.
 Loading...