C
Crystal JonesAug 19, 2025
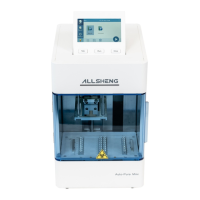
What to do if Allsheng Auto-Pure Laboratory Equipment (T1, T2, T3, T4) overheats?
- AAndre GreeneAug 20, 2025
If your Allsheng Laboratory Equipment (T1, T2, T3, T4) is overheating, the suggested solution is E011, E021, E031, E041.