•
Be
sure to connect the color coded leads according to the
diagram. Incorrect connections may cause the unit to
malfunction
or
damage to the vehicle's electrical system.
• When making connections to the vehicle's electrical system,
be aware
of
the factory installed components (e.g. on-board
computer). Do not tap into these leads to provide power for this
unit. When connecting the
HCE-CllS
to the fuse box, make
sure the fuse for the intended circuit
of
the
HCE-CllS
has the
appropriate amperage. Failure to do so may result in damage to
the unit and/
or
the vehicle.
When
in doubt, consult your Alpine
dealer.
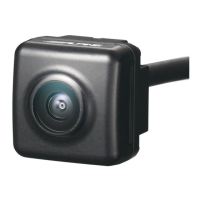
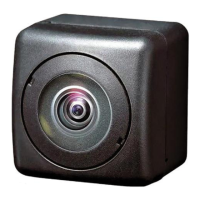
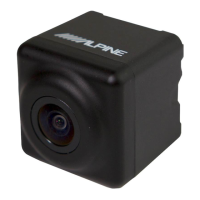
• About Rear Camera
The rear camera
of
this camera system
is
a dedicated product.
Do not connect it to other cameras.
• About Power Connection
Connect a reverse input cable (orange/white) to the power cable
of
the rear lamp. For details, consult a dealer purchased camera,
or
car dealer. Connect this to a power cable
of
the rear lamp,
but
not to the positive
of
the rear lamp signal cable.
• Do
not
use mobile phones
and
wireless devices
near
the
camera.
• Doing so may result in noise
on
the screen
or
malfunction. It
is
recommended to use mobile phones
or
wireless devices away
from the camera.
• About Camera Installation Location
Before installing, make sure there is a enough space to be able
to install the camera.
If
possible, install the camera in the center
of
the bumper
or
other fitting.
If
the camera
is
installed at a
distance left
or
right
of
center, the image may differ from the
real
view.
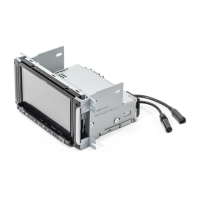
• Confirming the Display Function
To
connect the unit, confirm that the monitor will require a
compatible RCA pin jack.