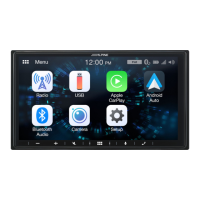
73-EN
Adjusting the display position
(iLX-F509A/iLX-F511A)
Depending on the vehicle, the front-back display position
differs. To adjust the front-back position, set the slider to the
forward position.
Default setting: Back position
1 Remove 4 hexagon bolts from both sides of
the unit.
Hexagon bolts ×4
2 Pull out the slider to the forward position. (To
return the slider to the back position, push it
in.)
Slider
3 Install 4 hexagon bolts to secure the slider.
Installation example using the
Original Mounting Bracket
1 Mount the original mounting bracket to the
unit using the supplied screws.
• If you do not have the original mounting bracket,
mount the Double din KIT* (provided with the side
mounting bracket), etc. to the main unit.
* Sold separately.
■
iLX-507A
Original Mounting
Bracket
Screws (M5×8)
(included)
Face plate (Included)
■
iLX-F509A/iLX-F511A
Original Mounting
Bracket
Screws (M5×8)
(included)
2 Connect all other leads of the unit according
to details described in the “Connections”
(page 76).
3 Mount the unit in a car.
• Fix the cables carefully. Do not damage them by
mounting them into movable parts, such as the seat
rail, or by locating them against sharp or pointed
edges.
4 Reattach the removed vehicle parts (panels,
etc.) or other aftermarket dash kit back onto
the vehicle.